A head knife is sharp when it falls through veg-tan under its own weight, leaving a glossy, closed cut edge with no drag. The edge that does that…
A head knife is sharp when it falls through veg-tan under its own weight, leaving a glossy, closed cut edge with no drag. The edge that does that is convex — a continuously curved bevel landing around 15 to 20 degrees per side — and you build it with a stone progression finishing at 6000–8000 grit, then a compound-loaded strop before every session.
That first drop-cut after a proper stropping is the reason most of us tolerate the upkeep. The blade hisses faintly as it meets the grain, the leather parts with almost no resistance, and the cut edge comes up glossy and sealed rather than fuzzy and grey. A head knife that does not do that is not a dull head knife — it is a head knife with the wrong geometry, and no amount of stropping will rescue it.
I learned the cost of getting this wrong on a batch of card-wallet exteriors. I had been touching up a steeply-beveled edge on green compound for weeks, convincing myself it was sharp because it would still slice paper. On 5 oz shoulder it wedged, buckled the panel, and left a wave I could see under the raking light of the desk lamp. The fix was not sharper — it was shallower and convex. That is what the rest of this guide is about: the geometry, the stone progression, and the stropping routine that keeps a head knife cutting like it should. It sits alongside the broader complete care guide for leather tools, which covers the full bench.
What Makes a Head Knife Different From a Straight Cutter?
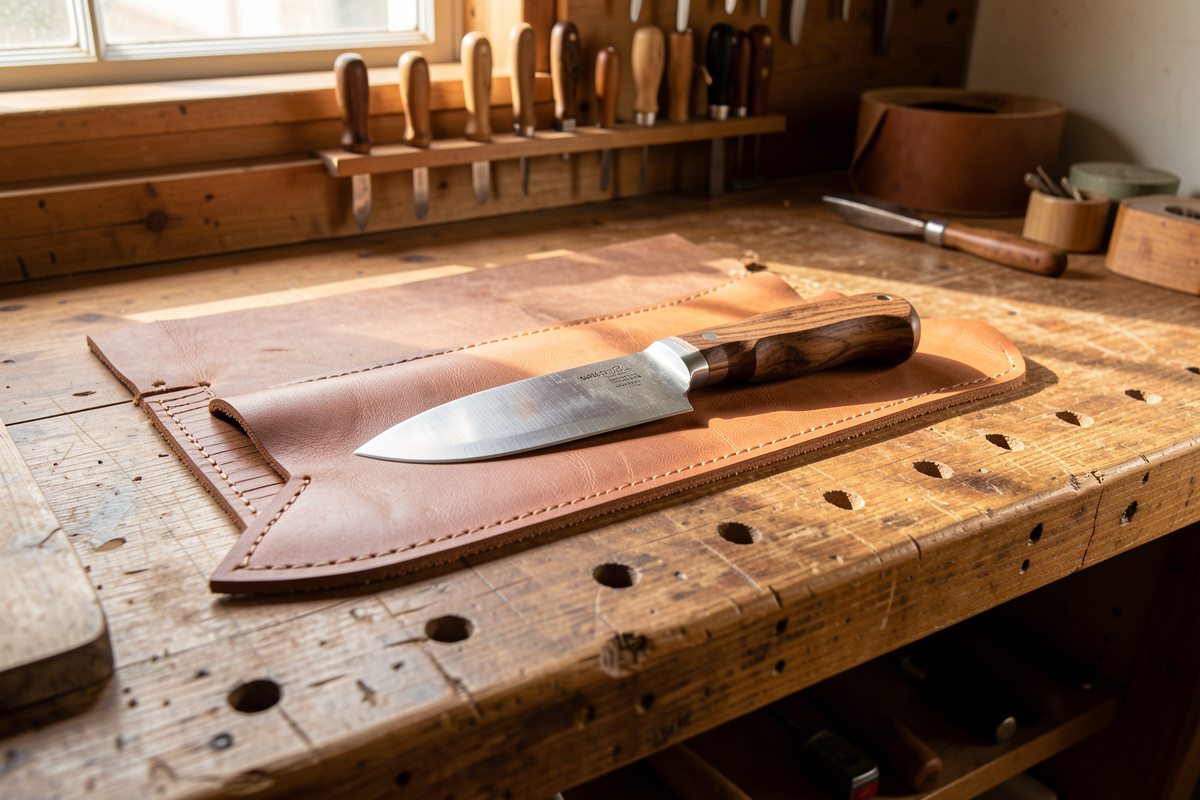
A head knife (also called a round knife or half-moon knife) cuts on a curved belly, not a straight push. You rock the blade forward and down in a single arcing stroke so the contact point travels along the edge and shears the leather rather than chopping it. That rocking action is the whole point: the curve keeps cutting pressure concentrated on a short section of edge at any moment, which is why a 3.5-inch head knife parts heavy shoulder that would stall a straight utility blade.
The geometry follows from the motion. Because the blade rocks, the bevel has to clear the leather on the curve — a flat, steep V-bevel (the kind you would put on a skiving knife meant for straight, angled cuts) digs in and pivots erratically. A convex bevel curves smoothly back from the apex, so as the knife rolls forward the supporting steel behind the edge lifts away cleanly. That is also why head-knife edges look almost round under raking light: there is no single bevel line to catch.
Two consequences fall out of this. First, the edge is delicate by knife standards — thinner behind the apex than a skiver, so it dents if you drop it or pry with it. Second, it is the one leather blade where stropping genuinely reshapes the edge over time, not just polishes it. The compound on a strop rounds a flat bevel into a convex one with enough repetitions, which on a head knife is exactly what you want. A straight cutter you would strop to maintain; a head knife you strop to build.
What Edge Angle Should a Head Knife Carry?
Shoot for a convex bevel that lands between 15 and 20 degrees per side, measured at the apex. That is shallow enough to part 3–6 oz veg-tan with no wedging, and steep enough that the apex survives contact with a self-healing mat or cutting board without rolling. Go below 15 degrees and the edge slices beautifully for an hour then folds on the first hidden scar in a bend; go above 22 and you are back to the buckling-wave problem.
That 15–20 degree band is not a leatherworker’s guess — it tracks the edge angles that survive real cutting load across knife classes. The metallurgist Larrin Thomas’s edge-geometry work at Knife Steel Nerds documents how apex stability collapses below roughly 15 degrees per side even on high-carbide steels, because there is simply not enough steel backing the edge to resist lateral load. A head knife sees plenty of lateral load: every time the belly rocks over a thicker section, the apex is pushed sideways. Staying inside the band is how you keep the edge from deforming between stroppings.
Measuring the angle freehand is the part that scares beginners, and it should not. You do not need a guided jig — most of them will not fit a curved belly anyway. Set the spine flat on the stone, then lift it until a coin of the right thickness slides under the spine near the edge. For a blade around 2 mm thick at the spine over a 6 mm bevel face, a US dime (1.35 mm) under the spine puts you near 15 degrees; a penny (1.52 mm) nudges you toward 18. Lock that wrist angle into muscle memory with a dozen slow strokes and put the coin away.
How Do You Sharpen a Head Knife on Water Stones?
The progression I use is three waterstones: a 1000-grit to repair or reset a dented apex, a 3000-grit to refine the scratch pattern, and a 6000-grit (or 8000) finishing stone to bring up the polish that makes the cut edge glossy. The head knife only sees the 1000 when something is wrong — a nick, a rolled edge, or a bevel I am deliberately re-shaping. Day to day, it lives between 3000 and the strop.
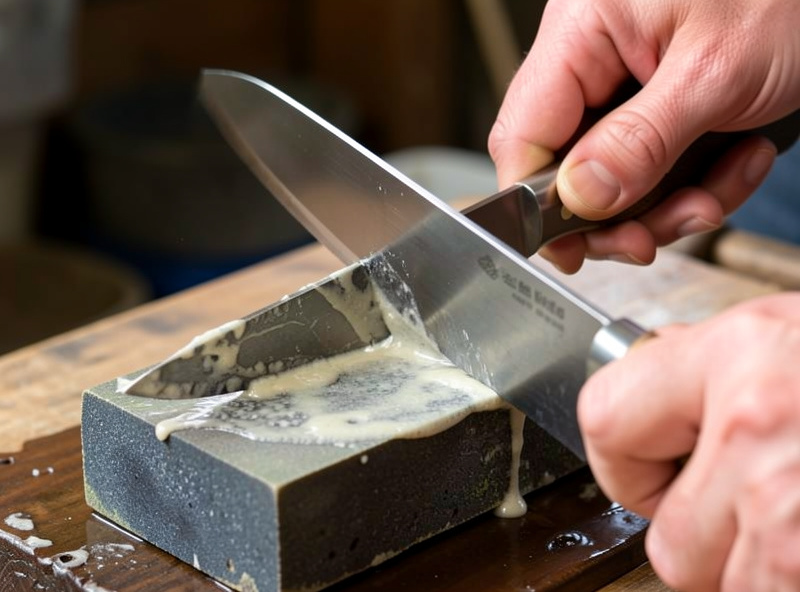
Soak the stones (for splash-and-go synthetic stones, just wet them; for resinoid or natural stones, follow the maker’s note). Hold the knife by the handle with the edge facing away from you, lay the belly on the far end of the stone, and sweep toward yourself in the same rocking motion you cut with — leading with the part of the belly closest to the handle and letting it roll toward the tip. The goal is one continuous arc that the whole edge passes through. Five to ten sweeps per side at 1000, until you can feel a consistent burr along the entire curve when you drag a thumb across the flat (never along the edge). Move to 3000, halve the pressure, and repeat. Finish on 6000 with almost no pressure — the weight of the blade alone.
The most common mistake here is lifting the handle to make the curve “fit” the stone. Keep the wrist locked; let the rocking motion carry the curve. If you find yourself grinding a flat into the belly, you are pressing too hard in one spot — lighten up and speed the stroke. I keep my stones in a non-slip holder on the bench beside the cutting mat so the regrind is a two-minute task, not an event. The stones themselves are a deeper topic; the skiving knife guide walks through the same progression for the angled skiver, where geometry is more forgiving.
Why the Strop Matters More Than the Stone on a Head Knife
A head knife should meet a strop before every cutting session and between every few panels — not because it is dull, but because the compound keeps the convex bevel honest. A dozen light passes on green compound realigns the apex, knocks off the microscopic burr from the last cut, and gently pushes the bevel into the continuous curve the rocking cut needs. Skip it for a week and the knife still cuts, but it starts dragging on 6 oz and the cut edge goes grey.
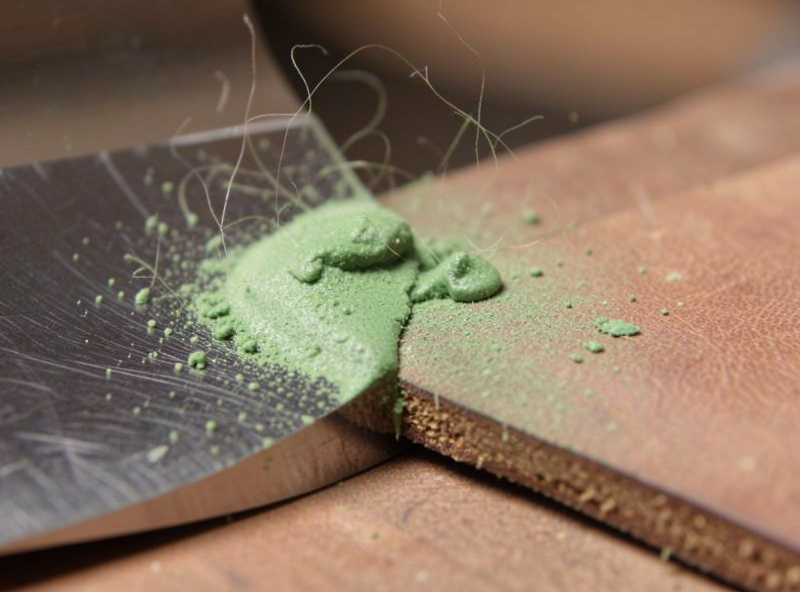
Green compound is chromium oxide (Cr₂O₃), and its particles sit around half a micron to one micron — fine enough to abrade and polish at the same time. The electron-microscopy edge research collected at Science of Sharp shows what that actually does at the apex: the leather substrate gives under pressure, so the abrasive works the very tip while the leather’s drag simultaneously dubs a faint convexity into the bevel behind it. That is the mechanism by which stropping builds a convex edge over time on a head knife — exactly the geometry the rocking cut wants, produced for free by the maintenance step you were doing anyway.
Direction matters and it is the one thing people get backwards. Strop edge-trailing only: the blade moves spine-first, away from the cutting direction, so the edge drags behind and the compound never digs into the apex. Lead with the edge and you will fold a burr to the far side, then shear it off on the return stroke, leaving a toothy edge that cuts aggressively for ten minutes then collapses. I run my strop as a board of veg-tan flesh-side up, charged with green compound, mounted so it cannot slide — the same leather-on-a-stick setup I use for the awl, detailed in the sharpening leather tools overview.
How Do You Test if a Head Knife Is Sharp Enough?
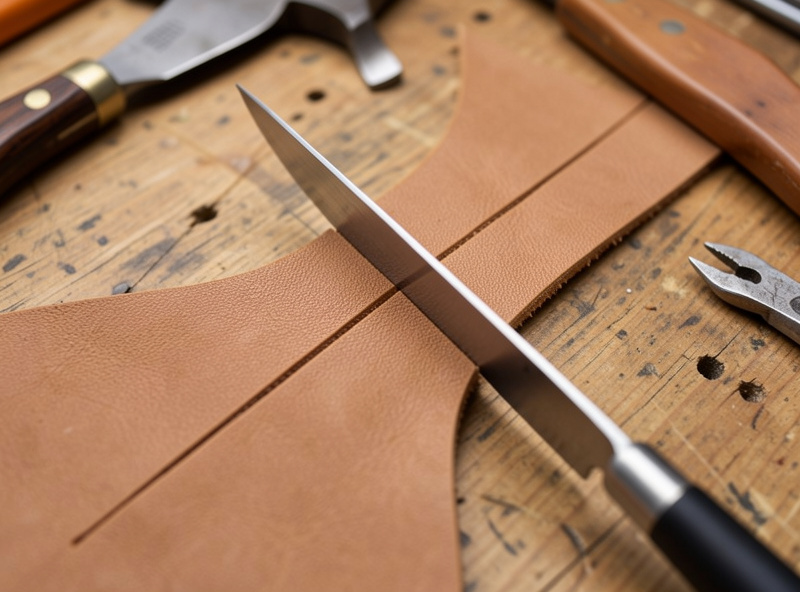
Forget the paper test. A head knife that slices printer paper cleanly will still wedge in 6 oz veg-tan, because paper measures slicing sharpness at almost no load, while leather measures it under real resistance and lateral stress. The test that matters is a push-cut through a scrap of the leather you are about to use, edge-square to the grain, with no rocking — if the blade drops through under light pressure and the cut edge comes up glossy and closed, it is ready.
I keep a strip of 5 oz Hermann Oak-class shoulder on the bench exactly for this. A few cuts before I start a panel tell me whether to reach for the strop or the stone. The grain-side cut edge is the tell: glossy and slightly darkened means the apex is clean and the fibers were sheared; grey and fuzzy means the apex is folding and the cut was more tear than slice. The smell changes too — a sharp head knife parts leather almost silently, where a dull one produces a faint fibrous rasp you can feel in the handle.
A secondary check is the thumbnail: draw the belly lightly across the flat of a (dry, clean) thumbnail at a shallow angle. A properly sharp edge bites and holds; a dull one skates. Do this at three points along the curve — near the heel, on the belly, near the tip — because a head knife can be sharp in the middle and dead at the ends if your rocking stroke was uneven. This is the same reason cutting leather straight depends on edge consistency more than steady hands: a knife that cuts differently along its length steers the line for you.
How Often Should You Strop vs. Regrind a Head Knife?
Strop before every session and any time the cut edge goes grey mid-job — for me that works out to roughly every 20 to 40 minutes of active cutting on veg-tan, less often on chrome-tan. Regrind on stones only when stropping no longer brings the edge back, which on a head knife used only on leather (never on the mat) means every two to four months of regular use, or immediately after any nick.
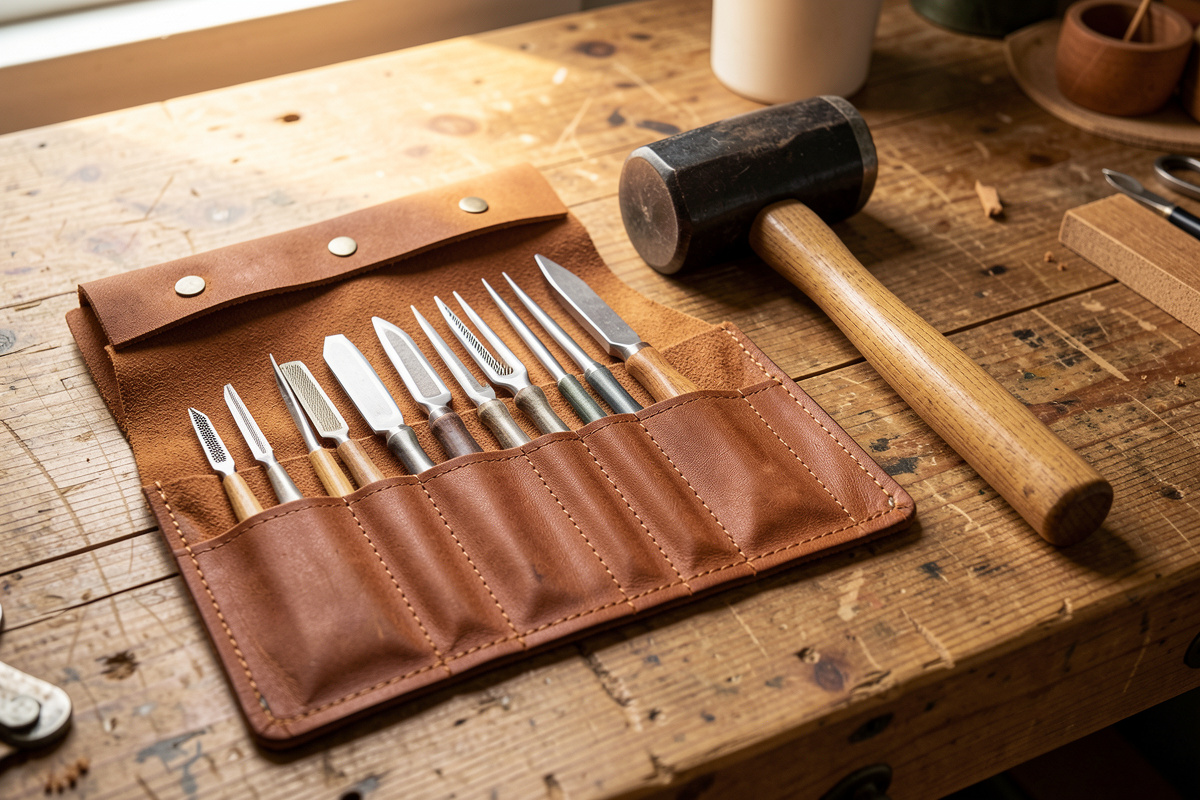
The trap is treating stropping as a substitute for regrinding. Compound cannot remove metal fast enough to fix a rolled apex or a light nick — it will round right over the damage and the knife will feel “sharp” on the thumbnail but drag in the leather. When a strop pass does not restore the glossy cut edge on your test scrap, the apex needs the stone, not more compound. The same logic applies across the bench: the carving and swivel-knife tools each have their own stropping cadence, but every one of them hits a stone when the strop stops working.
A reasonable maintenance rhythm, then, is a quick ten-pass strop at the start of every session, a re-strop whenever the cut edge dulls, and a full stone progression whenever stropping fails to bring the edge back within a session. Keep the knife off the mat (cut on a self-healing surface for layout only, and through-cut on a clean cutting board or the edge of the bench), dry it after any damp leather, and store it edge-up in a rack or sleeve. Do that and the convex edge stays honest for months between grinds.
What angle do you sharpen a head knife to?
Aim for a convex bevel landing between 15 and 20 degrees per side. Shallower than 15 wedges less but rolls easily; steeper than 22 buckles in heavier veg-tan. The convex curve matters more than the exact number.
Can you sharpen a head knife with a guided jig?
Most guided angle jigs do not fit the curved belly of a head knife, so freehand rocking strokes are standard. You set the angle once with a coin under the spine to train your wrist, then lock that motion into muscle memory.
Do you strop a head knife toward or away from the edge?
Always edge-trailing, spine-first, away from the cutting direction. Leading with the edge folds a burr to the far side and shears it off on the return, leaving a toothy edge that fails within minutes in leather.
How often should a head knife go on the stones?
Strop before every session and whenever the cut edge goes grey mid-job. Full stone progression only when stropping stops restoring the edge, usually every two to four months of regular use, or right after any nick.
Why does my head knife cut paper but drag in leather?
Paper tests slicing sharpness at almost no load, while leather tests it under real resistance and lateral stress. A knife can pass paper and still have a rolled apex that wedges. Test on a push-cut through the actual leather scrap instead.
Further Reading
- Maintaining Leather Tools: The Complete Care Guide
- How to Sharpen a Swivel Knife Blade for Smooth Tooling Cuts
- How to Sharpen and Strop a Diamond Awl So Stitches Seat Right
- How to Strop Leather Tools: Compound, Direction, and How Often
- Best Sharpening Stones and Strops for Leatherwork
As an Amazon Associate I earn from qualifying purchases.