A leather tool is only as good as its last sharpening. Keep your edges honed to a polished bevel, your awls stropped, and your steel dry, and a…
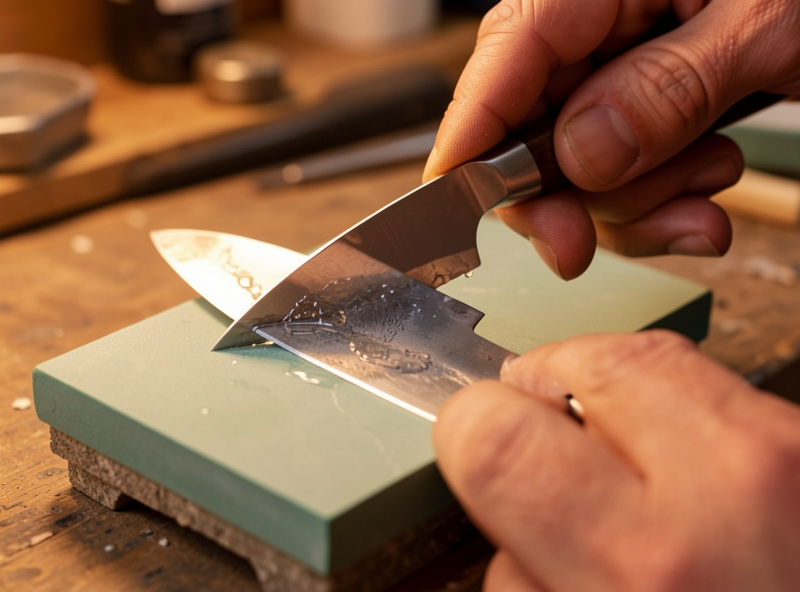
A leather tool is only as good as its last sharpening. Keep your edges honed to a polished bevel, your awls stropped, and your steel dry, and a $40 head knife will out-cut a $300 one that’s been left dull in a drawer. Neglect that maintenance and the reverse is just as true. On my bench in Sweden I spend maybe twenty minutes a week on tool care, and it has saved me more ruined leather than any single skill I’ve learned in the craft.
That’s the uncomfortable truth most beginners find out the expensive way: the tool didn’t fail, the maintenance did. A dull head knife tears veg-tan instead of slicing it. A swivel knife that won’t hold an edge chatters and wanders in the cut. A diamond awl that’s gone rounded punches ragged holes and your saddle stitch never seats clean. I’ve made every one of those mistakes on real pieces — a half-finished belt with a torn edge still hangs on my wall as a reminder. This guide is the maintenance system I run now, and every tool-specific deep-dive in the cluster hangs off it.
Why Do Leather Tools Need So Much Maintenance?
Leather tools cut a surprisingly abrasive material, and every stroke dulls the edge a little. Veg-tan in particular carries fine mineral residue from the tanning bath, and dyed leather adds pigment and resin that gum a blade. A working edge on hardened tool steel — typically 58–62 HRC on the Rockwell hardness scale — loses its keenness within an hour of real cutting, long before it looks dull to the eye.
The problem compounds because leatherwork rewards sharpness more than almost any craft. A woodworker with a slightly dull chisel still gets a passable cut; leather doesn’t forgive. When I skive a wallet interior down to 1 oz, the difference between a razor edge and a merely “sharp” one is the difference between a clean feather and a dragged, stretched mess. The material telegraphs every flaw in the tool.
There are three separate jobs hiding under the word “maintenance,” and beginners collapse them into one. Sharpening reshapes a damaged or dull edge by removing metal on a stone. Stropping refines and polishes that edge and realigns the microscopic burr between sharpenings — it removes almost no metal. Corrosion control keeps the steel from rusting and pitting when the tool sits idle. Do all three on a schedule and you rarely need to do any of them the hard way. Skip them and you end up regrinding a rust-pitted bevel from scratch, which is an afternoon’s work I try never to repeat.
What’s the Difference Between Sharpening and Stropping?
Sharpening removes steel to create a new edge; stropping polishes the edge you already have. On my bench I sharpen a head knife maybe once a month and strop it every single session — a ratio of roughly 20:1. That ratio is the single most useful thing a new maker can internalize, because most “dull” tools aren’t dull, they’re just un-stropped, and thirty seconds on leather charged with compound brings them back.
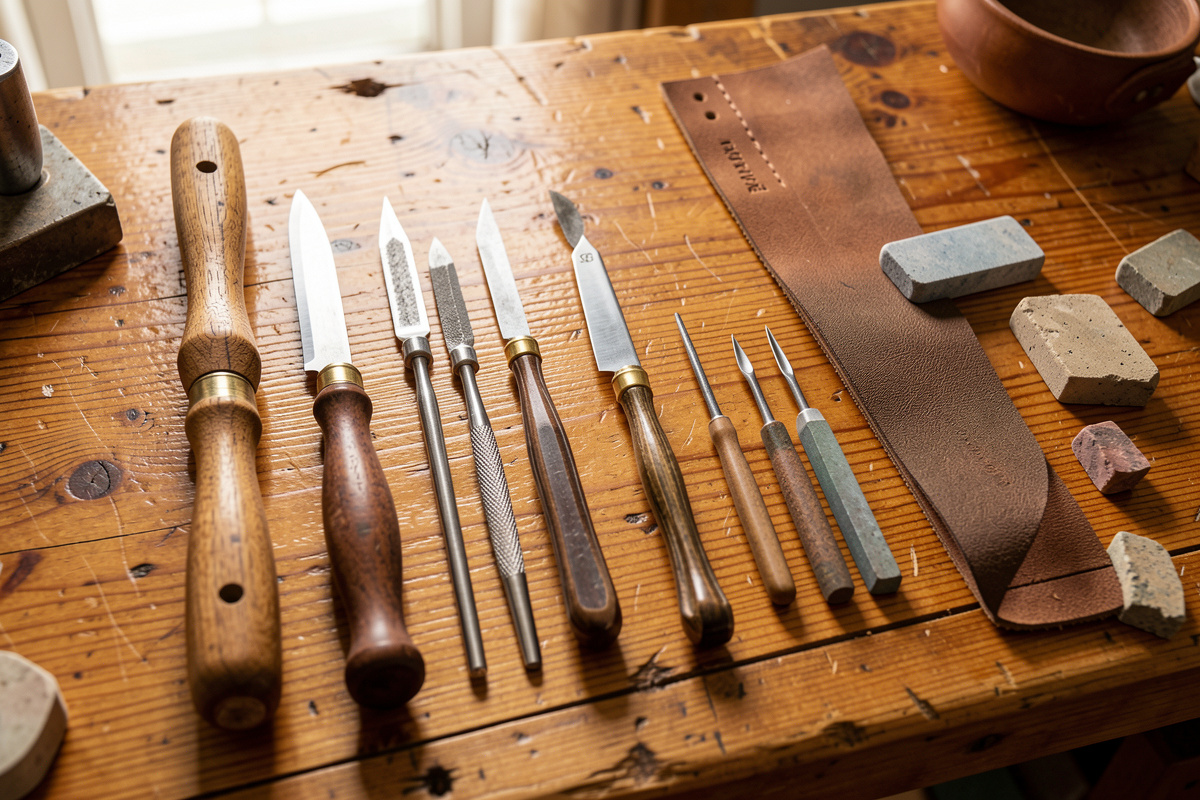
Stones are graded by grit, from coarse (200–400) for shaping, through medium (800–1000) for setting a bevel, to fine (3000–8000) for polishing. A leather strop loaded with honing compound acts like a 10,000+ grit finishing step, and it flexes to hug a convex edge in a way a hard stone can’t. I keep a full progression on the bench, and I explain how I built it in my guide to the best sharpening stones and strops for leatherwork. If you only buy two things, buy a 1000-grit stone and a charged strop.
The direction matters and trips everyone up. On a stone you can push or pull. On a strop you always pull the edge trailing — drag the spine-first, edge-following, or you’ll slice the leather and roll the very edge you’re trying to refine. I cut a strop clean through the first month I did leatherwork by stropping the wrong way, distracted, and watched a $12 blade take a chunk out of a $30 strop. The full technique — compound choice, direction, and how often for each tool — lives in my dedicated guide to stropping leather tools.
How Do I Maintain Each Leather Tool?
Every leather tool has its own maintenance personality, and treating them identically is how people ruin good steel. A head knife wants a convex edge preserved; a pricking iron wants its teeth polished but its geometry left completely alone. Below is the map of the whole cluster — each tool gets its own deep-dive, and this table is the thirty-second version I wish someone had handed me when I started.
Leather Tool Maintenance at a Glance
| Tool | Edge Type | Sharpen How Often | Strop How Often | Key Maintenance Risk |
|---|---|---|---|---|
| Head knife | Convex bevel | Monthly / when it drags | Every session | Flattening the convex on a hard guide |
| Swivel knife | Flat bevel, square faces | When cuts chatter | Every 20–30 min of tooling | Rounding the faces off-angle |
| Diamond awl | Four polished facets | Rarely (yearly) | Before each stitching session | Losing the diamond cross-section |
| Pricking irons | Marking teeth (not a cutting edge) | Never grind | Polish teeth only | Filing the teeth and destroying pitch |
| Round/head punches | Hollow-ground ring | Every 50–100 punches | Interior cone only | Dulling on a hard cutting surface |
| Edge bevelers | Curved gouge channel | Rarely, with slips | Threaded strop / dowel | Impossible to reshape freehand |
Two of those rows carry a warning worth repeating: pricking irons are not knives and should never touch a sharpening stone (I explain why below), and edge bevelers have an internal geometry you cannot rescue freehand once it’s gone. Everything else on the bench is recoverable if you catch it early.
The Head Knife — The Convex Edge
The head knife is the tool that separates leatherworkers from people who own leather tools. That half-moon blade cuts, skives, and pares, and it lives or dies on a convex edge — a subtly rounded bevel, not a flat one. Flatten it against a rigid honing guide and you get a fragile wire edge that folds on the first pass through 8 oz veg-tan. I sharpen mine on a soft, slightly yielding surface precisely so the bevel stays convex.
The full sequence — reading the existing grind, honing the convex without a guide, and finishing on a strop until it push-cuts paper — is in my complete guide to sharpening a head knife. If your head knife is dragging through leather instead of slicing, that’s the article to start with; a dragging head knife is a safety hazard as much as a quality one, because the moment you add force to a dull blade is the moment it skips off the leather and into your hand.
The Swivel Knife — Square Faces, Smooth Cuts
A swivel knife rides in your fingers and pivots as you steer it through a tooling pattern, and it demands the sharpest, most polished edge of any blade on the bench. Its geometry is the opposite of the head knife: two flat faces meeting at a crisp, square-shouldered edge. Round those faces off and the blade skips and chatters instead of gliding, and your carved lines look scratchy rather than swept.
Because the faces are flat, a swivel knife is actually the easiest blade to sharpen well — you lay the face flat on a fine stone or a strop and keep the angle dead consistent. I dial mine in on a jeweler’s rouge strop and test it in a scrap of cased veg-tan; a properly sharp swivel knife whispers through the leather. My swivel knife sharpening guide walks through the flat-face method, the ceramic-versus-strop question, and how to fix a blade that’s been rounded.
The Diamond Awl — Where Stitches Live or Die
If your saddle stitch looks uneven no matter how carefully you sew, the culprit is almost always the awl, not your hands. A diamond awl has four polished facets that punch a clean, angled slit the thread seats into. Let those facets go dull or rounded and the blade tears rather than pierces, the hole closes up, and the stitch never sits at the clean 45-degree angle that makes a hand-stitched line beautiful.
An awl rarely needs true sharpening — maybe once a year — but it needs stropping before nearly every session to keep those facets mirror-bright. I keep mine stropped razor-sharp and can feel the difference in the exact moment the point breaks the grain: a sharp awl pops through with almost no pressure, a dull one requires a shove that skews the hole. The whole method — reshaping the diamond cross-section, polishing each facet, and stropping so stitches seat right — is in my guide to sharpening and stropping a diamond awl.
Pricking Irons — Care, Not Sharpening
Here’s the maintenance rule that saves the most expensive tools on the bench: never sharpen a pricking iron. Fine European-pitch irons are marking tools that lay out your stitch spacing — with the awl doing the actual piercing — and their teeth are precision-cut to a specific pitch. Touch them with a file or stone and you destroy the geometry you paid for. A good set of irons can cost more than every other tool in this guide combined, and people wreck them in an afternoon trying to “sharpen” them.
What irons do need is cleaning, gentle polishing of the teeth to keep them sliding through leather cleanly, and dry storage so the fine teeth don’t rust. I clean pitch and dye residue out of mine with a brass brush and keep them oiled and boxed. My pricking iron care guide covers the cleaning, the tooth polishing that’s safe, and the storage that keeps a fine set alive for decades.
How Often Should I Sharpen Leather Tools?
The honest answer is “when the tool tells you,” but that’s useless to a beginner who can’t yet read the signs. So here are the concrete triggers I use. A head knife or swivel knife that drags, tears, or requires more pressure than last week needs attention — usually a strop, occasionally a stone. An awl that punches ragged holes or needs a hard shove to enter the leather needs stropping. If stropping doesn’t restore it within a dozen passes, then and only then does it go to a stone.
On a time basis, I strop cutting tools every session and sharpen on stones roughly monthly with regular use, though a single project cutting oil-tanned or heavily dyed leather can dull a blade twice as fast. The compound and resin in finished leather are abrasive and sticky in a way raw veg-tan isn’t. The real skill isn’t a calendar — it’s learning to feel the edge degrade so you strop before the tool starts tearing your work, not after. A stitch is only as clean as the awl that made it.
One counter-intuitive point: over-sharpening is a real way to kill tools. Every trip to the stone removes metal, and a lifetime of unnecessary grinding wears a beloved head knife down to a stub. Stropping is nearly free in steel terms — that’s the whole reason the 20:1 ratio exists. When in doubt, strop first and reach for the stone only when the strop stops working.
How Do I Stop My Leather Tools From Rusting?
Rust is the quiet killer, especially in a workshop that swings through humidity or sits near any water-using process. Carbon tool steel — which most quality leather blades are — will flash a light surface rust overnight in the wrong conditions, and a pitted blade never takes a clean edge again. I learned this the hard way with a diamond awl I left on a damp bench over a Swedish winter and found freckled with orange the next spring.
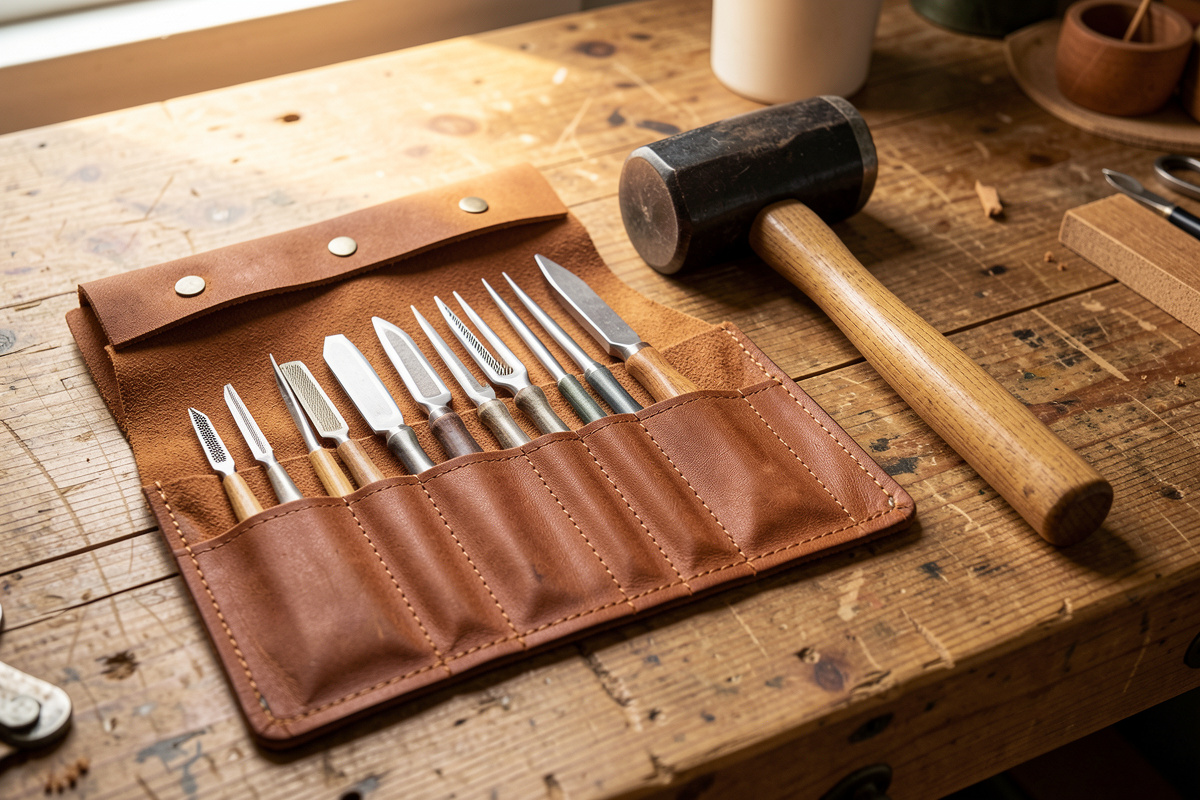
Prevention is almost entirely about two things: keeping the steel dry and keeping a thin barrier film on it. I wipe every tool down after use, keep a lightly oiled cloth in my tool roll, and store blades where air circulates rather than sealed in a humid box. For tools I won’t touch for a while, a wipe of camellia oil or even a light mineral oil is cheap insurance. When rust does appear, catching it early means it lifts off with brass wool and oil rather than requiring a full regrind. The complete prevention-and-removal method — including the naval-jelly-versus-abrasive question for deeper rust — is in my guide to preventing and removing rust on leather tools.
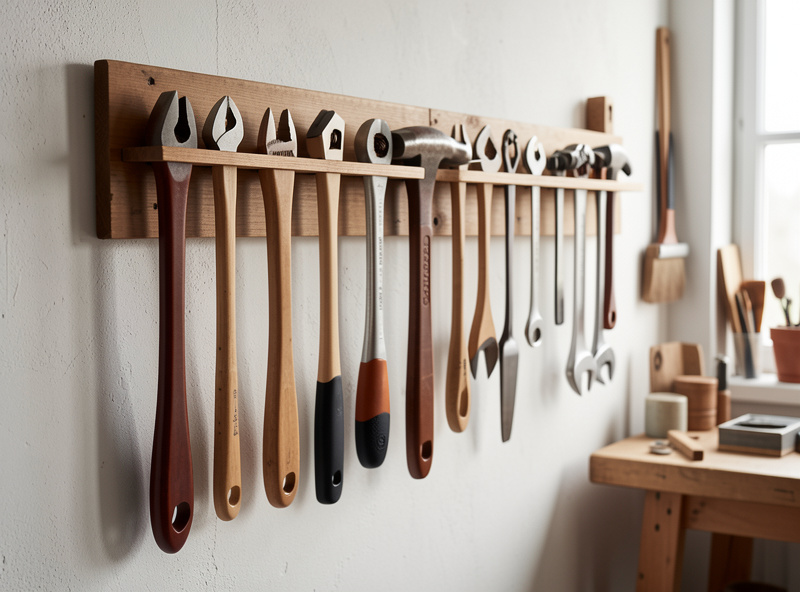
Storage is the other half of corrosion control, and it’s where the workshop crossover pays off. I laser-cut and print my own tool holders so blades sit edge-protected and air-exposed rather than rattling in a drawer. The same FDM printer that prints my leather edge slickers prints custom tool trays — same tool, different bench — and a slotted holder keeps a keen edge from banging against its neighbors, which dulls blades faster than any amount of cutting.
What Sharpening Gear Do I Actually Need?
You can spend a fortune on stones, and you don’t need to. My core kit, refined over years, is deliberately small: one combination waterstone around 1000/6000 grit, one coarse stone for real damage, a couple of leather strops charged with different compounds, and a bottle of oil. That handles every tool in this guide. Diamond plates, ceramic rods, and specialty slips are nice additions once you know what you’re missing, but they’re not the starting point.
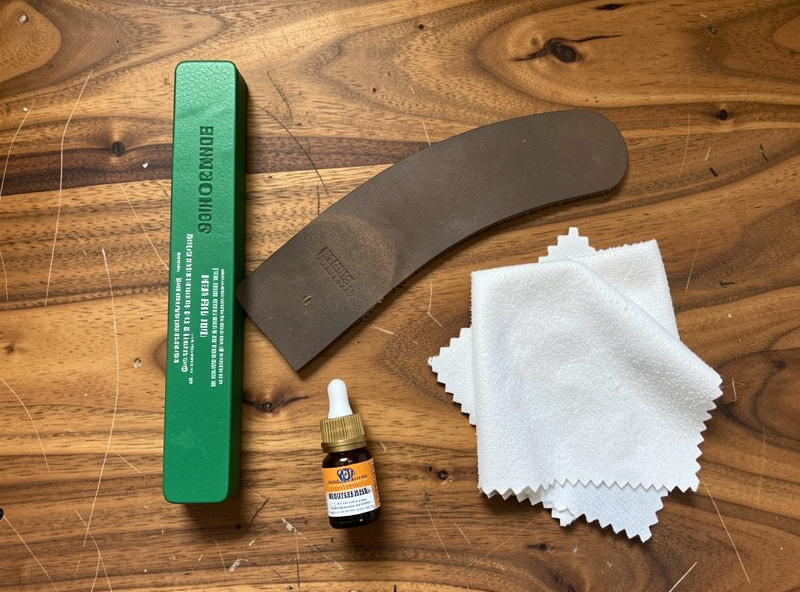
The compound on the strop matters more than beginners expect. Green chromium-oxide compound (roughly 0.5 micron) is my default finishing polish — it’s what puts the mirror on an awl facet. A coarser white or grey compound cuts faster for restoring a neglected edge before the green refines it. Norton’s abrasives grit references are a useful sanity check when you’re matching a stone grit to a job. I keep the whole comparison — which stone, which strop, which compound for which tool — in my best sharpening stones and strops guide.
If you want to assemble a starter kit, a basic leather tool sharpening strop and compound kit covers the stropping side cheaply, and you can add a waterstone as your budget allows. Don’t buy the most expensive stone you can find on day one — buy a mid-range 1000/6000 combination stone and spend the difference learning to use it.
As an Amazon Associate I earn from qualifying purchases.
My Weekly Tool-Care Routine
Systems beat willpower, so here’s the actual routine I run rather than a list of ideals. At the end of every session, before I put anything away, I wipe each blade I used with the oily cloth and give the cutting tools a dozen strops on the charged paddle. That’s it — maybe five minutes — and it’s what keeps the monthly sharpening from ever becoming a rescue operation.
Once a week I do a slightly longer pass: inspect every edge under a bright raking light for nicks or dull spots, strop anything that’s been worked hard, and check the whole tool roll for any hint of surface rust. Once a month, or whenever a tool has clearly degraded past what stropping fixes, that specific tool goes to the stones for a proper sharpening. Leatherwork is the patience-discipline hobby — slower than welding, and this maintenance rhythm is part of the same discipline. The tools that get five minutes of care after every session are the ones still cutting beautifully years later.
The mistake I see most — and made myself for my first year — is treating maintenance as something you do when a tool fails. By then you’re regrinding damage instead of preventing it. Flip it around: maintain on a schedule and your tools essentially never fail. Start with the head knife and the awl, since those two do the most work and reward care the most, then build the habit out to the whole bench.
Where to Go From Here
This hub is the map; the deep-dives are the territory. If a specific tool is giving you trouble right now, jump straight to its guide. If you’re building a maintenance habit from scratch, start with stropping — it’s the highest-leverage skill and the one you’ll use every session. Everything here stays consistent with the same bench, the same stones, and the same strops I’ve dialed in over years, so the techniques compound rather than contradict.
Explore Every Guide in This Cluster
- How to Sharpen a Head Knife: The Convex Edge That Slices Clean
- How to Sharpen a Swivel Knife Blade for Smooth Tooling Cuts
- How to Sharpen and Strop a Diamond Awl So Stitches Seat Right
- How to Care for Pricking Irons: Cleaning, Polishing Teeth, and Storage
- How to Strop Leather Tools: Compound, Direction, and How Often
- How to Prevent and Remove Rust on Leather Tools
- Best Sharpening Stones and Strops for Leatherwork
How often should I sharpen my leather tools?
Strop cutting tools like head knives and swivel knives every session, and sharpen on stones roughly once a month with regular use. Awls need stropping before nearly every stitching session but true sharpening only about once a year. The real trigger is feel: strop the moment a tool starts to drag, before it tears your work.
What is the difference between sharpening and stropping?
Sharpening removes metal on a stone to reshape a dull or damaged edge. Stropping polishes the existing edge and realigns the microscopic burr using a leather strop charged with compound, removing almost no metal. You strop far more often than you sharpen, often at a ratio of about 20 to 1.
Should I ever sharpen a pricking iron?
No. Pricking irons are marking tools that lay out stitch spacing, not cutting tools. Their teeth are precision-cut to a specific pitch, and filing or grinding them destroys the geometry you paid for. Irons only need cleaning, gentle tooth polishing, and dry storage.
How do I keep my leather tools from rusting?
Wipe each blade dry after use, keep a lightly oiled cloth in your tool roll, and store tools where air circulates rather than sealed in a humid box. A wipe of camellia or light mineral oil forms a barrier film. Caught early, surface rust lifts off with brass wool and oil instead of requiring a full regrind.
What sharpening gear does a beginner actually need?
Start small: one combination waterstone around 1000 and 6000 grit, one coarse stone for real damage, a couple of leather strops charged with green and grey compound, and a bottle of oil. That kit maintains every tool in this cluster. Add diamond plates and ceramic rods later once you know what you are missing.