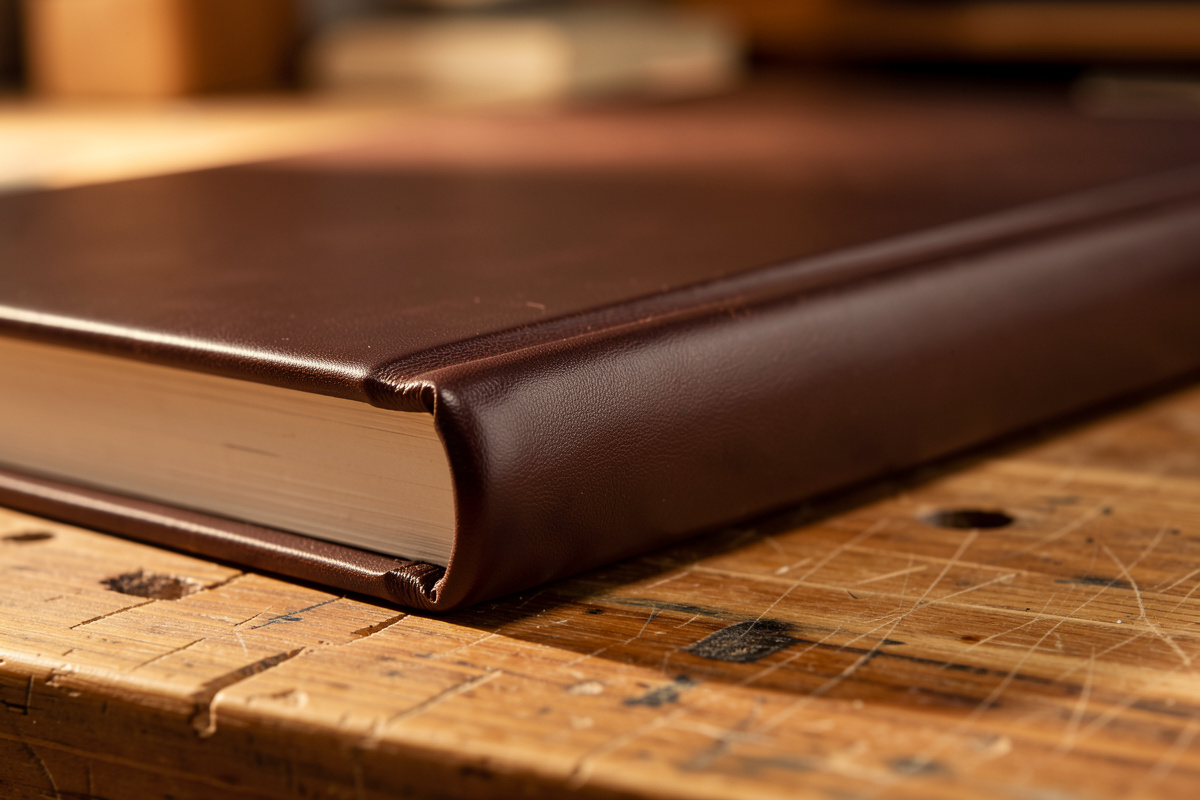
The spine is where a handmade leather book gets judged. Finish it the way you finish an edge — bevel, sand, slick, wax — and a flat strip…
The spine is where a handmade leather book gets judged. Finish it the way you finish an edge — bevel, sand, slick, wax — and a flat strip of leather reads as a turned, intentional spine. Skip a step and it reads as cut. On the books I’ve made, the spine takes about a third of my finishing time.
This guide carries the same thesis I push on every edge: the finish is the quality signal. A reader’s eye lands on the spine before the cover, and the headcaps, turn-ins, and slicked spine edge are the first things that say “made” rather than “bought.” Below is the full system — construction choice, stiffening and lining, the bevel/sand/slick/wax sequence applied to a spine, headcaps and turn-ins, raised bands, and the edge work where the spine meets the boards.
Spine construction: tight back vs hollow back vs flat back
Pick the spine construction before you cut anything. A tight back glues leather directly to the gathered sections and flexes with the text block; a hollow back floats a paper tube between spine and book so the leather stays smooth; a flat/exposed back leaves the spine open. Each changes how the leather must be finished.
For a leather journal I want to open flat and abuse, I lean hollow back — the spine leather never creases because it isn’t bonded to the moving sections. For a stiffer presentation piece I’ll go tight back, which telegraphs every band but flexes hard at the joint. The construction you choose dictates the weight of leather and the stiffening underneath it.
There’s a finishing consequence buried in that choice that beginners miss. A hollow back gives you a flat, stable surface to slick — the leather sits over a paper tube, so the spine face is uniform and the edges run straight, which is the easiest thing to burnish cleanly. A tight back, by contrast, moves every time the book opens, so any wax skin you build has to flex with it or it’ll craze at the joint. I finish tight backs slightly softer for that reason — more neatsfoot in the conditioning, a thinner carnauba layer — so the surface bends instead of cracking. The point is that you can’t decide how to finish the spine until you’ve decided how the spine is built.
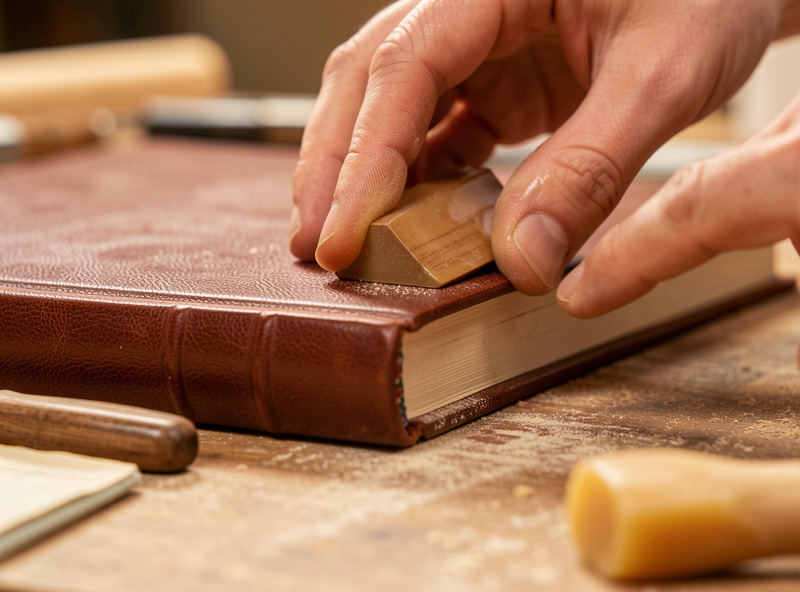
| Construction | Flex / opening | Durability | Finishing difficulty |
|---|---|---|---|
| Tight back | Stiff; creases at joint, shows bands | High — leather backs the sections | Hard — every band and bump shows in the finish |
| Hollow back | Opens flat, smooth spine, no creasing | Medium-high — tube can fatigue over decades | Easiest — flat surface slicks cleanly |
| Flat / exposed back | Very flexible, lays open | Lower — spine unprotected, stitching exposed | Edge-finish only — no spine face to slick |
Choosing weight and stiffening the spine
A spine that flops looks unmade no matter how clean the edges are. I use 5-6oz veg-tan for the spine and boards on a small book, dropping to 3-4oz only for a soft, limp-bound journal. Veg-tan slicks; chrome-tan does not, so it stays off any spine I plan to burnish.
Stiffening is a spine liner glued to the flesh side: a strip of thinner veg-tan, binder’s board, or a layer of mull (a starched gauze) for cloth-and-leather hybrids. The liner controls how the spine curves and gives the headcaps something to fold over. On a hollow back, the paper tube does double duty as liner and smoother. Whatever I line with, I case the leather lightly first — a damp sponge wipe on the flesh side — so it molds to the spine round without cracking the grain.
Weight is the most common mistake I see in spines. People reach for the same 8-10oz they’d cut a belt or sheath from because it feels substantial, and then the spine won’t round and the headcaps turn into lumps. The spine is small goods, not a strap. For a 5-6oz exterior I’ll often back it with a 3-4oz liner rather than going up in single-piece thickness, because two thinner layers laminated flex and round far better than one thick slab. If you want the spine to read heavier, build the visual weight with raised bands, not raw ounces. The leather has to do two jobs at once on a spine — hold a shape and bend at the joint — and only a moderate weight, properly cased, does both.
The bevel, sand, slick, wax sequence — applied to a spine
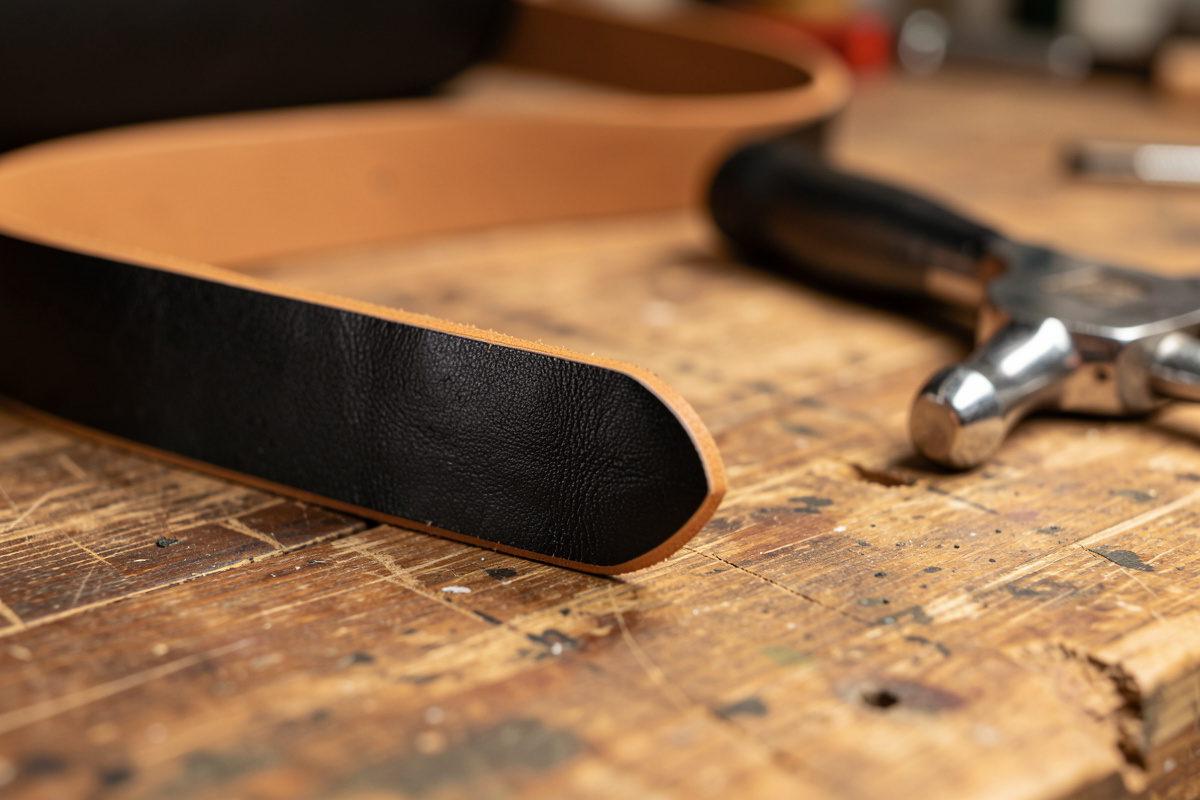
The spine has edges like any other piece, and they get the identical four-step treatment: bevel the corner, sand the bevel smooth, slick it round, wax it hard. The difference is the spine edge is long, curved, and meets the board, so you work it in sections and blend.
I bevel both spine edges with a #2 beveler — a #1 if the leather’s thin — taking the hard 90-degree corner off grain and flesh side. Then I sand: coarse to knock the bevel flat, stepping up the grits until the edge stops showing scratch lines. Slicking is where the spine comes alive. I keep a slicker I printed in PETG specifically for spine-radius edges; the groove matches the curve so I’m not fighting a straight hardwood slicker around the round. A wipe of Tokonole, then friction until the fibers lay down and the edge goes glassy. Gum tragacanth works if you want a slightly firmer, more matte burnish — I keep both on the bench. Finally carnauba creme buffed in for a hard, water-shedding skin. Skip the sanding and the slick rides over scratches; skip the slick and the wax just sits on furry fibers. Every step earns its place.
For tools, a starter set runs short. Tokonole burnishing gum, a decent leather edge slicker, and gum tragacanth cover the slicking. As an Amazon Associate I earn from qualifying purchases.
Headcaps at head and tail
The headcap is the little turned cap of leather at the top (head) and bottom (tail) of the spine. It’s the single hardest spine detail and the one that most clearly separates a made book from a kit. A clean headcap is shaped, not just folded.
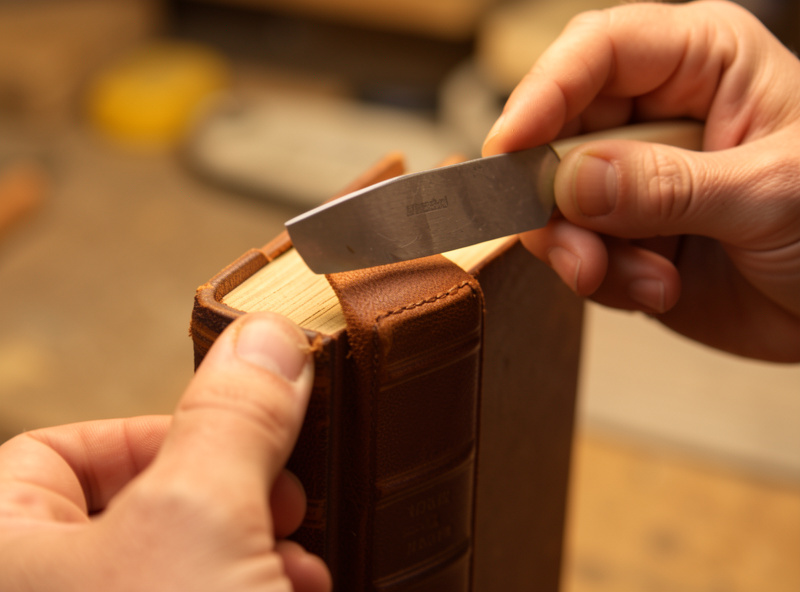
I pare the leather thin where it will turn over the head — too thick and the cap is a lump, too thin and it tears. After the turn-in is glued down inside, I dampen the spine leather at the head, fold it over the top of the spine and any liner, and set the shape with a bone folder, nipping in the corners so the cap reads as a small rounded roll. Traditional binders build the headcap over a worked endband and shape it far more elaborately than this; what I do is the honest functional version — a turned, sealed cap that protects the head and looks finished. Once dry I bevel, sand, and slick the exposed headcap edge exactly like any other edge, because that tiny visible edge is what the eye catches.
Turn-ins where leather meets board
Turn-ins are the leather margins folded from the outside cover to the inside of the boards. Where the spine leather meets the board edge, the turn-in has to be pared, mitred at the corners, and slicked, or the inside of the book gives away rushed work the moment it’s opened.
I pare the turn-in margin down so it doesn’t ridge under the pastedown, glue it over the board edge, and press the corner mitres tight with a bone folder so two folded edges meet in a clean diagonal with no overlap and no gap. The board edge itself — the foredge and the joint where spine meets board — gets the bevel/sand/slick treatment before the pastedown goes in. A turned board edge that flows into a slicked spine is the detail that makes the whole cover read as one made object instead of panels glued together.
Raised bands and the spine surface
Raised bands are the ridges across the spine, originally the cords the sections were sewn onto, now often decorative. They change finishing because the leather has to mold over each band and the slicking has to follow the contour without flattening the ridge.
On a tight back, real bands are the sewing supports showing through; on a hollow back I’ll glue false bands (strips of board or leather cord) under the spine leather. Either way I case the leather, lay it over the bands, and work it down on both sides of each ridge with a bone folder and a band nipper so the band stands crisp. Slicking happens in the flat panels between bands — I keep the slicker off the ridge tops so they don’t go shiny and flat. Traditional fine binders tool gold onto these bands and into the panels; that’s a documented house technique well beyond hand journal work, and I leave it to binders who do it daily rather than claim it.
The finishing trap with bands is uneven sheen. The ridge tops catch more friction when you slick the panels, so they end up glossier than the flat areas and the whole spine looks blotchy. I solve it by masking the bands mentally — slicking only the panels, then going back over the band tops by hand with a wax-charged cloth at much lower pressure so they pick up just enough finish to match without flattening. A spine with crisp bands and even sheen across panels and ridges is genuinely hard, which is exactly why it reads as made. If you’re not ready for that, a smooth hollow back with clean headcaps looks more intentional than a banded spine done badly.
You’ll also want the spine leather to wrap a hair onto the boards on each side rather than stopping exactly at the joint. That overlap, pared thin, is what hides the transition between spine and board. I run a French edger to bevel the underside of that overlap so it feathers down to nothing under the board leather — no ridge to telegraph through the cover. It’s the same logic as a French edger taking the bulk out of a turn-in: thin where things overlap, so the surface stays flat.
Common spine-finishing pitfalls
Most spine failures trace back to skipping a step in the edge sequence or rushing the wet work. These are the four I see most and how I fix them on my own bench.
Slicking over scratches. If the spine edge looks glassy but you can see fine lines under the shine, you slicked before sanding finished the job. There’s no rescue but to strip the burnish back with a light sand and re-run the grit ladder before slicking again. The slick locks scratches in, it doesn’t remove them.
Cracked grain at the spine round. Folding dry leather over the spine or headcap cracks the grain. Case the leather first — a flesh-side damp wipe and a few minutes’ rest — so it bends instead of breaks. Veg-tan molds when cased; if it’s cracking even cased, the weight is too heavy for that radius.
Lumpy headcaps. A headcap that bulges means the turn-in leather wasn’t pared thin enough before folding. Pare the head margin down before you turn it; the cap should be a thin, shaped roll, not a wad of full-thickness leather.
Chrome-tan that won’t burnish. If the spine edge stays furry no matter how hard you slick, you’re probably on chrome-tan. It doesn’t slick like veg-tan. Switch the spine and small goods to veg-tan, or accept a folded-and-painted edge finish instead of a burnished one — but it won’t read the same.
Bringing the spine finish together
Treat the spine as a sequence of edges and surfaces, each finished deliberately, and the whole book reads as made. Construction sets the weight and stiffening; the bevel/sand/slick/wax sequence turns every visible edge; headcaps and turn-ins seal the ends; the board joint ties it all into one object. None of it is fast, and that’s the point — the time shows.
If you’re new to this, start with the foundations in my leather bookbinding guide, then work up through a leather journal build and a saddle-stitched journal before tackling a structural spine like Coptic stitching or a full handmade leather cover. The edge work underneath all of it is the same skill I cover in my edge finishing guide, from beveling and sanding through the grits to burnishing with Tokonole — and if you’re choosing between burnishing gums, my Tokonole vs gum tragacanth comparison settles it. Get those edges turning and the spine follows.