The fastest way to start leather tooling is to skip the flower. Begin with a simple bordered geometric piece on a scrap of 5–6 oz vegetable-tanned leather, using…
The fastest way to start leather tooling is to skip the flower. Begin with a simple bordered geometric piece on a scrap of 5–6 oz vegetable-tanned leather, using just a swivel knife, one beveler, and a camouflage stamp. You can produce something that looks deliberately made in your first afternoon — if you case the leather correctly first.
I learned tooling after years of hand-stitching wallets and sheaths, and the lesson I wish someone had handed me on day one is that tooling is mostly patience and moisture control, not artistic talent. Your hands will get the muscle memory; what trips up every beginner is wet-or-dry leather and dull blades. This guide builds your first real tooled piece from scratch, in the order that actually works, and points you to the deeper guides in the main tooling guide when you’re ready for more.
Why You Start With Veg-Tan and Nothing Else
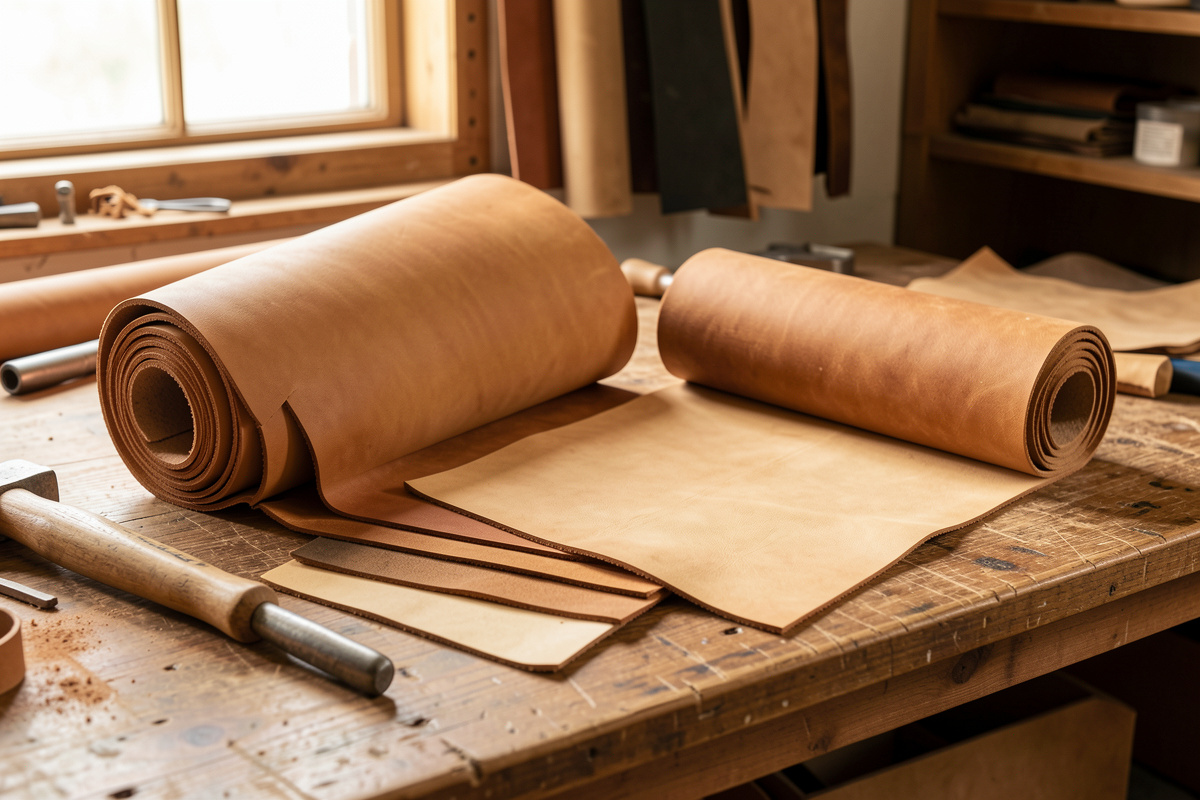
Tooling only works on vegetable-tanned leather, full stop. Veg-tan is tanned with tree-bark tannins that let the fibers absorb water, compress under a tool, and hold that impression permanently. Chrome-tanned leather stays soft and springy and will not hold a stamp at all — tooling it is wasted effort.
For your first pieces, buy a small natural undyed veg-tan in 5–6 oz weight. It’s firm enough to hold a crisp impression and thin enough to cut cleanly. Don’t start on a wallet panel of leather you paid real money for; start on scrap, because your first cuts will wander and that’s normal. The difference between the two tannages is the single most important fact in this whole craft, and I cover it fully in chrome tan vs veg tan. For choosing the right tooling weight and temper specifically, the tooling leather selection guide goes deeper.
The Five Tools That Get You Started
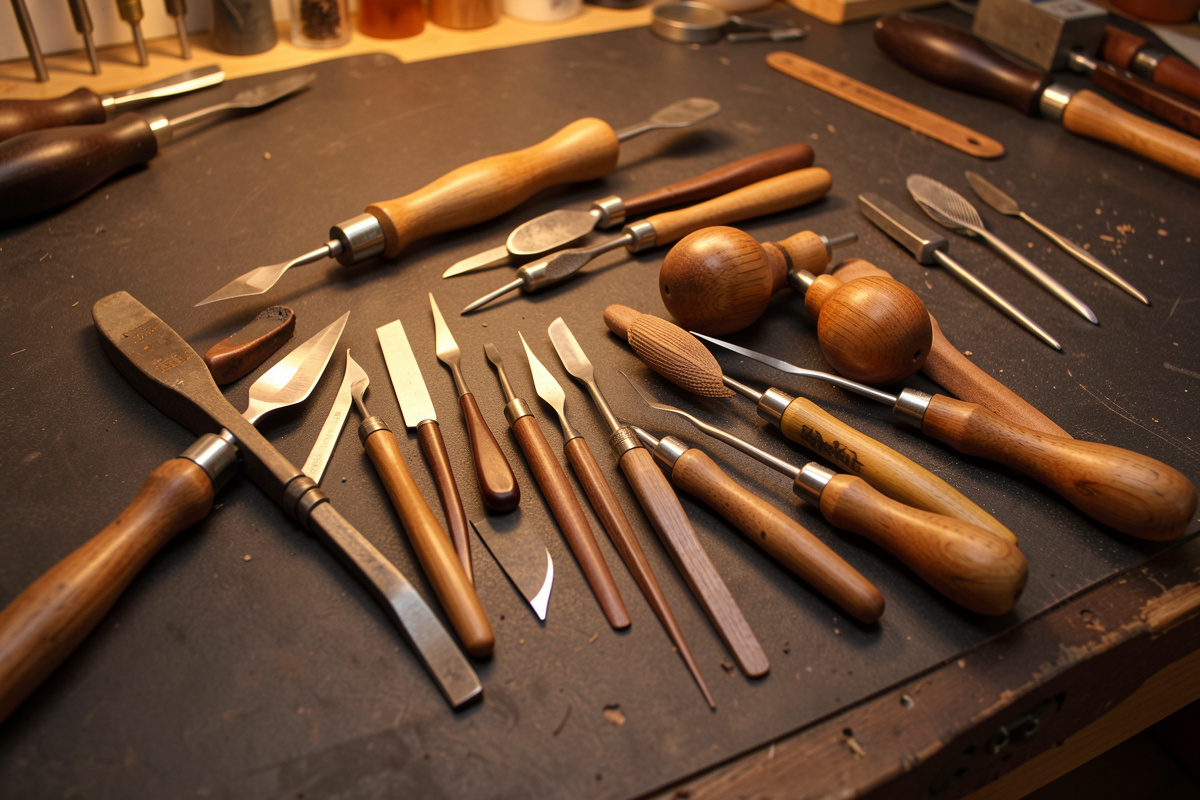
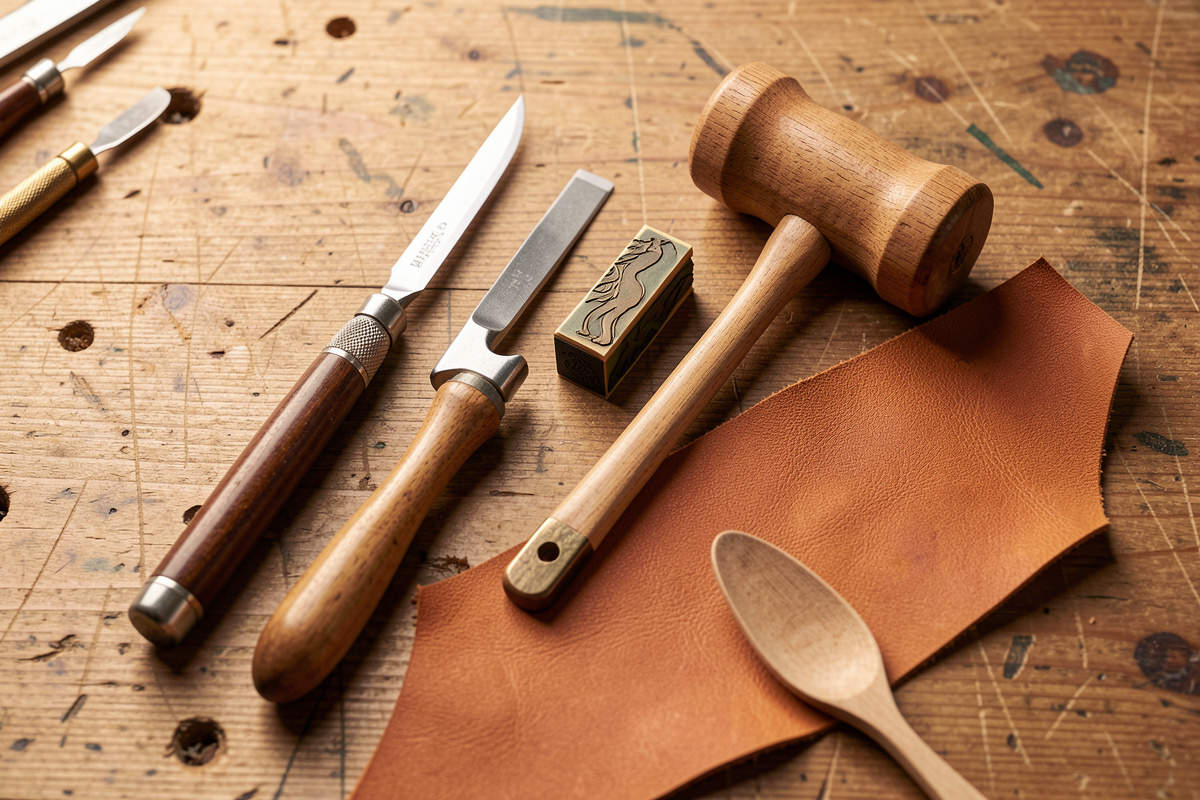
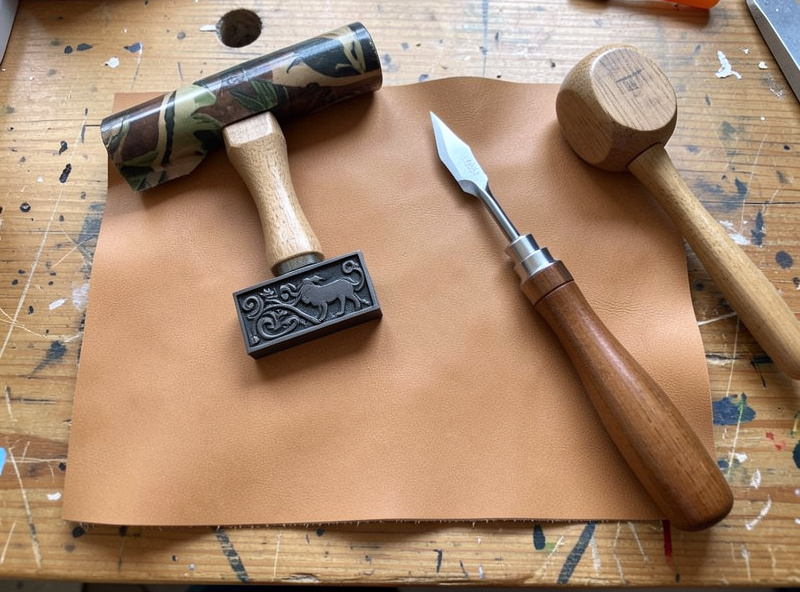
You do not need a hundred-piece stamp set. Five tools will let you tool a complete bordered design: a swivel knife, one smooth beveler, a camouflage stamp, a poly mallet, and a modeling spoon. Add a pear shader and a seeder when you move on to florals, but not before.
Buying few tools and learning them deeply beats buying a giant kit you never master — I’ve watched beginners drown in options. Here’s the starter set and what each piece does on the leather.
| Tool | Job | Why it’s first |
|---|---|---|
| Swivel knife | Cuts the design lines into the grain | Every tooled line starts here |
| Beveler (#2 smooth) | Drops one side of a cut to cast a shadow | Turns flat cuts into carving |
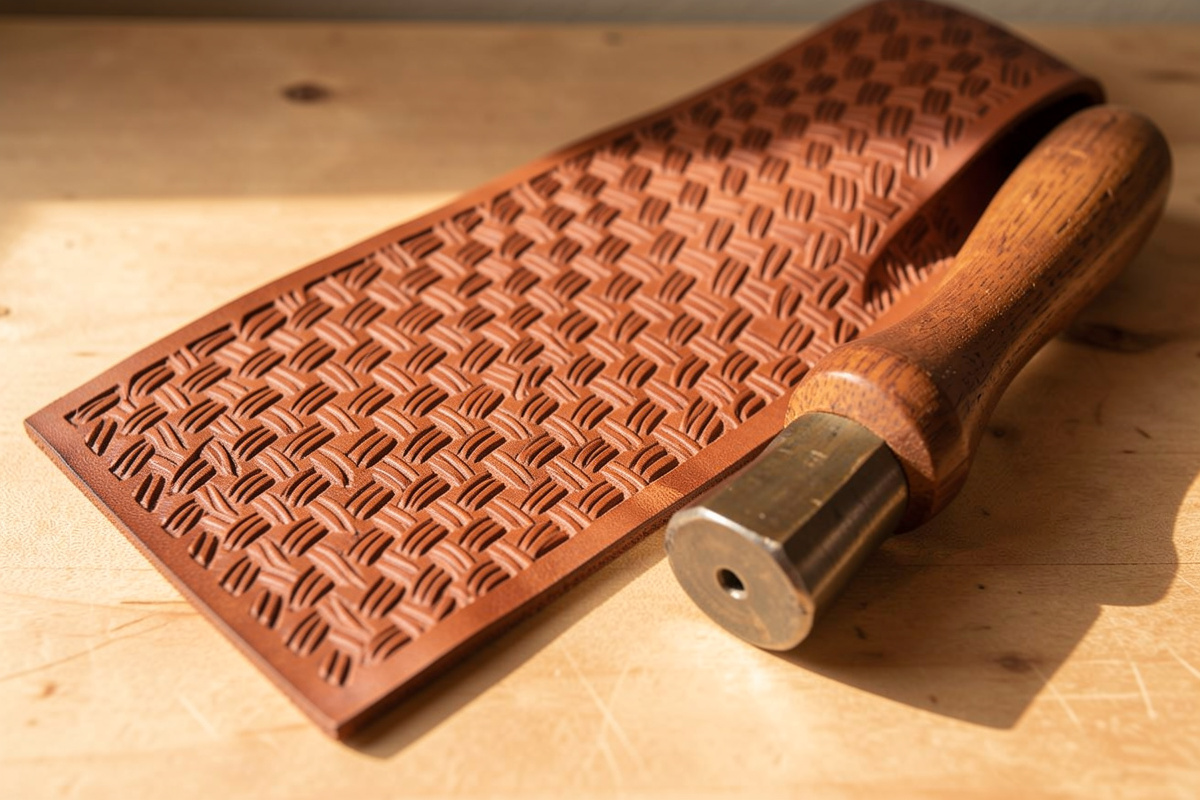
| Camouflage stamp | Crescent texture for borders | Instant clean-looking decoration |
| Poly mallet (12–16 oz) | Drives stamps with a dead blow | Never use a steel hammer |
| Modeling spoon | Smooths and rounds contours by hand | Cleans up beginner roughness |
Keep your swivel knife stropped and your beveler clean. A dull blade drags and skips, which feels like a skill problem but is actually a maintenance problem. My tool sharpening guide covers the strop routine, and the full tools guide shows how this fits the wider kit.
Casing: The Step That Decides Your Results
Casing is controlled wetting, and it’s the one thing beginners get wrong that ruins everything downstream. You wet the leather, let the moisture spread evenly through the full thickness, then wait until the surface returns almost to its natural color before you tool. Too wet and your cuts go fuzzy; too dry and the leather won’t take an impression.
Here’s the routine I use on 5–6 oz: dampen the flesh side until it stops absorbing, lightly wet the grain side, then let the piece sit flat under glass or in a sealed bag for fifteen minutes to an hour so the moisture equalizes. When the grain has gone back to looking nearly dry but the leather still feels cool against the back of your hand, it’s ready. A pinch of dish soap or a proper casing solution in the water helps it penetrate evenly and gives your cuts a darker, cleaner burnish. The single most common beginner mistake is tooling leather that’s still too wet because it looks ready — wait longer than feels comfortable. Patience here outperforms any tool upgrade.
Your First Cuts With the Swivel Knife
Hold the swivel knife with your index finger resting in the yoke on top and the barrel spinning between your thumb and middle finger. You steer the cut by rotating the barrel, not by twisting your wrist, and you lean the blade forward about 45 degrees, cutting roughly halfway through the leather’s thickness while pulling toward yourself.
Your first lines will wander — everyone’s do. Before you cut a real pattern, spend a whole session cutting long sweeping S-curves and circles on scrap until the blade stops feeling foreign in your hand. Keep the depth consistent at about half the leather thickness: too shallow and your bevel has nothing to push against, too deep and you weaken the piece. The blade must be stropped to a polish or it will drag and tear the grain instead of slicing it. This is the technique that takes longest to feel natural, so be patient with yourself — the full breakdown of blade types and angles is in the carving tools guide.
Beveling: Turning Cuts Into Carving
Beveling is what makes a cut line look three-dimensional. You set the smooth beveler against one side of the cut and tap it along the line with overlapping strokes, compressing the leather into a smooth ramp that throws a shadow. The trick is walking the stamp — advancing it just a hair between taps so you can’t see where one strike ended and the next began.
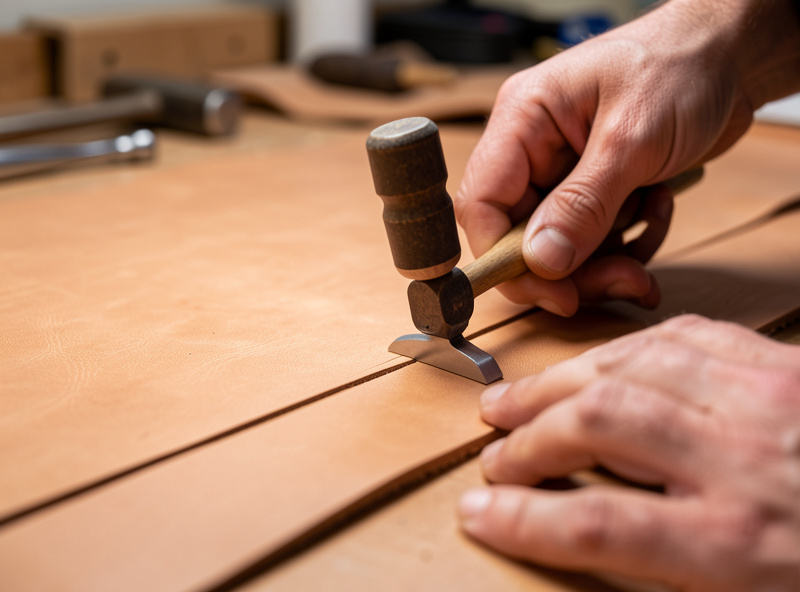
Beginners leave a scalloped, stuttery bevel because they space their strikes too far apart. The fix is mechanical: tiny advances, even rhythm, consistent mallet force. Bevel on the side of the line you want to drop away, and keep it consistent across the whole design. This compress-the-fiber logic is the same one behind edge work — if you’ve already learned to bevel a finished edge, your hands already understand half of this. The deeper modeling techniques come together in the beveling and modeling guide.
Adding a Border With the Camouflage Stamp
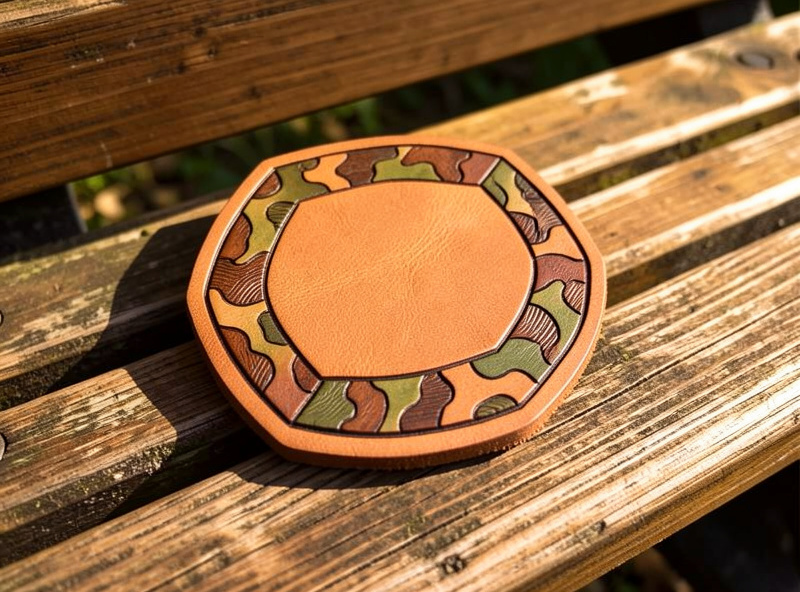
The camouflage stamp leaves a crescent texture that makes a fast, clean-looking border — perfect for a beginner’s first piece because it hides small inconsistencies. Hold the stamp perfectly vertical, strike once firmly with the poly mallet, lift, and advance to overlap the previous crescent slightly. One confident blow per impression; tapping repeatedly blurs the shoulders.
Run a camouflage border around the edge of your practice panel and you instantly have something that reads as deliberately made. Consistent angle and consistent pressure are everything — tilt the stamp and you get a lopsided half-impression. When you’re ready to expand into seeders, shaders, and background texture, the stamping patterns guide covers the full vocabulary and which stamps to buy next.
Finishing Your First Piece
A tooled panel isn’t done when the stamping stops. The cuts and texture need color to read and the leather needs sealing. The simplest beginner finish is a light coat of neatsfoot oil to even the tone, then a neutral sealer once it’s dry. If you want the carving to really pop, antiquing settles dark paste into the cut lines for contrast.
Antiquing is the classic move for tooled leather, and I walk through the resist-and-wipe method in my antique finish guide. For your very first piece, keep it simple — oil, dry, seal — and save the antique experiments for when your tooling is clean enough to deserve it. The broader finishing logic lives in the complete dyeing guide.
The Beginner Mistakes to Skip Past
Four mistakes account for most beginner frustration: tooling too-wet leather, using dull tools, striking stamps unevenly, and rushing the sequence. Every one is a process fix, not a talent ceiling. Let cased leather dry back toward natural color, strop before every session, strike each stamp with the same conviction, and cut all your lines before you bevel any of them.
Keep your early pieces in a drawer instead of throwing them out — pull them back in six months and the progress will surprise you. If the broader craft still feels overwhelming, the patient on-ramp in leather working for beginners sets the foundation, and many of these overlap with my common beginner mistakes guide.
Frequently Asked Questions
What leather should a beginner use for tooling?
Start with natural undyed vegetable-tanned leather in 5 to 6 oz weight. It is firm enough to hold a crisp impression and thin enough to cut cleanly. Practice on scrap first, because your earliest swivel knife cuts will wander, and that is completely normal.
How many tools do I need to start leather tooling?
Five tools are enough to start: a swivel knife, one smooth beveler, a camouflage stamp, a poly mallet, and a modeling spoon. Buy a few tools and learn them deeply rather than a hundred-piece set you will never master.
Why are my tooling cuts coming out fuzzy?
Fuzzy cuts mean the leather is cased too wet or your blade is dull. Let the leather dry back toward its natural color before cutting, and keep the swivel knife stropped to a polish so it slices the grain cleanly instead of dragging and tearing it.
Can I tool leather with a hammer instead of a mallet?
Use a poly or rawhide mallet, never a steel hammer. You want a dead blow that drives the stamp without bouncing. A steel hammer bounces, blurs the impression, and can damage the stamp. A 12 to 16 oz poly mallet is ideal for beginners.
How long does it take to learn leather tooling?
A clean, confident swivel knife line takes weeks of scrap practice, not an afternoon. Your first finished piece will have wandering cuts and uneven texture no matter how careful you are. Deliberate drills on scrap, like cutting S-curves and walking a beveler, shorten the curve.
Do I need to dye a tooled piece?
No, but tooled leather needs sealing to stay clean. The simplest beginner finish is a light coat of neatsfoot oil to even the tone, then a neutral sealer once dry. Antiquing, which settles dark paste into the cut lines, adds contrast once your tooling is clean enough to show it off.
Related Guides
- Leather Tooling Guide — the complete cluster overview
- Leather Carving Tools Guide — swivel knives and blades explained
- Tooling Leather Selection Guide — picking the right hide
- Stamping Patterns Guide — expanding your stamp vocabulary
- Leather Working for Beginners — the full starter foundation