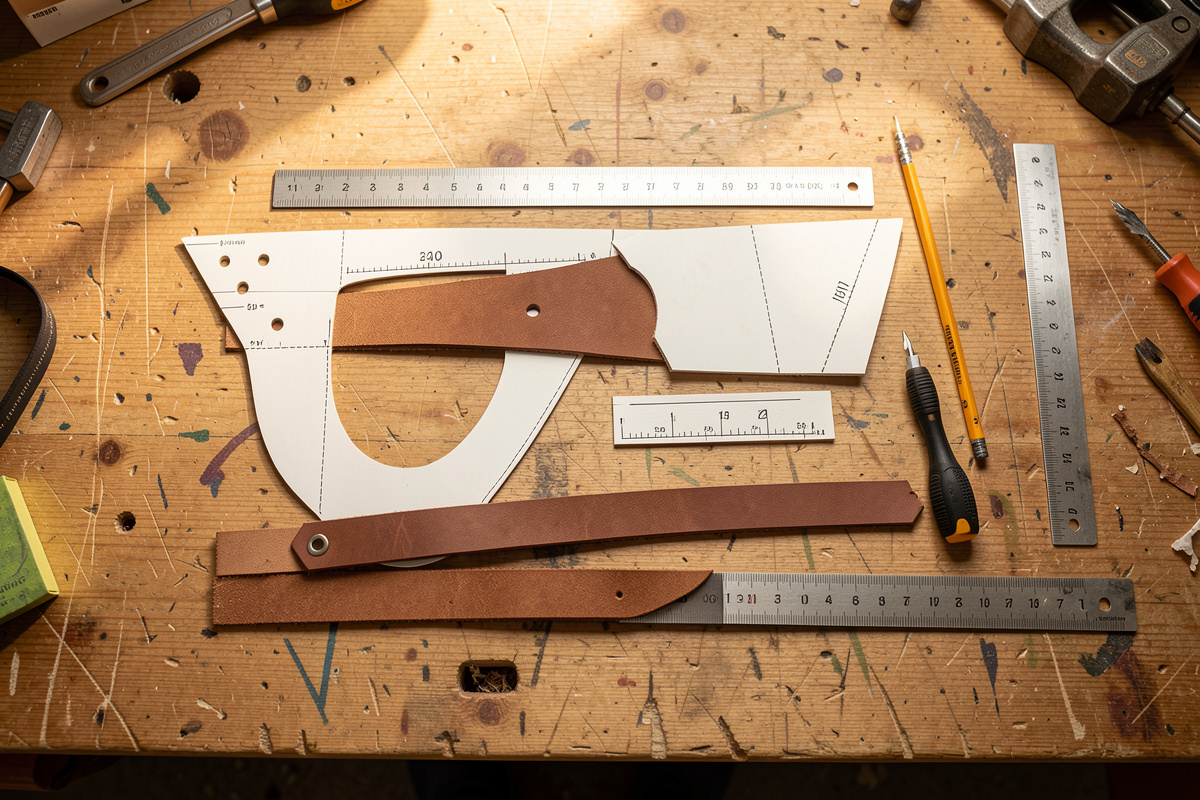
A leather dog harness pattern is built from three measurements — neck, girth (the chest circumference just behind the front legs), and the chest-to-neck spacing — joined into…
A leather dog harness pattern is built from three measurements — neck, girth (the chest circumference just behind the front legs), and the chest-to-neck spacing — joined into a figure-eight or H-shape that spreads the load across the sternum and shoulders instead of the throat. Cut the straps from 6–8 oz bridle for flexibility, set the load points where a pull cannot ride up into the windpipe, and a harness spreads force a collar concentrates. It is the most pattern-heavy piece of dog gear, and the most rewarding once the fit clicks.
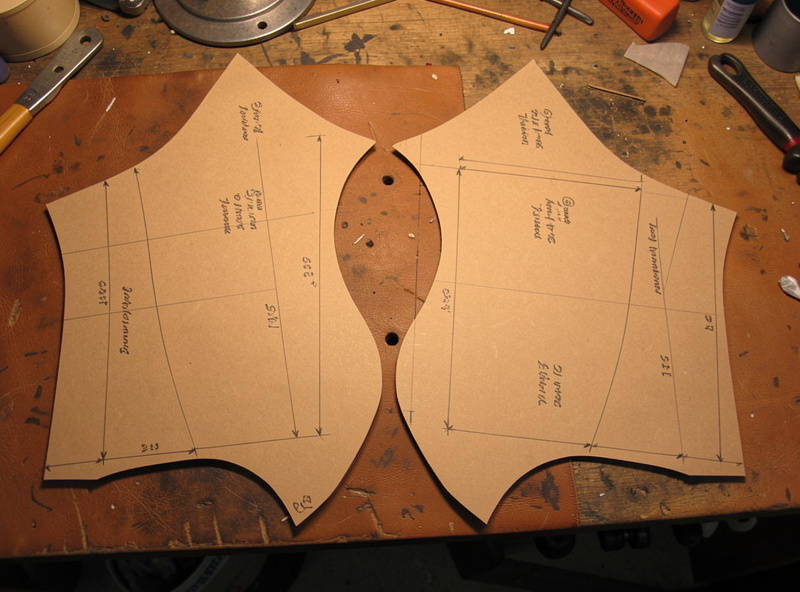
A harness is where dog gear stops being a single strap and becomes a fitted assembly, so I treat it like a small bag pattern: mock it in cheap material first, fit it on the dog, then commit to leather. Here is how I pattern, cut, and fit a basic leather harness from the bench.
The Three Measurements That Drive the Pattern
Everything starts with three numbers taken on the dog: the neck (where the front of the harness sits, lower than a collar), the girth or chest circumference (measured just behind the front legs, the widest point), and the distance along the breastbone from the base of the neck to the girth strap. Those define the whole geometry — get them right and the pattern almost draws itself.
Measure snug and add a small ease allowance (about 1–2 inches on the girth) so the harness clears the coat and moves with the dog. Because fit is so individual, I always build a mock-up in scrap or webbing and adjust before cutting good leather. The measuring discipline carries over from the collar sizing guide, and the parent build context is the collar making guide.
Choosing the Leather and Weight
A harness needs to flex across a moving chest, so I drop to 6–8 oz here rather than the 8–10 oz I use for a collar. Bridle works well for its water resistance and clean finish; latigo is excellent for a working or swimming dog because it stays supple through wet-dry cycles. For wide chest straps that sit against the dog all day, a soft 3–4 oz lining adds comfort and hides the flesh side.
The trade-off is the same as everywhere in dog gear: stiffer leather holds shape but fights the body’s movement; softer leather conforms but needs width to carry load without digging. Match weight to the dog’s size and the harness’s width. The leather choices are laid out in the weight guide and the bridle vs latigo comparison.
Load Points: Where the Pull Has to Land
The whole reason for a harness is to move the pull off the throat, so the load points decide whether the design works. A back-clip harness puts the leash ring over the shoulders/spine, simple and good for calm walkers; a front-clip harness sets the ring at the chest/sternum for more steering control on a puller. Either way, the straps must distribute force across the breastbone and shoulders, never across the soft throat.
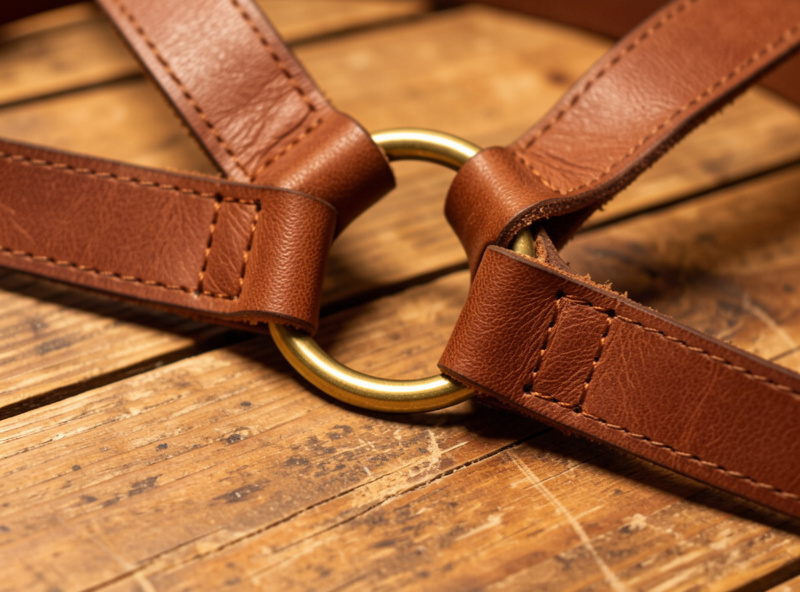
The girth strap carries most of the load and must sit behind the front legs without rubbing the armpit (a common chafe point), so round and burnish those edges hard and consider a lining there. The D-ring and any buckles must be solid and welded exactly as on a collar — covered in the hardware guide and the broader hardware reference. A harness multiplies the number of hardware joints, so each one matters.
Cutting and Assembling
Once the mock-up fits, transfer the pattern to leather and cut clean straps against a steel straightedge, rounding the ends that pass through hardware. Skive where straps overlap so the joints are not bulky, glue with contact cement, then saddle stitch every junction — the straps meet at stress points, and a saddle stitch backed by a rivet is what holds those joints under a lunge.
Add adjustment via buckles or punched holes on the neck and girth straps so one harness fits as the dog’s coat and weight change through the year. The strap work is the same as a leash — see the leash guide — and the stitch is in the saddle stitch guide, with overlaps thinned per the skiving guide.
Step-In vs Overhead Styles
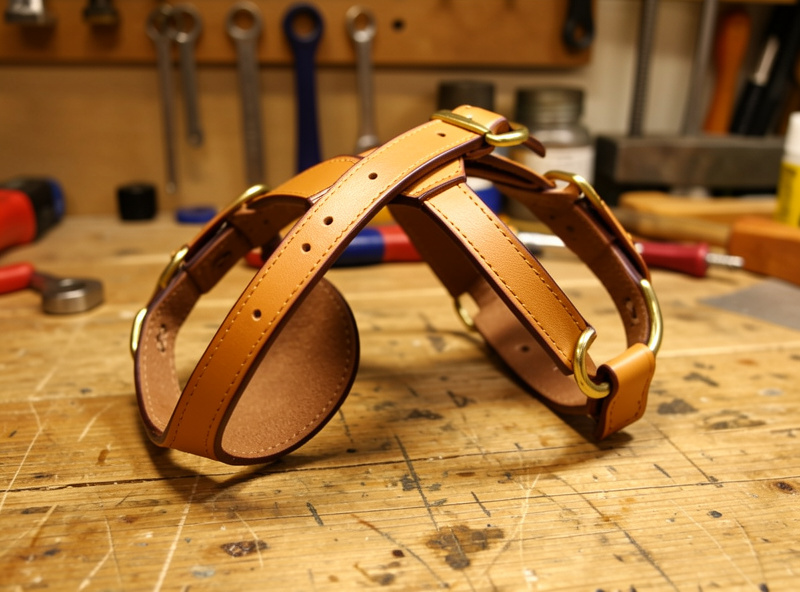
Two pattern families cover most dogs. An overhead (or H-style) harness goes on over the head and buckles at the girth — fewer pieces, quick to fit, good for most dogs. A step-in harness lays flat, the dog steps in with the front legs, and it buckles over the back — easier for dogs that dislike things going over the head, but it needs a more careful pattern so the chest piece sits correctly.
For a first leather harness I build the overhead style: it is the simpler pattern and the easier fit to adjust. Once that build is comfortable, a step-in is the same skills rearranged. Either way the load-point rule is unchanged — pull spreads across the chest and shoulders, never the throat.
Edge Finishing for All-Day Comfort
On a harness, edge finish is comfort first and looks second — more leather rides against the dog than on any collar, so every edge that touches the body must be beveled, sanded, and slicked smooth. A raw edge at the girth or armpit will chafe over a long walk. I bevel both corners, sand through the grits, and burnish hard with Tokonole on every strap edge.
Line the widest contact straps with soft leather for a smooth face, and round the corners of any plate or tab so nothing presses a point into the dog. The full edge sequence is in the edge finishing guide, and the slicker profiles I use are the printed ones from the DIY edge slicker project.
Fitting and Adjusting
Fit the finished harness the way you fit a collar but at more points: two fingers should slide under the neck strap and under the girth strap, and the harness should not shift sideways or let a leg slip through a gap when the dog moves. Walk the dog in it and watch for rubbing at the armpit and riding-up at the neck — the two faults that send a harness back to the bench.
Build in adjustment at neck and girth so you can dial the fit after that first walk. A harness that fits is one the dog forgets it is wearing. Match the leather and hardware to the collar and leash and you have a full set; finish it with a stamped or engraved name as in the personalization guide.
As an Amazon Associate I earn from qualifying purchases. For harness builds I buy welded brass rings and harness hardware in matched sizes.
Frequently Asked Questions
What measurements do I need for a dog harness pattern?
You need three: the neck where the harness front sits, the girth or chest circumference just behind the front legs, and the breastbone distance from neck to girth. Add about 1 to 2 inches of ease on the girth for the coat.
What leather weight is best for a dog harness?
6 to 8 oz is best for a harness, lighter than a collar, so the straps flex across a moving chest. Bridle gives water resistance and a clean finish; latigo stays supple for working or swimming dogs. Line wide straps with 3 to 4 oz soft leather.
Where should the leash clip on a leather harness?
A back clip over the shoulders suits calm walkers; a front clip at the chest gives more steering control for a puller. Either way the load must spread across the breastbone and shoulders, never across the soft throat.
How do I stop a harness from chafing the armpit?
Keep the girth strap behind the front legs without crowding the armpit, round and burnish those edges hard, and line the contact straps with soft leather. Walk the dog and watch for rubbing, then adjust before it becomes a sore.
Should I make a mock-up before cutting leather?
Yes. Harness fit is individual, so build a mock-up in scrap leather or webbing, fit it on the dog, and adjust the pattern before committing to good leather. It saves a wasted side and a poorly fitting harness.
Related Guides
- Leather Dog Collar Making: The Complete Guide
- How to Make a Leather Dog Leash
- Sizing a Dog Collar Correctly
- Best Hardware for Leather Dog Collars
- Bridle vs Latigo for Dog Collars and Leashes



