The tools of leather carving divide into three jobs: cutting the line, shaping the cut, and texturing the surface. A swivel knife cuts, bevelers and shaders shape, and…
The tools of leather carving divide into three jobs: cutting the line, shaping the cut, and texturing the surface. A swivel knife cuts, bevelers and shaders shape, and stamps like seeders and backgrounders texture. You can carve a complete design with about eight tools, and which eight matters far more than how many you own.
I’ve bought across every tier of carving tool over the years on the bench I work on — budget sets, mid-range workhorses, and a few genuinely fine pieces — mostly to learn where the money actually changes the result. The honest answer is that it matters enormously for the swivel knife and the strop, and far less for the stamps. This guide walks the full carving toolkit, what each tool does, and where to spend versus where to save. It’s the tool-depth companion to the broader leather tooling guide.
The Swivel Knife: The One Tool to Buy Well
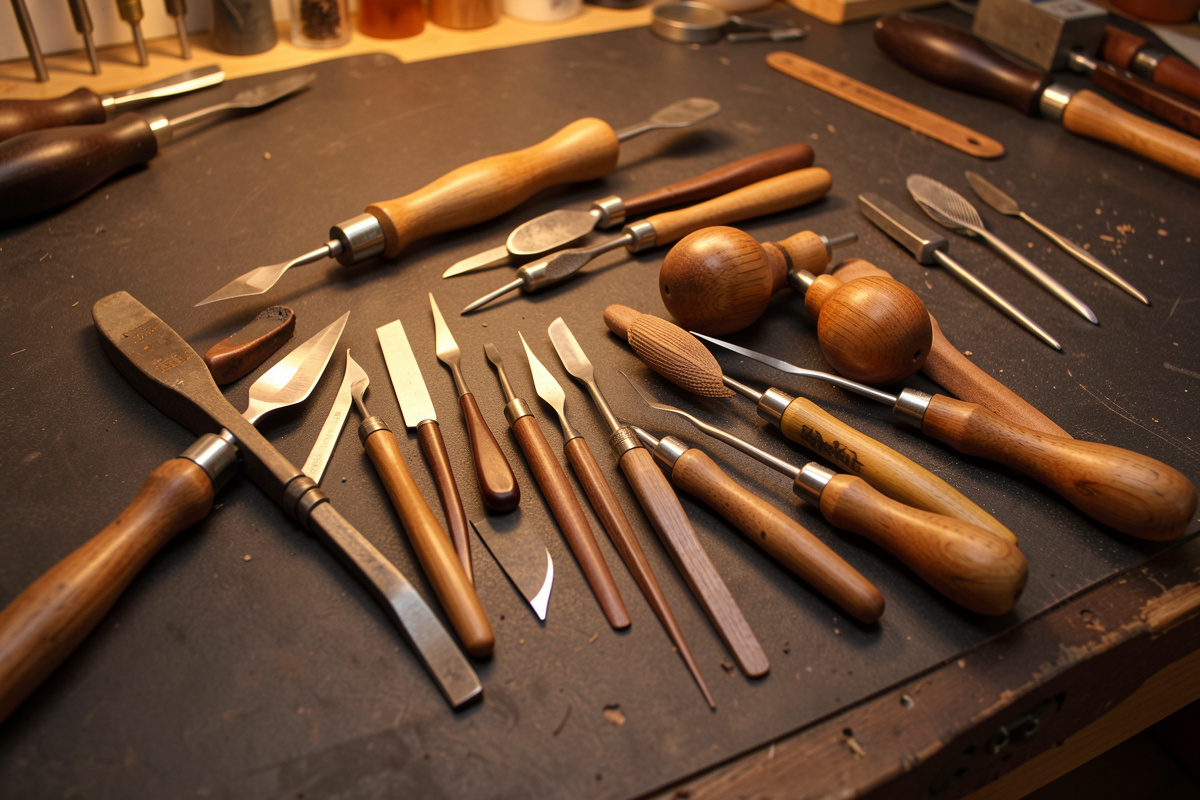
The swivel knife is the heart of carving and the one place a beginner should spend real money. It has a barrel that spins, a yoke up top for your index finger, and an interchangeable blade. You steer cuts by rotating the barrel between thumb and middle finger while leaning the blade forward about 45 degrees. A good one with a smooth bearing makes clean lines achievable; a sticky cheap one fights you on every curve.
Barrel diameter is a fit question — 3/8″ suits most adult hands, with larger barrels for bigger hands. The yoke should adjust to your finger length so your hand isn’t cramped over a long session. Above all, the bearing has to spin freely, because every curve in a design is the barrel rotating under your fingertips. If you buy one thing well in your entire carving kit, buy the swivel knife well. The detailed grip and cutting technique lives in the beginners guide.
Swivel Knife Blades Compared
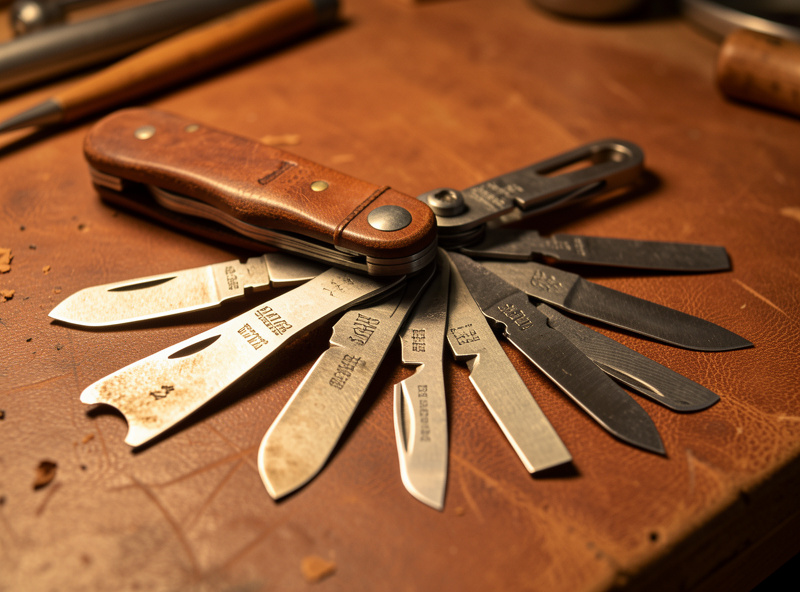
The blade does the actual cutting, and swapping blades changes the knife more than buying a new one. The four common types each suit different work, and most carvers end up owning two or three.
| Blade type | Best for | Notes |
|---|---|---|
| Straight steel | General-purpose line work | The default; easy to strop and maintain |
| Angled steel | Tight curves and detail | Reaches into scrollwork the straight blade can’t |
| Hollow-ground | Long flowing cuts | Less drag, holds an edge well, costs more |
| Ceramic | Maintenance-free edge | Never needs stropping but is brittle if dropped |
Start with a straight steel blade because it teaches you to strop and read your edge. Add an angled blade once you tackle tight floral scrolls. Whatever you run, the blade must be polished to a mirror or it drags and tears the grain — keeping it stropped is non-negotiable, and my tool sharpening guide covers the strop-and-compound routine that keeps a blade gliding.
Bevelers: The Shaping Workhorses
Bevelers are the most-used stamps in carving. You set a beveler against one side of a swivel-knife cut and walk it along with overlapping mallet taps, compressing the leather into a smooth ramp that throws a shadow and makes the cut read as carved. Smooth bevelers leave a clean ramp; checked or textured ones add grain.
Buy them in sizes, not as a giant set: a #2 smooth handles most work, with a smaller one for tight detail and a larger one for broad sweeps. The quality marker is the smoothness of the working face — a polished beveler burnishes the leather dark as it compresses, while a rough one leaves a chalky, dull ramp. The walking technique that makes bevels look seamless gets its own full treatment in the beveling and modeling guide, and the same fiber-compression idea drives how I bevel a project’s edges.
Shaders, Seeders, and Veiners
This family of stamps adds contour and detail inside a design. A pear shader presses a smooth dished depression for petals and rounded contours; a seeder leaves a domed dot for flower centers; a veiner cuts the central rib of a leaf. Together they turn flat outlined shapes into forms with depth.
Pear shaders come smooth or textured — smooth for clean modeling, textured (lined or checked) for shaded fields. Seeders come in sizes for different flower scales. Veiners and camouflage tools handle leaves and borders. You don’t need many: one good smooth pear shader, a couple of seeders, and a veiner cover most floral work. How these combine into petals and centers is the heart of the floral pattern guide.
Backgrounders and Texture Tools
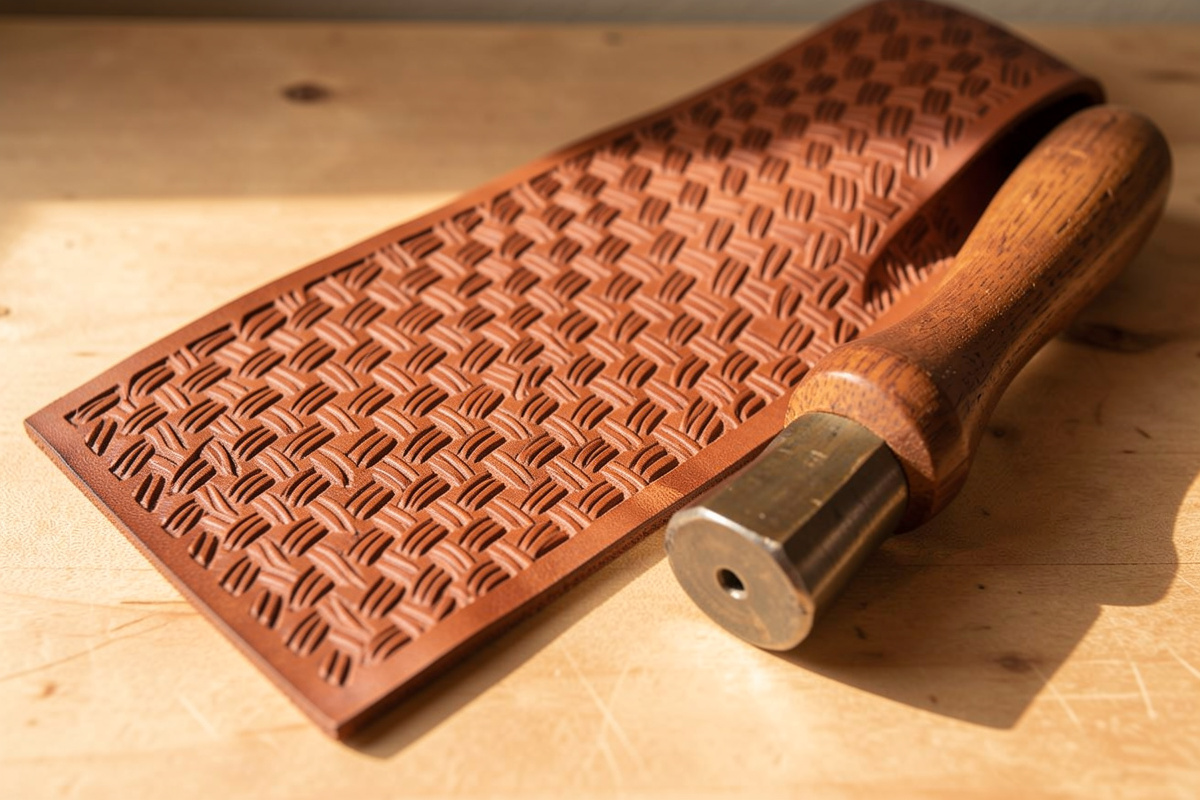
Backgrounders knock the negative space down and matte it so the main design lifts forward. A fine matte or bargrounder stamp, struck repeatedly across the background area, compresses and textures it, creating the contrast that separates a finished carving from a floating one. It’s tedious, meditative work that rewards patience over speed.
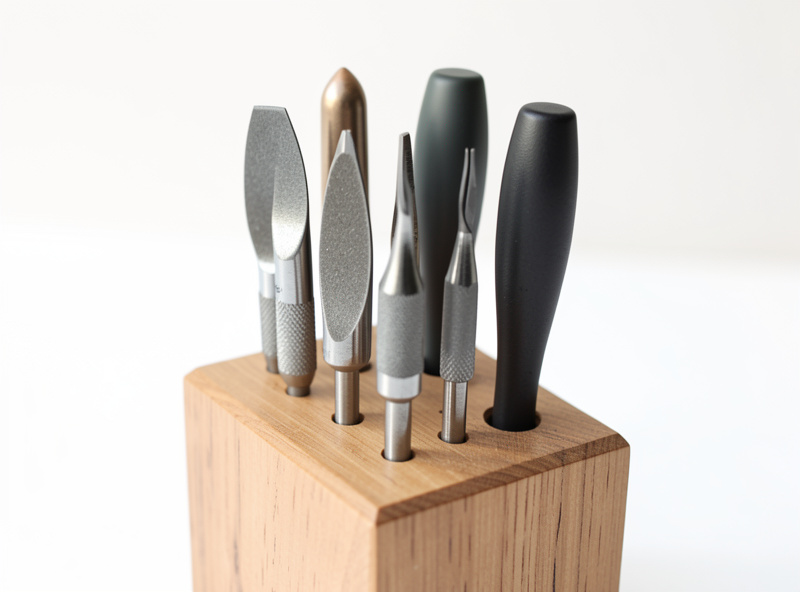
Backgrounders come in different textures — pebbled, lined, fine matte — and the choice sets the mood of the background. A fine matte recedes quietly; a bold pebble adds visible texture. Hold any background stamp vertical and strike consistently so the field reads even, not patchy. The full stamping vocabulary, including how to pick and combine these, is in the stamping patterns guide.
Mallets, Mauls, and the Modeling Spoon
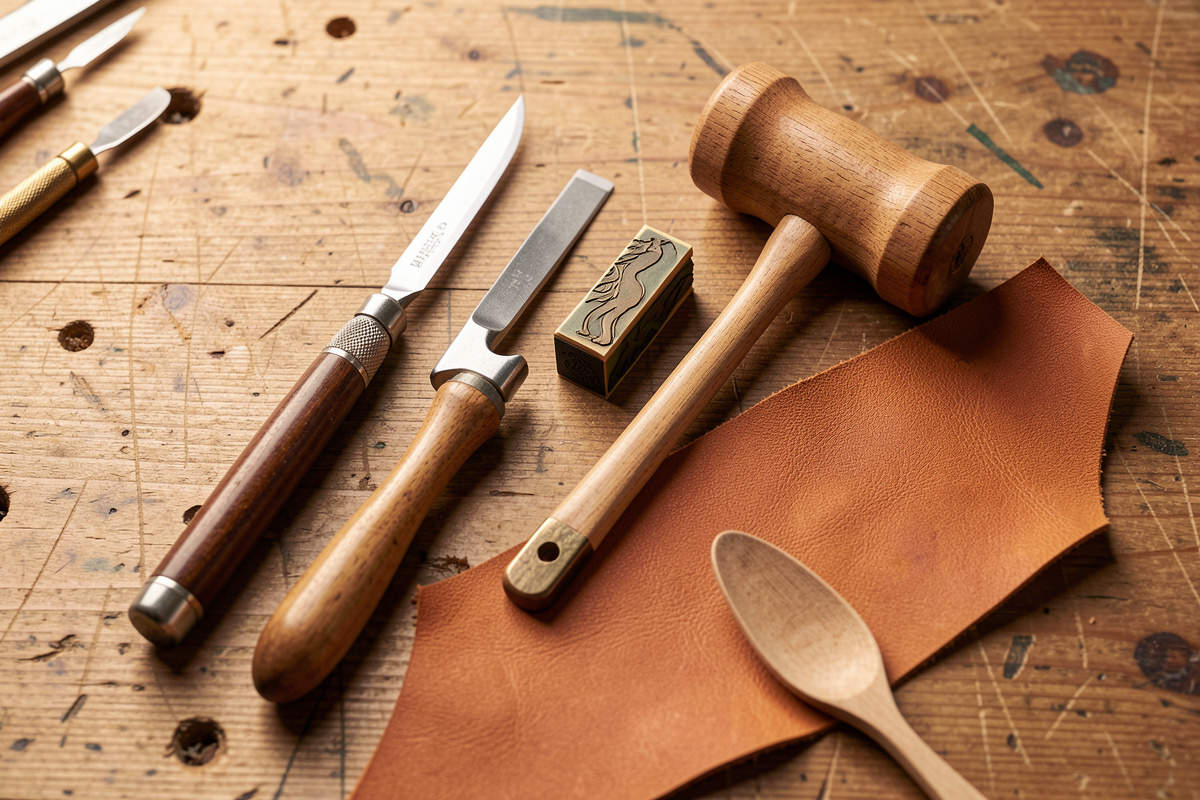
You drive every stamp with a poly or rawhide mallet or a tapered maul — never a steel hammer, which bounces and blurs impressions. A 12–16 oz poly mallet suits most carving; a heavier maul gives more authority for deep backgrounding. The dead blow is what matters: energy into the leather, not back up your arm.
The modeling spoon is the one hand tool here you don’t strike. You use it to burnish and round contours by hand after stamping — pushing petal edges down, lifting centers, smoothing the transitions a stamp leaves abrupt. It’s how you clean up the slightly mechanical look of fresh stamping into something that flows. For weights and why poly beats steel, see my mallet and maul guide, and the wider kit context is in the full tools guide.
Maintenance: Sharp Tools or Bad Results
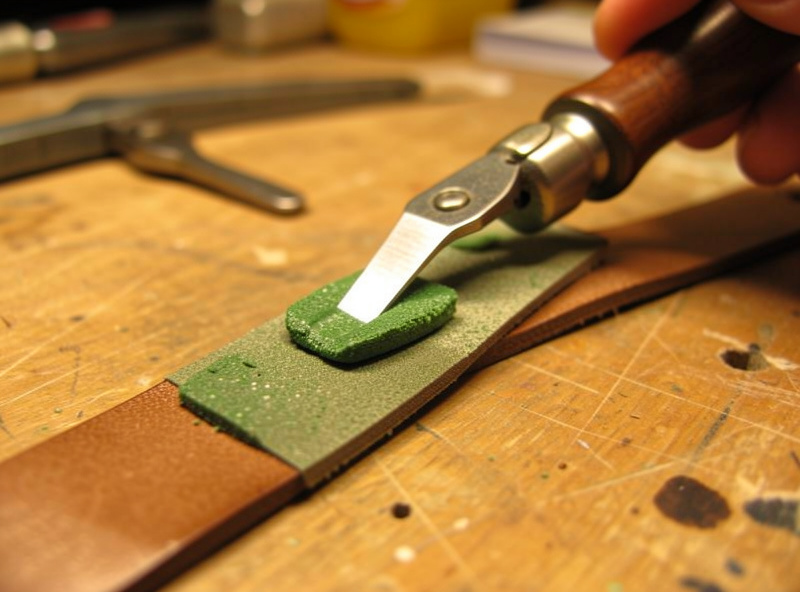
Carving tools fail quietly. A swivel knife blade that’s gone slightly dull doesn’t announce it — your lines just start dragging and tearing, and you blame your hands. The fix is a strop loaded with compound, used at the start of every session, not when the edge finally feels bad. Stamps need far less: keep their faces clean and rust-free.
The one habit that improved my carving most was stropping before I sat down, every time, the same way I’d strop a paring knife before skiving. A polished blade glides and a polished beveler burnishes dark; let either go dull and the work looks muddy no matter how good your technique. The whole sharpening and stropping routine is in the sharpening guide. And if you want to make some of your own tooling — custom stamp blanks and registration jigs — I document printing them in 3D-printed leather tooling.
Where to Spend and Where to Save
If you’re building a carving kit on a budget, the spend-versus-save decision is clearer than most beginners expect. Put your money into the swivel knife and a quality strop, buy mid-range bevelers and shaders, and feel free to start with budget seeders and backgrounders — the cheap ones still leave a usable impression because they’re just pressing a shape, not steering a cut.
The swivel knife is the exception because it’s the only tool you actively control through a full range of motion; a sticky bearing or a poorly ground blade fights you on every curve, and no amount of skill fully compensates. Bevelers sit in the middle — a polished face genuinely burnishes better, so mid-range is worth it, but the most expensive bevelers don’t out-perform a good mid-tier one by much. Stamps that simply press a texture or a dot are the safest place to economize; a budget seeder makes the same domed center a premium one does. I’d rather see a beginner own one excellent swivel knife and a handful of modest stamps than a complete budget set built around a knife that frustrates them out of the hobby. Buy the knife once, buy it well, and add stamps slowly as specific projects demand them rather than chasing a complete collection up front.
Storing and Protecting Your Tools
Carbon-steel carving tools rust, and rust on a stamp face transfers straight onto your next cased panel. Keep stamps dry, wipe them down after a session, and store them where they won’t bang together — a drilled wooden block, a roll, or a drawer with dividers all work. A swivel knife blade should be sheathed or stored so the edge never contacts metal.
In a mixed workshop the bigger enemy is grinding dust and humidity drifting over from the metal side, which is part of why I keep the leather bench walled off. A light film of oil on stored stamp faces in a damp climate prevents the surface rust that ruins impressions. None of this is fussy — it’s the same care you’d give any cutting tool — but neglect it and you’ll find a pitted beveler leaving a chalky ramp right when you sit down to carve something you care about.
Frequently Asked Questions
What carving tools do I actually need to start?
About eight tools cover a complete design: a swivel knife, a smooth beveler, a pear shader, a seeder, a veiner, a backgrounder, a poly mallet, and a modeling spoon. Spend your money on the swivel knife and a good strop; the stamps matter far less.
What swivel knife blade should a beginner use?
Start with a straight steel blade. It handles general line work and teaches you to strop and read your edge. Add an angled blade later for tight floral scrolls. Whatever blade you run must be polished to a mirror finish or it will drag and tear the grain.
What is the difference between a beveler and a shader?
A beveler compresses one side of a cut line into a ramp that throws a shadow, making the cut read as carved. A pear shader presses a smooth dished depression inside a shape, adding contour to petals and rounded forms. Bevelers define edges; shaders add interior depth.
Why should I never use a steel hammer for stamping?
A steel hammer bounces on impact, which blurs the stamp impression and can damage the tool. You want a dead blow that drives all the energy into the leather. A 12 to 16 oz poly or rawhide mallet, or a tapered maul, delivers that clean single strike.
How often should I sharpen carving tools?
Strop your swivel knife blade at the start of every session, not when it finally feels dull. A blade going slightly dull just drags and tears without warning, and you blame your technique. Stamps need little maintenance beyond keeping their faces clean and rust-free.
Further Reading
- Leather Tooling Guide — the full cluster overview
- Leather Tooling for Beginners — your first carved piece
- Beveling and Modeling Guide — using the shaping tools
- How to Sharpen Leather Tools — keeping blades gliding
- Mallet and Maul Guide — what to swing and why