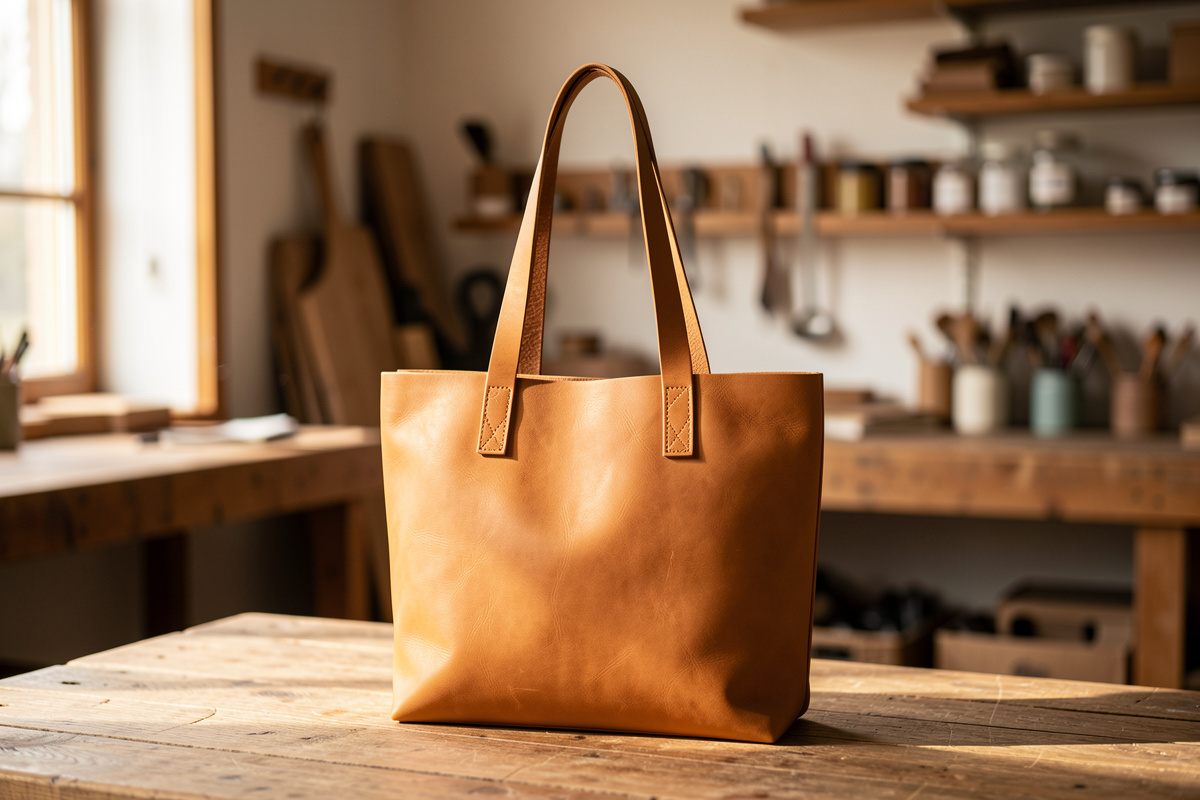
A leather tote bag is the project that proves you can build something big: two large panels, a base gusset, and two handles in 4-5 oz leather, finished…
A leather tote bag is the project that proves you can build something big: two large panels, a base gusset, and two handles in 4-5 oz leather, finished in an afternoon or two. My first tote took about $45 of chrome-tan and a long evening of stitching, and it has hauled groceries and laptops for two years without a seam letting go. It is the natural step up after small goods, scaling the same skills to a bag people actually carry.
I have built totes in both soft chrome-tan and structured veg-tan, and the leather choice changes the whole character of the bag. A tote is mostly large flat panels and long straight seams, so the challenge is not complexity but consistency over distance: a wandering 14-inch stitch line shows far more than a wobble on a wallet. Get the handle attachment strong and the panels square, and the rest is patient stitching.
What Leather for a Tote Bag Pattern?
A tote wants 4-5 oz chrome-tan for a soft, foldable everyday bag or 5-6 oz veg-tan for a structured tote that stands up on its own. Chrome-tan is lighter and more forgiving of the heavy use a tote takes; veg-tan gives a stiffer, more formal bag that patinas. A finished tote around 14 inches wide, 13 inches tall, and 5 inches deep is a versatile size.
For an everyday carry-everything bag I reach for chrome-tan because it stays light, takes abuse, and does not crack where the bag folds under load. For a structured shopper or a more formal tote I use 5-6 oz veg-tan, accepting the extra weight for the way it holds its shape and ages. The leather weight you choose here is the single biggest decision, because it sets whether you get a slouchy carryall or a bag that stands on the floor open. Chrome-tan offcuts are also the most economical way to make a large bag without buying a full veg-tan side.
How Do I Lay Out the Tote Pattern?
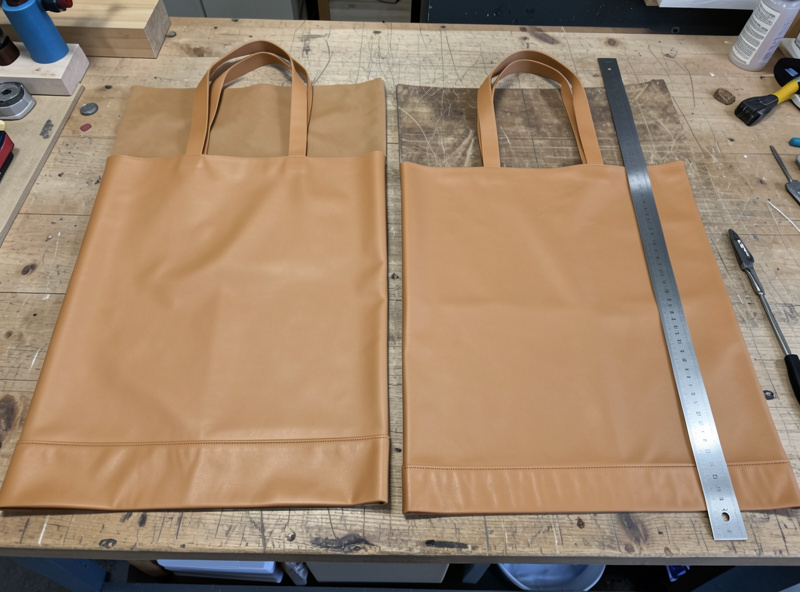
Lay out the tote as two main panels, one long base-and-side gusset strip, and two handles; the gusset wraps the bottom and both sides in a single piece. For a 14 by 13 by 5 inch tote, the panels are about 15 by 14 inches with seam allowance and the gusset strip runs roughly 5 inches wide by 33 inches long. I mock the whole thing in cardstock and tape it into a bag before cutting leather.
The single-strip gusset is the cleanest way to build a tote because it gives you only two long seams instead of four corner seams to align. I cut the two body panels identical using one template so they match exactly, then cut the gusset as one long band sized to wrap up one side, across the base, and up the other side. Taping the cardstock mock-up into a three-dimensional bag catches sizing errors that are invisible on a flat pattern, the same template discipline that governs any leathercraft pattern. Only when the paper bag looks right do I trace onto leather.
Attaching the Handles Strong
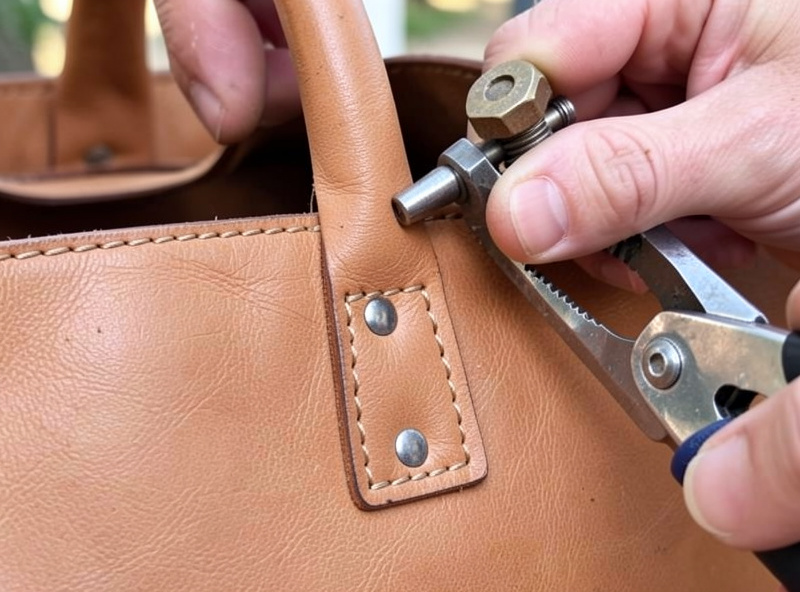
Attach the handles with both stitching and rivets, because the handles carry the entire load of a full bag and a stitch-only attachment can tear out under weight. I anchor each handle end with a stitched box-X pattern reinforced by two rivets or Chicago screws. This is the single most important structural decision on the whole bag.
A tote full of groceries can hit 20-plus pounds, and all of that hangs from four handle anchor points. I skive the handle ends, fold them for a doubled thickness, then stitch a box-with-an-X through the panel and back the stitching with rivets so neither fastener is carrying the load alone. The handle drop, the length from the top of the bag to the top of the handle, should be 9-10 inches for shoulder carry or 4-5 inches for hand carry. Setting those rivets and screws is the same hardware skill from my leather hardware guide, just at the load-bearing end of the scale. A handle that pulls out is the one failure that ruins an otherwise good tote.
Stitching the Gusset Seams
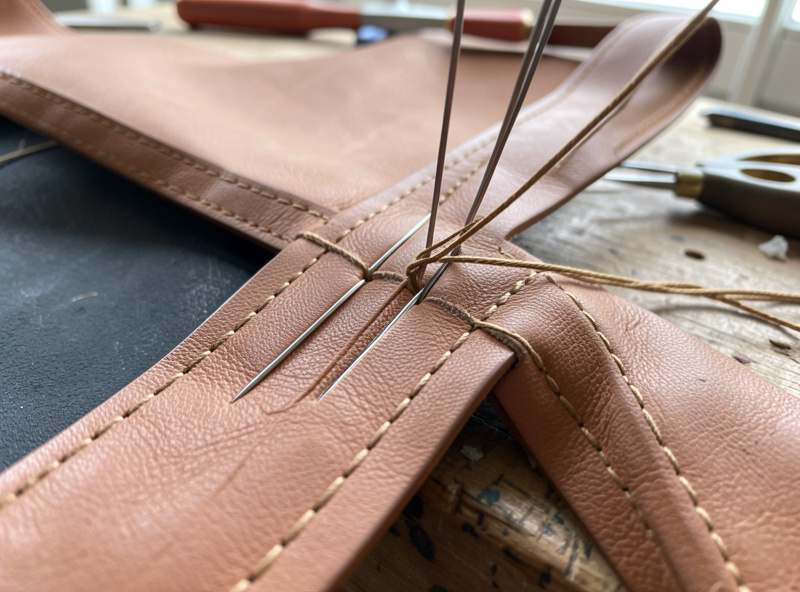
Stitch the gusset to each body panel with a saddle stitch, working a long 14-plus-inch seam at a consistent pitch so the line stays straight and even. I glue the seam allowance first, punch the whole line with a pricking iron and mallet, then stitch in the pony section by section. Consistency over the long run is the entire challenge here.
On a seam this long, any drift in the stitch line is obvious, so I mark it with a wing divider, glue the gusset to the panel to lock alignment, then punch the full length before I thread a needle. I stitch in sections that fit my stitching pony, sliding the work along as I go and keeping the same thread tension throughout. A bag this size needs a sturdier thread than small goods, so I step up to 0.8-1.0 mm waxed thread matched to a coarser iron pitch, the way I size thread up for a belt rather than a watch strap. The heavier thread carries the load and looks proportional on a large bag.
Lining and Pockets
Line the tote and add interior pockets so the bag is usable, not just a leather sack; a slip pocket and a zip pocket cover most daily needs. I glue a coated canvas or chrome-tan lining to the flesh side of each panel before assembly, with the pockets stitched to the lining while everything is flat. Add the lining before you build the bag, never after.
An unlined tote shows every stitch and glue mark on the inside and offers nowhere to corral keys and a phone. I cut the lining to match each panel, stitch a slip pocket and a small zip pocket onto the lining panels while they lie flat, then glue the lined panels and assemble the bag as a single lined unit. The same zipper-setting technique that builds a dopp kit applies to that interior zip pocket. A lined bag with two interior pockets is the difference between a craft-fair curiosity and a bag someone reaches for every day.
Finishing the Tote Edges
Bevel, sand, and burnish the exposed seams and the top opening, the two places a tote shows its edges most. I bevel and slick the top edge of both panels before assembly, then finish the exposed gusset seams after stitching. On chrome-tan, which will not burnish, I fold or paint the edges instead.
Veg-tan totes get the full bevel-sand-slick-wax treatment on the top opening and any exposed seam, the same sequence as every other project, just over more linear footage. Chrome-tan does not slick, so on those bags I either turn the edges (fold them under and stitch) or finish them with edge paint, because trying to burnish chrome-tan only fuzzes it. The top opening is the edge a user sees and touches every time they open the bag, so I finish it to the same standard I would a notebook cover. A clean top edge and tidy seams are what make a handmade tote read as finished rather than improvised.
Frequently Asked Questions
What leather is best for a tote bag?
Use 4-5 oz chrome-tan for a soft, foldable everyday bag or 5-6 oz veg-tan for a structured tote that stands on its own. Chrome-tan is lighter and shrugs off heavy use; veg-tan is stiffer and develops a patina but adds weight.
What size should a leather tote be?
A versatile tote is about 14 inches wide, 13 inches tall, and 5 inches deep. Body panels run roughly 15 by 14 inches with seam allowance, and a single base-and-side gusset strip is about 5 inches wide by 33 inches long.
How do I attach tote handles so they do not tear out?
Anchor each handle end with both a stitched box-X pattern and two rivets or Chicago screws. A loaded tote can hold 20-plus pounds hanging from four anchor points, so stitching alone is not enough on a load-bearing handle.
What handle drop should a tote have?
Use a 9-10 inch handle drop for comfortable shoulder carry or 4-5 inches for hand carry. The drop is the distance from the top of the bag to the top of the handle, and it changes how the bag rides on the body.
Do I need to line a leather tote?
Lining is strongly recommended. It hides interior stitching and glue marks and gives you a surface to attach pockets. Glue a coated canvas or chrome-tan lining to the flesh side of each panel, with pockets sewn on, before assembling the bag.
What thread size should I use for a tote?
Step up to 0.8-1.0 mm waxed thread matched to a coarser iron pitch. A large bag carries more load and a heavier thread both holds that load and looks proportional, where a fine small-goods thread would look undersized on long seams.
Related Guides
- Leather Projects for Beginners: The Right First Three Builds
- Leather Dopp Kit Pattern: Zipper, Lining, Gussets
- How to Make a Leather Belt: Step-by-Step Tutorial
- Leather Hardware Guide: Buckles, Rivets, and Snaps
- Best Glue for Leather: Contact Cement and More



