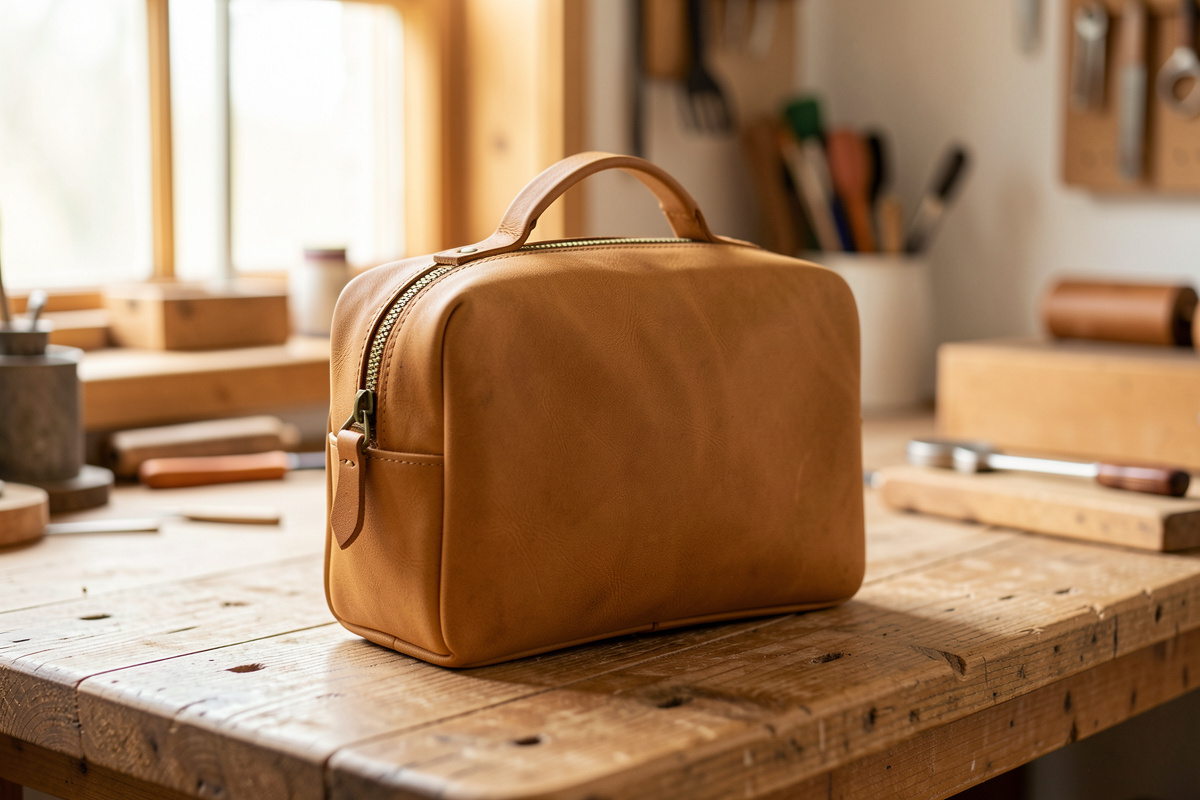
A leather dopp kit is the project where flat leatherwork becomes a three-dimensional bag: a lined body, a zipper, and boxed or gusseted corners that give it shape.…
A leather dopp kit is the project where flat leatherwork becomes a three-dimensional bag: a lined body, a zipper, and boxed or gusseted corners that give it shape. My first dopp kit used about $20 of 4-5 oz veg-tan and a single 10-inch zipper, and it has survived two years of being thrown in luggage. It is the build that teaches zipper installation and lining, the two skills every bag depends on.
I have made dopp kits both as a structured veg-tan box and as a softer chrome-tan lined pouch, and the construction logic carries straight into larger bags. A dopp kit is essentially a small zippered case, so once you can box its corners and set its zipper clean, a larger tote or messenger bag is just the same moves at a bigger scale. The zipper is where most first attempts go sideways.
What Leather and Pattern for a Dopp Kit?
A structured dopp kit wants 4-5 oz veg-tan for the body or a 3-4 oz chrome-tan for a softer pouch, plus a lining of thin chrome-tan or coated canvas. A common finished size is roughly 9 inches long, 5 inches tall, and 4-5 inches deep. That holds a full travel kit without being a brick in a bag.
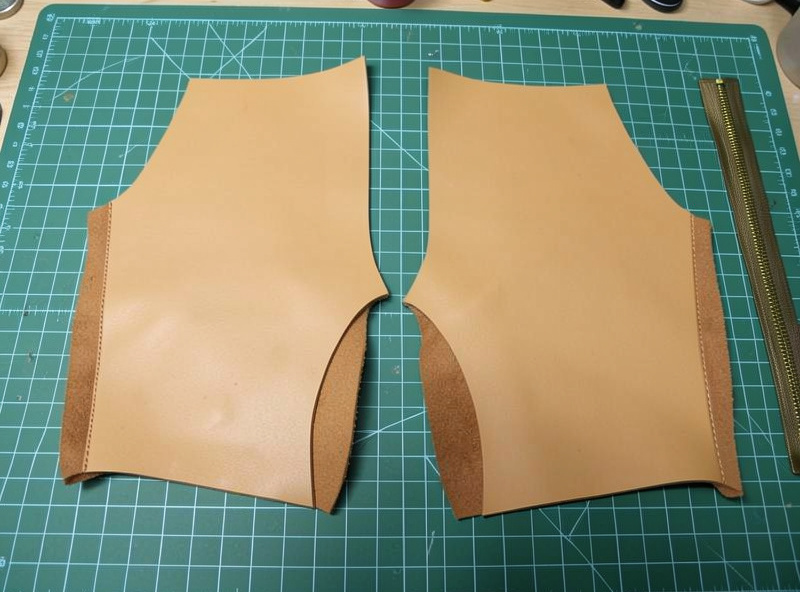
The simplest dopp pattern is a single rectangle that wraps from the front, over the top where the zipper sits, to the back, with two side panels (gussets) that box it into shape. I cut the main body as one piece roughly 9 by 14 inches for that size, then two D-shaped or rectangular gussets. Veg-tan gives a box that stands on its own; chrome-tan gives a pouch that collapses flat when empty. The leather weight you choose decides which of those two bags you end up with, so pick the structure first.
How Do I Install the Zipper?
Install the zipper by gluing it face-down along the top edge of the body panel, then stitching it 3-4 mm from the leather edge through both the leather and the zipper tape. Use a #5 metal zipper for a dopp kit; it is sturdy enough for daily abuse and easy to stitch. Glue first, then stitch, because a shifting zipper is the most common failure.
I lay the zipper tape under the leather edge with the teeth just proud of the edge, hit it with contact cement, and let it tack before I punch a single hole. Then I saddle-stitch the full length at a consistent 3.0-3.85 mm pitch so the stitch line runs parallel to the teeth. The first dopp kit I built, I stitched the zipper without gluing it and the tape crept, leaving a wavy stitch line and a zipper that bound at one end. Glue it, let it set, punch with a pricking iron, then stitch. That one fix prevents 90 percent of beginner zipper problems.
Boxing the Corners and Setting Gussets
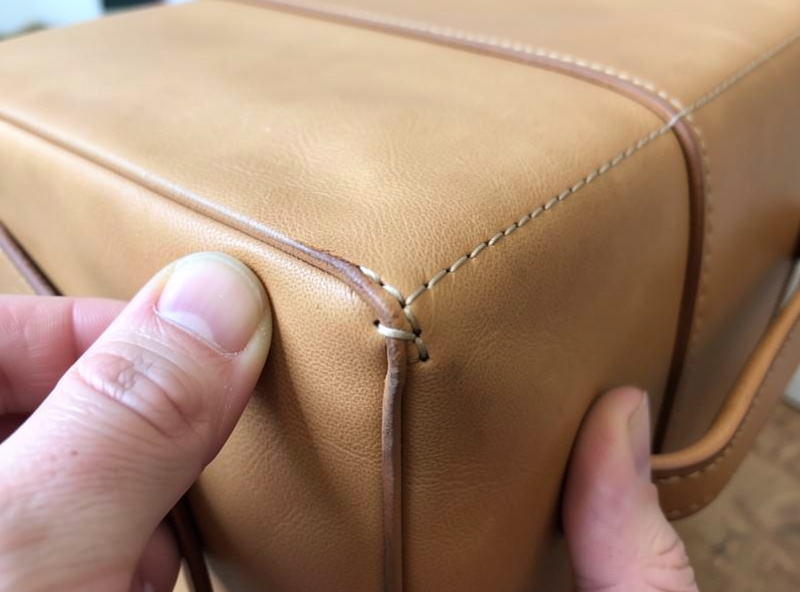
Box the corners by stitching the gusset panels to the body, either edge-to-edge for an exposed seam or turned for a hidden one. The gussets are what convert a flat wrapper into a bag with depth and a flat base. I stitch mine with the seam exposed and then burnish it, which suits the rugged veg-tan look.
For an exposed-seam dopp kit, I align the gusset to the body edge, glue the seam allowance, punch through both layers, and saddle-stitch the perimeter. The corners where the gusset turns are the tightest stitching on the whole piece, so I slow down and keep the pitch even around the curve. A turned (inside-out) seam gives a cleaner look but requires thinner leather that will flip without cracking, which is why I save it for chrome-tan pouches. The depth of the gusset sets how much the kit holds, so a 4-5 inch gusset gives a genuinely usable travel bag.
Lining the Dopp Kit
Line the dopp kit so toothpaste, razors, and spills do not destroy the veg-tan from the inside; a wipeable lining is the difference between a kit that lasts and one that stains in a month. I use a thin coated canvas or a chrome-tan lining glued to the flesh side of each panel before assembly. The lining goes in flat, before you stitch the bag together.
A bathroom bag lives in a wet, oily environment, so an unlined veg-tan interior will blotch and stiffen fast. I cut the lining slightly undersized, glue it to the flesh side of the body and gussets while everything is still flat, then assemble the lined panels as one. A water-resistant lining means a spilled bottle wipes out instead of soaking into the grain. This is the same lining logic that scales up to any bag, which is why a dopp kit is such good practice before a bigger build with more interior to protect.
Adding Zipper Pulls and Handles
Add a leather zipper pull and a small grab handle to finish the kit; both are short strips of the same leather that tie the piece together visually. I cut a 60 mm pull and fold it through the zipper slider, and a 90 mm handle riveted or stitched across the top. These details take ten minutes and make the kit look intentional.
The zipper pull is a folded tab of 3-4 oz leather looped through the slider eye and either stitched or held with a single Chicago screw. The grab handle is a doubled strip set with the same small hardware skills covered in my leather hardware guide, anchored at both ends across the top seam. I burnish the edges of both before attaching, because these are the parts your hand touches most. A matched pull and handle in the same leather and edge finish is the detail that reads as deliberate rather than improvised, the same way a clean fold finishes a watch strap.
Choosing and Sizing the Zipper
Pick the zipper length 1-2 inches longer than your opening and box or fold the excess into the gusset seam so the slider has runout. A 9-inch kit opening pairs well with a 10-inch #5 zipper. Buying the zipper too short is a mistake you cannot fix after the body is cut.
I always buy continuous #5 zipper tape by the yard with separate sliders so I can cut any length I need and never get stuck waiting on a specific size. Metal teeth look right against veg-tan and survive being yanked open with one hand; nylon coil is lighter and cheaper but reads less rugged on a leather kit. The extra length past the opening tucks into the boxed corner where the gusset meets the body, which hides the raw zipper end and gives the slider somewhere to park. Match the tape color to your thread or your hardware rather than the leather, and the whole kit looks designed instead of assembled from a parts bin.
Finishing the Dopp Kit Edges
Bevel, sand, and burnish every exposed edge and seam, because on a boxed bag the seams are structural and visible at once. I run a #2 beveler over the seam allowances, sand the exposed gusset seams flush, and slick them with Tokonole until they round over. A rough seam on a bag is both ugly and a weak point.
The exposed seams on a veg-tan dopp kit are the signature of the construction, so I treat them as a feature and finish them hard. I sand the stitched seam allowance even, bevel both sides, case it lightly, and burnish until the seam edge is sealed and rounded rather than a raw stack of layers. The same bevel-sand-slick-wax sequence I use on every project applies, just run along seams that carry real load. A sealed, burnished seam resists the abrasion of a bag dragged in and out of luggage, and a conditioned grain shrugs off the bathroom-counter water that would ruin an unfinished kit, the same care a notebook cover needs to age well.
Frequently Asked Questions
What leather is best for a dopp kit?
Use 4-5 oz veg-tan for a structured box that stands on its own, or 3-4 oz chrome-tan for a soft pouch that collapses flat. Either way, add a wipeable lining of coated canvas or thin chrome-tan to protect the interior from spills.
What size zipper does a dopp kit need?
Use a #5 metal zipper, typically 10 inches for a standard 9-inch-long kit. A #5 is sturdy enough for daily travel abuse and easy to hand-stitch. Buy the zipper a bit longer than the opening and trim or box the ends.
How do I stitch a zipper into leather?
Glue the zipper tape face-down under the top leather edge with contact cement and let it tack before punching. Then saddle-stitch 3-4 mm from the edge at a consistent pitch. Gluing first prevents the tape creeping and leaving a wavy stitch line.
What are gussets on a dopp kit?
Gussets are the side panels that box a flat wrapper into a bag with depth and a flat base. A 4-5 inch gusset gives a genuinely usable travel-size kit. They can be stitched with an exposed burnished seam or turned for a hidden seam.
Do I need to line a leather dopp kit?
Yes. A bathroom bag lives in a wet, oily environment that will stain and stiffen unlined veg-tan within weeks. Glue a coated canvas or chrome-tan lining to the flesh side of each panel while flat, before assembling the bag.
Related Guides
- Leather Projects for Beginners: The Right First Three Builds
- How to Make a Leather Belt: Step-by-Step Tutorial
- Leather Notebook Cover Pattern: A5 and Field Notes
- Leather Hardware Guide: Buckles, Rivets, and Snaps
- Best Glue for Leather: Contact Cement and More



