Most leather stitching mistakes trace to four root causes: uneven tension on the second pull, holes the wrong size for the thread, a stitch line that drifts because…
Most leather stitching mistakes trace to four root causes: uneven tension on the second pull, holes the wrong size for the thread, a stitch line that drifts because it was not marked first, and a backstitch too short to hold. Fix the cause, not the symptom, and almost every stitching defect disappears, and most can be unpicked and re-stitched cleanly.
I have made every one of these mistakes, usually more than once, and the good news is that stitching problems are the most diagnosable part of leatherwork — a wandering line or a drunken back tells you exactly what went wrong. This guide is strictly about stitching defects and how to fix and prevent them; for cutting, gluing, dyeing, and the other beginner traps, see the broader common leatherworking mistakes guide. Here we stay on the needle.
The Drunken Stitch Line: Fixing Tension
A wavy, uneven “drunken” stitch line, especially on the back of the piece, is the most common stitching fault, and it comes from inconsistent tension on the second pull. The fix is to pull both threads simultaneously to the same firm tension at every single stitch, rather than threading one tight and the other loose. Practice the motion on scrap before a real piece.
The detail that fixes this for good is understanding that tension is set by the second pull, not the first. Thread both needles through at moderate tension, then pull both to firm tension together — that simultaneous second pull is what makes every stitch sit the same. Beginners pull one needle hard and the other soft, and the line waves accordingly. Counting a steady beat (“one, two, pull, set”) for every hole locks the rhythm. Thirty minutes of deliberate practice on scrap leather fixes a drunken line faster than any tool change, which is exactly why the saddle stitch tutorial drills the second-pull motion before anything else — the same consistent-tension discipline Tandy’s own saddle-stitching skills guide teaches as the fix for a wavering line.
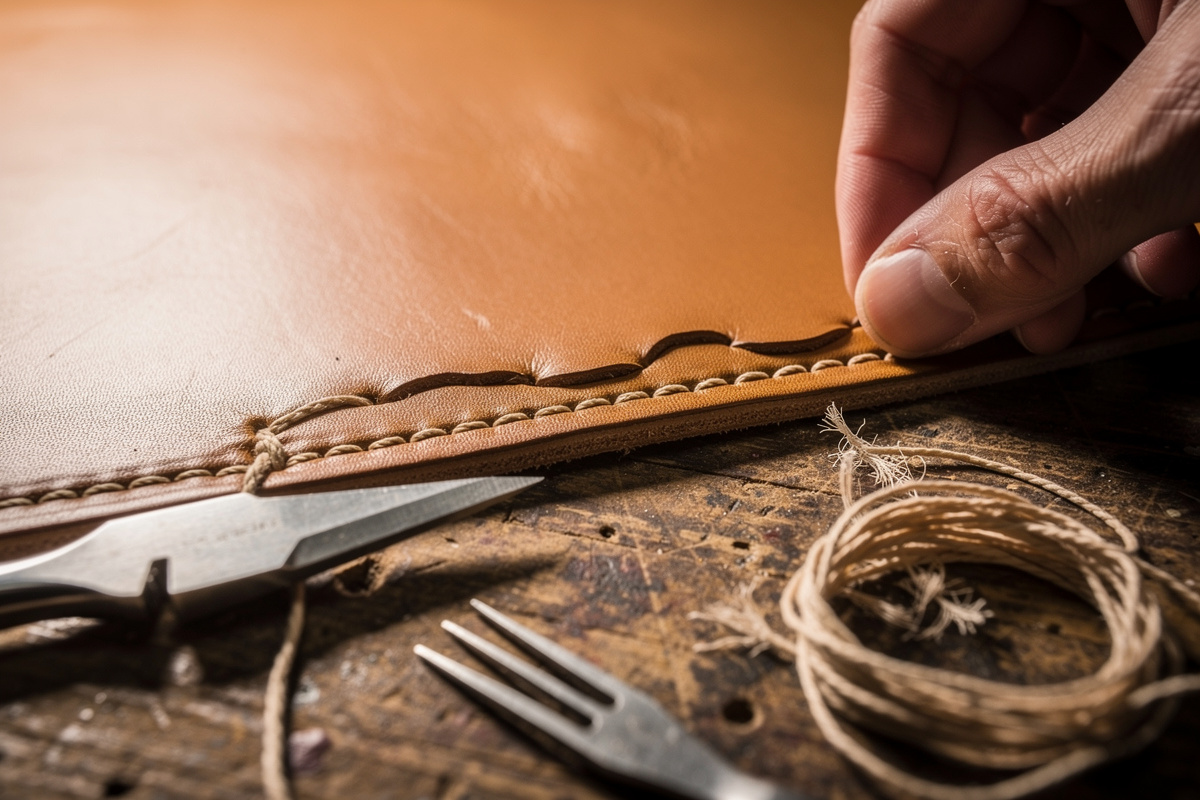
If the line is already drunken on a finished run, you can fix it: unpick the affected section by cutting the thread and pulling the stitches, then re-stitch through the existing holes with fresh thread at even tension. The holes are already there, so a re-stitch is clean as long as you did not stretch them. This is why I never throw out a piece over a bad stitch line.
Loose, Droopy Stitches: Hole and Thread Mismatch
Stitches that look loose and droopy almost always mean the holes are too large for the thread, or the thread is underwaxed. The fix is to match thread diameter to roughly half the chisel hole width so the stitch seats snug, and to re-wax thread that has gone slick. A stitch should fill its hole, not rattle in it.
This is the single sizing rule that governs how a stitch line looks: thread diameter sized to the hole the chisel actually cuts, roughly half the hole width as a starting rule of thumb (other makers size off leather thickness or chisel pitch instead — Weaver Leather Supply’s chisel-and-thread sizing guide covers the tradeoffs across those approaches). Too-thin thread in a too-big hole leaves visible gaps and a loose, sloppy line no amount of tension fixes; the thread simply cannot fill the channel. The fix going forward is to size the chain properly — chisel pitch, hole width, and thread diameter chosen together, as laid out in the leather thread guide and the stitching chisels guide. On a piece already stitched with the wrong combination, re-stitching with a heavier thread through the same holes is the rescue.
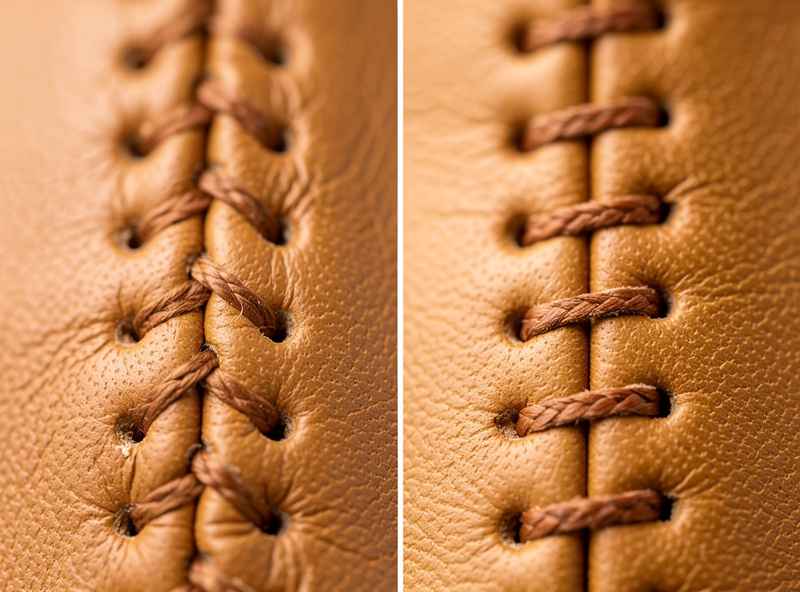
Underwaxed thread compounds the problem because wax is what grips the hole and holds the lock. Pre-waxed polyester usually has enough, but bare linen and worn thread need a pass over a beeswax block before stitching. If the thread feels slick and the stitches will not stay snug, re-wax and the grip returns.
The Wandering Line and Misaligned Holes
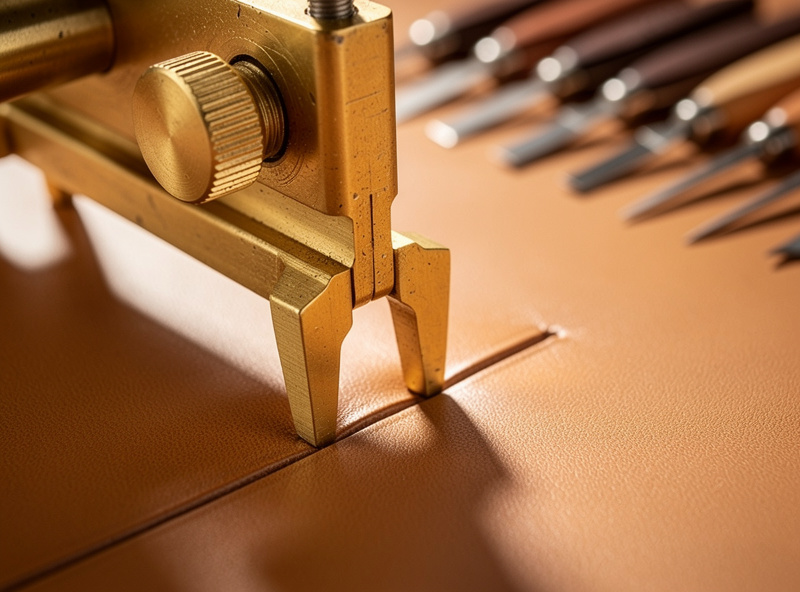
A stitch line that drifts toward or away from the edge was punched at an inconsistent distance from that edge. The fix is to mark the stitch line first with a wing divider set to a fixed distance, then punch the chisels along that scored line. Never chisel freehand and expect a straight line.
A wing divider (or stitching groover) scores a guide line a set distance from the edge, and that scored line is what keeps the stitching parallel and even. Punch your chisels so the prongs follow the line and the line stays a consistent 3 to 4 mm from the edge. Freehand punching is the number-one cause of a wandering line, and unlike a tension fault, it cannot be fixed after the fact — once the holes are in the wrong place, the only remedy is to plan the next piece better. Mark first, always.
Misaligned holes between two layers are a related fault: the pieces shifted during chiseling, or the chisel did not punch fully through both. The fix is to clamp the layers firmly before punching and to back the chisel with a hard granite or marble slab so the prongs drive completely through. If two layers’ holes do not line up at stitching time, open the back layer with a sharp diamond awl to realign rather than forcing the needle through and tearing the leather.
Stitching Fault Diagnostic Table
This is the table I run through whenever a stitch line looks wrong. Find the symptom, treat the cause, and apply the prevention so it does not recur.
| Symptom | Cause | Fix now | Prevent next time |
|---|---|---|---|
| Drunken, wavy line | Uneven second-pull tension | Unpick and re-stitch at even tension | Practice simultaneous second pull on scrap |
| Loose, droopy stitches | Holes too big or thread underwaxed | Re-stitch with heavier thread; re-wax | Thread = half the hole width |
| Thread breaks mid-stitch | Thread too thin or chisel burr | Switch up one thread weight | Deburr or replace damaged chisels |
| Line wanders from edge | Holes punched freehand | Cannot fix; re-plan piece | Mark with a wing divider first |
| Holes do not align between layers | Layers shifted or under-punched | Open back layer with a sharp awl | Clamp firmly; punch on a hard slab |
| Needle marks scarring grain | Needle eye too large or jerky pulls | Burnish lightly; drop a needle size | Smaller harness needle, steady tension |
| Seam end unravels | Backstitch under two holes | Re-backstitch and seal the end | Backstitch 2 to 3 holes, 4 high-stress |
Notice how many fixes are “unpick and re-stitch through the existing holes.” That is the quiet truth of hand stitching: because the holes are pre-punched and the saddle stitch is removable, most stitching mistakes are reversible in a way that a glued or dyed mistake is not.
Thread Breaks, Twists, and Needle Scars
Thread breaking mid-stitch usually means the thread is too thin for the project or a chisel burr is cutting the fibers. Step up one thread weight and inspect your chisels — a tiny burr on a prong shreds thread on every pass. Replace or deburr any chisel with a damaged point and the breakage stops.
Thread twisting and untwisting as you stitch is a quieter fault that makes the line look fuzzy and uneven. Braided polyester resists it; loosely plied linen is prone to it. Let the needles hang and spin free every few stitches to shed accumulated twist, and the line cleans up. Piercing your own thread with the needle on the return pass is another classic — it splits the thread and weakens the stitch. Thread the front needle so it passes cleanly past the back thread the same way every time, never spearing through it; that consistent over-or-under habit is core saddle-stitch technique.
Needle marks scarring the grain around the holes come from a needle eye too large for the hole or from yanking the thread. Drop one harness needle size so the eye matches the hole, and pull with steady tension rather than sharp jerks. Light scars can sometimes be burnished down with a bone folder or slicker, but prevention — right needle, smooth pulls — is the real answer, and it ties back to keeping the whole tool-to-thread chain matched.
As an Amazon Associate I earn from qualifying purchases.
The Tools That Prevent the Mistakes
Most stitching mistakes are prevented by three things: a marked line, holes sized to the thread, and clean chisels. The gear that delivers those is cheap relative to the frustration it saves, and it is the gear I would buy first if my lines kept wandering or my stitches kept gaping.
A leather wing divider is the single tool that kills the wandering-line mistake — it scores a perfectly parallel guide every time. Keep your stitching chisels sharp and burr-free so they punch clean holes and stop shredding thread, and match a quality waxed polyester thread to the hole size so stitches seat snug instead of loose. Those three, plus the second-pull tension habit, eliminate the large majority of stitching defects before they happen.
Frequently Asked Questions
How do you fix a wavy or drunken leather stitch line?
Unpick the affected section and re-stitch through the existing holes at even tension. The cause is inconsistent tension on the second pull, so pull both threads simultaneously to the same firm tension at every stitch. Practice the second-pull motion on scrap leather for thirty minutes before stitching a real piece.
Why do my leather stitches look loose and droopy?
The holes are too large for the thread, or the thread is underwaxed. Match thread diameter to roughly half the chisel hole width so the stitch seats snug, and re-wax thread that has gone slick. To rescue a finished piece, re-stitch with a heavier thread through the same holes so it fills the channel.
Can you fix leather stitching after it is done?
Yes, most stitching mistakes are reversible. Because the holes are pre-punched and the saddle stitch is removable, you can cut and pull the bad stitches and re-stitch through the existing holes. Tension faults, loose stitches, and short backstitches all rescue cleanly. Only a wandering hole line cannot be fixed after punching.
Why does my leather thread keep breaking while stitching?
The thread is too thin for the project or a chisel burr is cutting the fibers on each pass. Step up one thread weight and inspect every chisel prong for a burr or damaged point, then deburr or replace it. A clean chisel and correctly sized thread stop mid-stitch breakage.
How do I keep my leather stitch line straight?
Mark the line first with a wing divider set to a fixed distance from the edge, then punch your chisels along that scored line. Never chisel freehand. A wandering line comes from inconsistent hole placement and cannot be fixed once punched, so marking first is the only real prevention.
Why are the holes on the back of my leather not lining up?
The layers shifted during chiseling, or the chisel did not punch fully through both. Clamp the layers firmly before punching and back the chisel with a hard granite or marble slab so the prongs drive completely through. If holes still misalign, open the back layer with a sharp diamond awl rather than forcing the needle.
What causes needle marks around stitching holes?
A needle eye too large for the hole, or pulling the thread with sharp jerks. Drop one harness needle size so the eye matches the hole, and pull with steady, even tension. Light scarring can sometimes be burnished down with a bone folder, but using the right needle size prevents it.
Related Articles
- Leather Stitching Techniques: Saddle Stitch and Beyond
- How to Saddle Stitch Leather by Hand
- Leather Stitching Chisels Guide
- Backstitch and Finish a Leather Seam
- Common Leatherworking Mistakes Beginners Make