Most of what I’ve learned about my own leatherwork, I learned from photographing it. Not to list it anywhere — just to hold a finished piece next to…
Most of what I’ve learned about my own leatherwork, I learned from photographing it. Not to list it anywhere — just to hold a finished piece next to one from a year earlier and see, in a photo instead of in memory, that the edges are rounder now, the stitch lines straighter, the corners tighter. This guide covers how to photograph and document handmade leather work well enough to actually see your own progress: lighting, backdrop, the detail shots that show craftsmanship instead of hiding it, and how to keep a build log worth looking back on. None of it requires a storefront or a platform — it’s a habit for anyone building things by hand who wants an honest record of the work. For the material and craft side of what makes a piece worth documenting in the first place, see the handmade leather goods buyer’s guide.
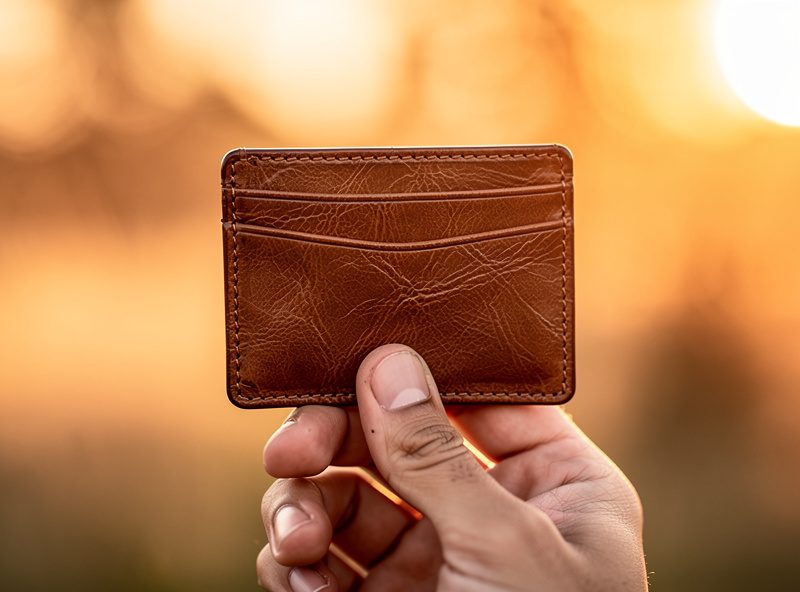
Good documentation photos do two things a quick phone snapshot in bad light never manages: they show the leather’s actual grain and color instead of a washed-out approximation, and they show the details — the stitch line, the burnished edge, the hardware seating — sharply enough that you (or anyone you show the piece to) can actually evaluate the craftsmanship instead of just the silhouette. That second part matters more than people expect. A blurry photo makes everything look handmade in the vague, forgiving sense. A sharp, well-lit photo is honest about whether the edge is actually slicked or just wiped down.
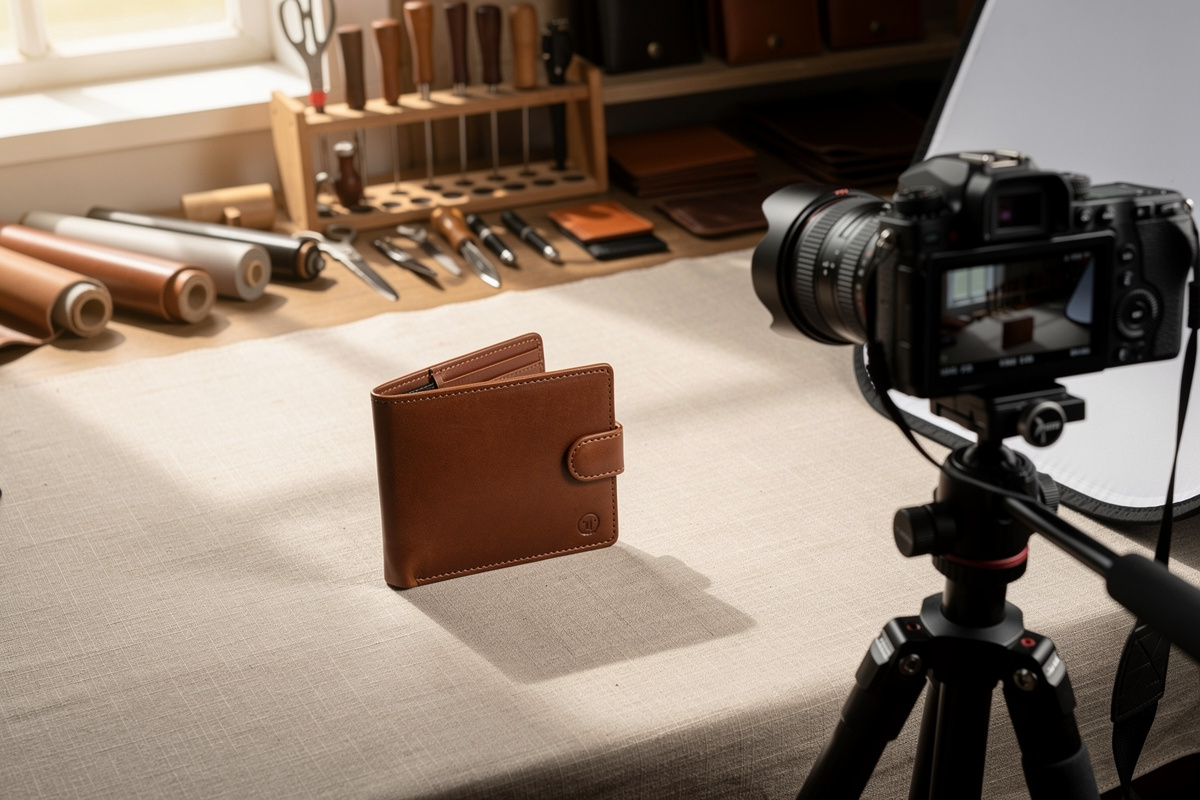
My first attempts at photographing finished pieces were shot on a kitchen counter under yellow overhead light, and every wallet came out looking muddy and flat — the veg-tan read as a dull orange-brown instead of the warm, layered color it actually is. Moving to a north-facing window and a plain light backdrop fixed almost all of it inside a week, with no new equipment beyond a $12 phone tripod. The photography habits below are what actually changed the results, not a general “take better photos” checklist.
Why Document Your Leather Work At All
A build log — even an informal one, just a folder of dated photos — is the only reliable way to see your own progress in a hands-on craft. Skill improvements in leatherwork are gradual enough that they’re nearly invisible day to day; you don’t notice your stitch spacing getting more consistent or your bevel getting cleaner because you’re inside the process every time. Photos taken consistently, in the same light, at the same angles, turn that invisible gradual improvement into something you can actually compare side by side.
It’s also the best way to give a finished piece away well — as a gift, or just to show someone what you’ve been working on — with something more than the object itself. A short photo set showing the piece finished, plus a detail shot of the stitching or the tooling, gives the recipient (or a fellow maker in a forum or a local guild) real information about the work that went in, the same way a musician might share a demo instead of just describing a song.
Lighting: The Variable That Actually Matters
Lighting is the single biggest factor separating a documentation photo that actually shows the leather from one that doesn’t. Natural daylight from a north-facing window is the most reliable setup available to anyone — it’s soft, consistent through the day, and doesn’t shift color the way indoor bulbs do. Direct sunlight causes harsh shadows and blown highlights on the grain; overhead fluorescent or warm incandescent bulbs cast a yellow or green color cast that makes veg-tan look muddier than it is and throws off any attempt to judge true dye color.
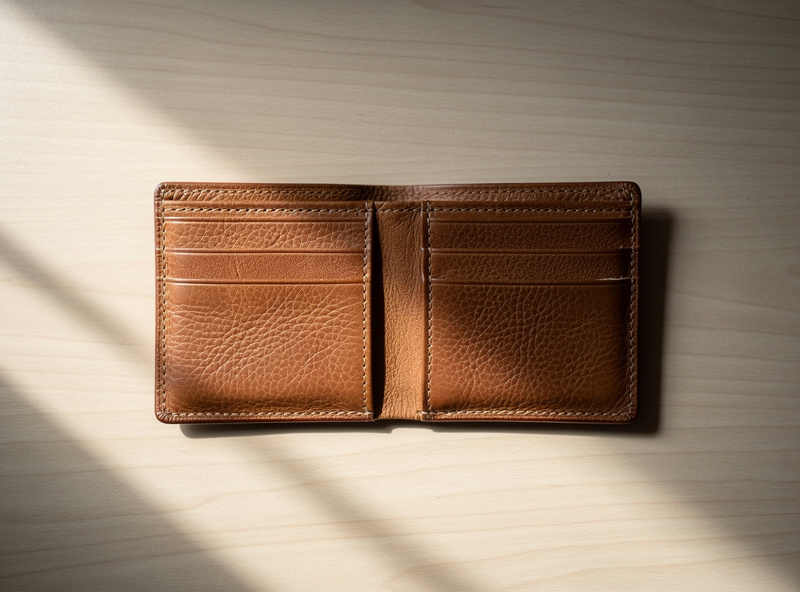
A cheap white foam-core reflector card, propped opposite the window, fills in shadows on the far side of the piece without adding a second light source to balance. If natural light isn’t available, a basic LED panel with an adjustable color temperature (aim for daylight-balanced, around 5000-5600K) gets close, though it rarely matches the softness of an actual overcast-day window. Whatever the source, keep it consistent between shots in the same set — mixing window light and lamp light in one photo set gives inconsistent color that makes side-by-side comparison useless.
Backdrop and Composition Basics
A plain, neutral backdrop keeps attention on the piece instead of competing with it. Options that work well: a sheet of white or cream poster board, a section of unfinished or lightly weathered wood, or a plain linen or cotton cloth. Avoid busy patterns, cluttered desks, or anything with a strong color cast (a bright red tablecloth will tint the whole photo) — the leather itself should be the only element the eye has to process.
For consistent documentation over time, keep the same backdrop, same angle, and roughly the same crop for the “finished piece” hero shot across every project. That consistency is what makes a photo from six months ago genuinely comparable to one from this week, rather than two photos that merely look similar. Detail shots can vary in composition and get in close, but keep the hero shot standardized.
The Detail Shots That Actually Show Craftsmanship
The hero shot shows what a piece is; the detail shots show how well it’s made, and they’re the ones actually worth taking care over. A useful documentation set runs five to seven photos: the full piece from the front, the full piece from the back (shows whether the stitch is a genuine saddle stitch — identical front and back — or a machine lockstitch), a macro shot of the stitch line showing spacing and tension, a macro shot of the edge finish showing whether it’s actually slicked or just trimmed, a shot of any hardware showing how it’s set, and an interior or open shot if the piece has one.
- Stitch-line macro: Get close enough to see individual stitches and their spacing. This is the shot that shows whether the pricking-iron pitch was consistent and the tension held steady.
- Edge-finish macro: Angle the light across the edge (raking light) so any unevenness in the bevel or slick shows up as a shadow. A properly finished edge should look uniformly smooth under this light.
- Hardware close-up: Show how a rivet or snap is seated — flush and centered, not proud or off-angle.
- Interior/open shot: For wallets and bags, an open shot showing the lining, pocket stitching, and skiving at the seams.
These are also the photos most casual phone snapshots skip entirely, because they take a minute of setup and a steady hand to get sharp. They’re worth the minute — a photo set with only a hero shot tells you almost nothing about the actual craftsmanship a year later, when memory of the specific piece has faded.
Building a Build Log: Before-and-After Documentation
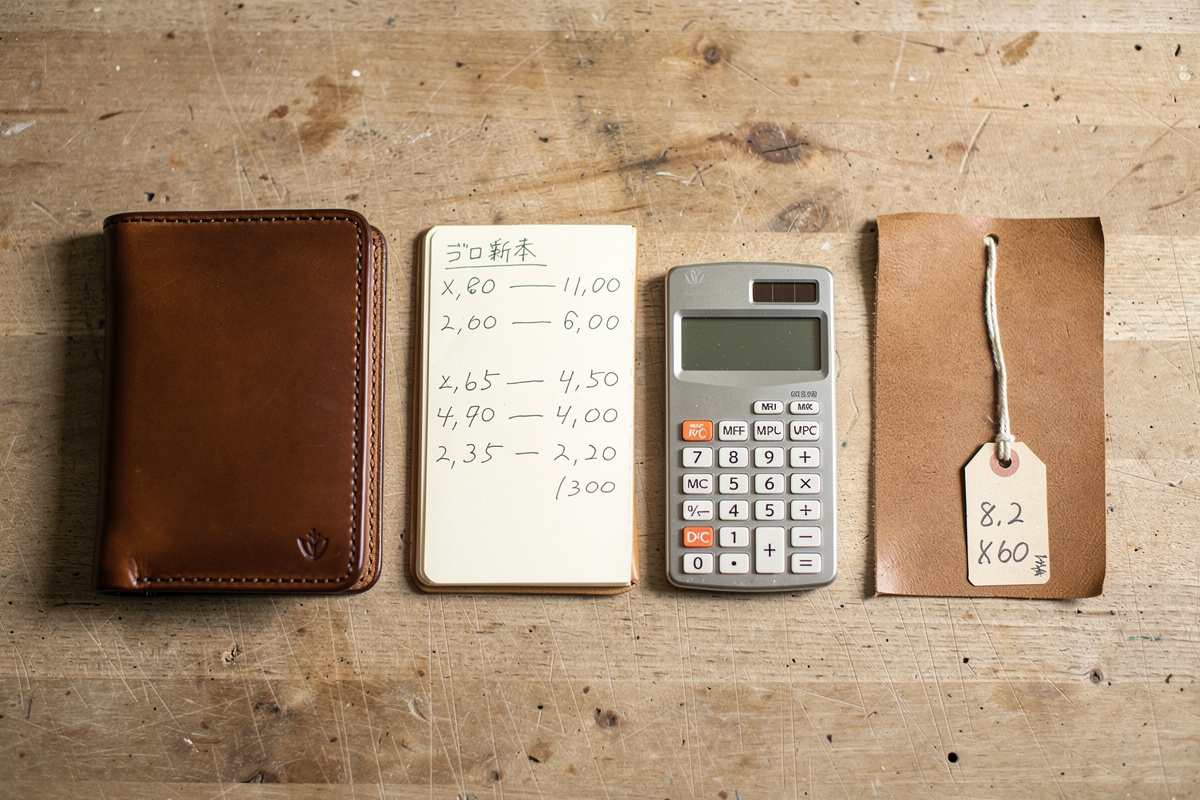
A build log doesn’t need to be elaborate — a dated folder per project with a few photos and a short note on what leather, thread, and technique you used is enough to make it useful. The note matters more than it seems: “6oz W&C veg-tan, 0.8mm Ritza Tiger, first time using a French edger instead of just sanding” tells future-you exactly what changed between this piece and the last one, in a way a photo alone can’t.
The most useful comparison isn’t the newest piece against the oldest — it’s against the piece from two or three projects back, close enough in time that the technique differences are still visible but far enough that the improvement is real rather than day-to-day variation. Laying two edge-finish macro shots side by side, six months apart, is often the clearest evidence of actual skill progress a hobbyist maker ever gets, because it’s otherwise very hard to judge your own hands objectively.
Sharing Your Work: Maker Communities and Gifting
A well-documented piece is worth sharing even without a storefront behind it. Leatherworking forums and maker communities generally welcome build photos and process shots — the detail shots above (stitch macro, edge macro) are exactly what other hobbyists want to see and critique, far more than a single glamour shot. Posting a full documentation set rather than just a hero photo tends to get more useful feedback, because other makers can actually assess the technique.
For gifting, a short printed or digital photo set alongside the finished piece — the hero shot plus one or two detail shots — turns a handmade gift into something with a visible story attached. It’s a small thing, but it answers the question a recipient often doesn’t think to ask out loud: how much work actually went into this.
Presenting a Finished Piece Well
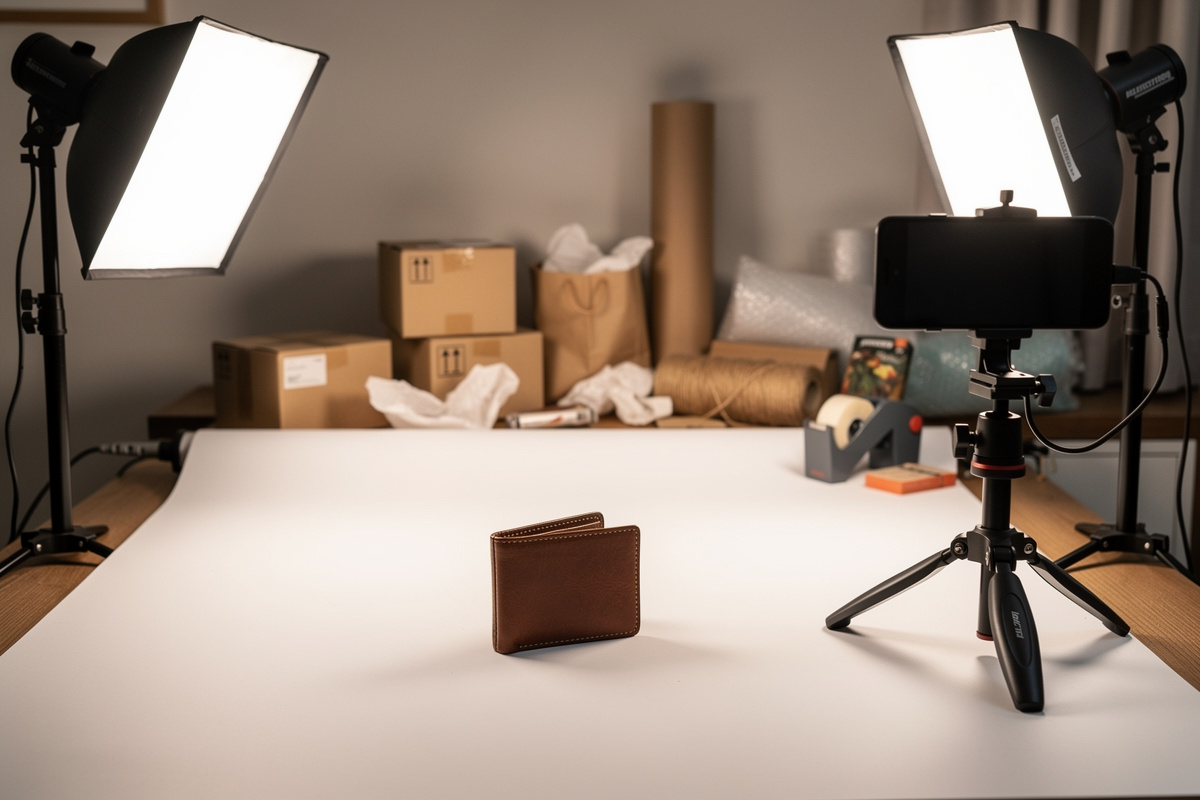
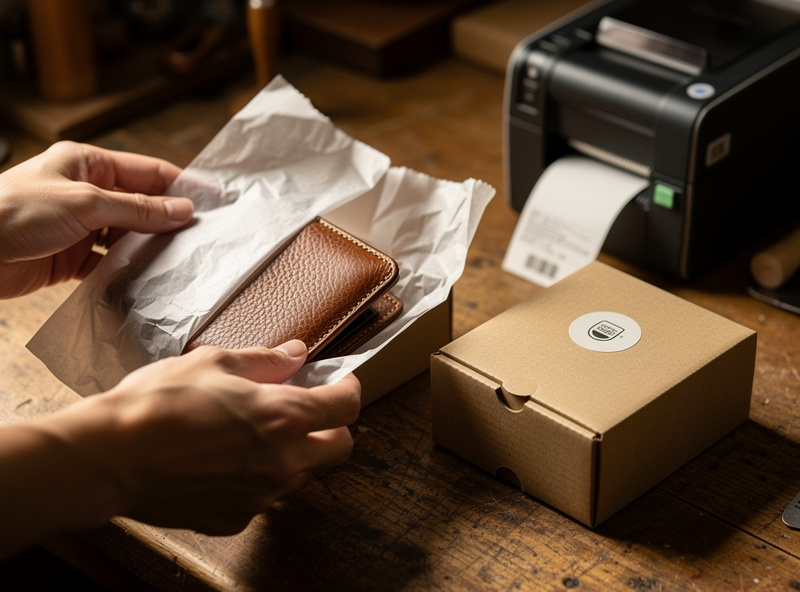
How a piece is presented when it’s handed over or shipped to family matters more than people expect, the same way packaging matters for anything given as a gift. A simple approach: wrap the piece in a plain tissue or cloth, include a small card noting the leather and technique (the same note you’d put in a build log), and if it’s shipping rather than handed over in person, pad it well enough that the edges don’t take an impression from other contents in the box. None of this needs to be elaborate — the point is that a piece that took six hours to build deserves five minutes of care in how it’s handed over.
What This Habit Teaches You About Your Own Work
The honest reason to keep documenting is that it’s the fastest way to get better. Photographing the edge finish under raking light, over and over, across projects, trains your eye to catch the same flaws a critical outsider would catch — before you’ve handed the piece to anyone. It’s the same discipline that drives the edge-finish obsession on this whole site: the bevel-sand-slick-wax sequence is measurable, and a camera measures it more honestly than a quick glance under workshop light ever will.
Documentation Habits Worth Fixing Early
A few habits separate a documentation set that’s actually useful a year later from one that isn’t. Shooting only the hero angle and skipping the back-of-stitch and edge-macro shots is the most common gap — those are exactly the photos that let you (or anyone else) judge the technique rather than just the silhouette, and they’re the ones people skip because they take an extra minute to get in focus. Inconsistent lighting between sessions is the second — a piece shot in warm lamp light one month and cool window light the next looks like two different colors of leather even when it’s the same dye, which makes real comparison useless.
The third habit worth fixing is not writing anything down. A photo alone answers “what does this look like” but not “what did I change to get here” — and six months later, the specific leather weight, thread size, or iron pitch used on a given piece is genuinely hard to recall without a note. Even a one-line caption on each folder (leather, thread, one thing that changed) turns a photo archive into an actual record of how the work has developed, rather than just a gallery.
Frequently Asked Questions
What is the best light for photographing handmade leather work?
Natural daylight from a north-facing window is the most reliable option — soft, consistent through the day, and free of the color cast that indoor bulbs introduce. A white reflector card opposite the window fills shadows without adding a second light source. If natural light is not available, a daylight-balanced LED panel around 5000 to 5600K comes closest.
What detail shots actually show craftsmanship in leather photos?
A macro shot of the stitch line shows spacing and tension. A macro shot of the edge under raking light shows whether the bevel and slick are actually even. A close-up of any hardware shows how cleanly a rivet or snap is seated. These matter more than a single hero shot for judging actual technique.
How do I keep a useful build log for my leatherwork?
Keep a dated folder per project with a hero photo, two or three detail shots, and a short note on the leather weight, thread size, and any technique that changed from the previous project. Comparing a piece against one from two or three projects back, rather than the very first one, shows the clearest real progress.
Why does the back of a stitch line matter in a photo?
A genuine saddle stitch looks identical on both faces of the leather, with a slight diagonal lean at each hole. A machine lockstitch looks different front to back. Photographing the back of a seam is the clearest way to document which stitch method was actually used.
Do I need expensive camera gear to document leather work well?
No. A smartphone camera in good natural light outperforms an expensive camera in poor light. The variables that actually matter are light quality and a steady hand or tripod for the macro detail shots, not sensor size or lens cost.
How should I present a handmade leather piece as a gift?
Wrap it in plain tissue or cloth, include a short note on the leather and technique used, and pad it well if it is shipping rather than handed over in person. A brief photo set alongside the piece — a hero shot plus a detail shot or two — gives the story of the work a visible form.
Related Articles
- What Handmade Leather Goods Are Actually Worth
- How to Make a Leather Bifold Wallet
- How to Make a Leather Card Holder
- Best Leather for Wallets
- Leatherworking Starter Kit