Most people evaluating a piece of handmade leather goods — buying a gift, backing a maker on a commission, or just handling a wallet at a market table…
Most people evaluating a piece of handmade leather goods — buying a gift, backing a maker on a commission, or just handling a wallet at a market table — have no reliable way to tell genuinely hand-stitched, well-finished work from something that only looks handmade in a photo. This hub is a buyer’s and collector’s guide to what actually separates the two: how the leather was tanned and graded, whether the stitching is a real saddle stitch, whether the edge was actually finished or just trimmed, and what the hardware tells you. None of it requires taking anyone’s word for it — every one of these is something you can check with your eyes and a fingertip once you know where to look.
This guide covers the full evaluation stack: hand-stitching versus machine-stitching, leather grade and tannage, the edge finish as the single biggest quality tell, hardware quality, what a fair price actually reflects from the maker’s side, and how to read a maker’s own photos and documentation of a piece. Linked deep-dives expand two of these in detail.
I’ve been hand-stitching wallets, belts, and knife sheaths on my own bench for years now, and the gap between a piece with a properly finished edge and one that’s just been trimmed with a blade is the first thing I check on anyone’s work, including my own early pieces. The difference isn’t subtle once you know what you’re looking at — it’s just invisible in a bad photo, which is exactly why so many buyers never learn to see it. This guide is what I’d tell a friend who asked me to look over a wallet before they bought it.
Hand-Stitched vs Machine-Stitched: What You’re Actually Looking At
The saddle stitch is the traditional hand-sewing method for leather: two needles, one waxed thread, passed through the same hole from opposite sides and pulled tight so each stitch locks independently. It’s slow — genuinely slower than a sewing machine by an order of magnitude — but the payoff is durability. Because every stitch locks on its own, a saddle-stitched seam can take localized thread damage without the whole line unraveling. A machine lockstitch shares continuous thread tension down the seam, so one snapped point can run the entire row.
The check is simple: look at the back of the stitch line. Genuine saddle stitching looks identical on both faces of the leather, with a slight diagonal lean at each hole from the angle of the awl. A machine lockstitch looks different front to back — one face shows a straight running stitch, the other shows small locking loops. This is the single fastest way to verify what you’re actually paying for, and it takes about five seconds once you know to flip the piece over.
Leather Grade and Tannage: What the Terms Actually Mean
Two vocabulary pairs do most of the work in describing leather quality, and sellers use them loosely enough that it’s worth knowing what they actually mean. Grade is about how much of the natural hide surface survives processing: full-grain keeps the outer layer with its natural texture intact and develops a patina with wear; top-grain is sanded smooth and often coated to hide blemishes, which looks more uniform on day one but wears differently — the coating can crack rather than age. The full breakdown, including which is more durable and why, lives in the full-grain vs top-grain leather guide.
Tannage is the other half. Vegetable-tanned (veg-tan) leather is tanned slowly with plant tannins, holds tooling and stamping, takes a burnished edge, and ages into a deep patina with handling and light exposure — the leather I reach for on wallets, belts, and sheaths where structure matters. Chrome-tanned leather is tanned quickly with chromium salts and stays soft and pliable, which suits bags and soft goods but won’t hold a burnished edge or patina the same way. Neither is better in the abstract; a maker using the wrong tannage for the project (chrome-tan on a structured wallet, veg-tan on a slouchy bag) is a real tell worth noticing. Tannery matters too — leather from established tanneries like Horween, Wickett & Craig, and Hermann Oak runs consistent temper and thickness across a hide, which shows up as an evener edge and fewer surprises during a build. The full types-and-tannage rundown is in the types of leather cluster.
The Edge Finish Is the Single Biggest Tell
If I had to pick one place to look first, it’s the edge. A raw-cut edge is just leather sliced with a blade — flat, slightly fuzzy, uneven in color as it darkens with handling. A properly finished edge goes through a full sequence: bevel (rounds the sharp corner), sand (smooths it progressively finer), slick (burnished with friction and a compound like Tokonole or gum tragacanth against a slicker), and wax or seal to lock it in. Done right, the edge looks turned rather than cut — glassy, rounded, and uniform in color the entire length of the piece.
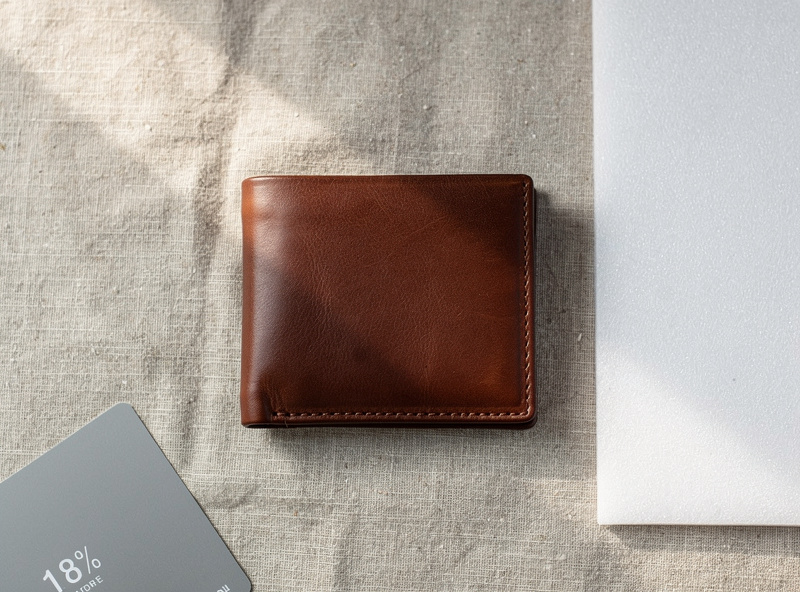
This is genuinely hard to fake in a photo and easy to check in person: run a finger down the edge. A properly slicked edge feels smooth and slightly cool, almost like polished stone. A skipped or rushed edge feels fuzzy or shows visible sanding scratches under raking light. In my experience, makers who take the time to get this step right are almost always also getting the leather selection and stitching right — it’s the last step in the build, and the one that’s easiest to rush when someone’s trying to move fast.
Hardware Quality
Snaps, rivets, buckles, and D-rings get far less attention than the leather but fail far more visibly. Solid brass or solid nickel-silver hardware doesn’t rust or flake, and the finish is consistent all the way through if it ever gets scratched. Plated hardware looks identical when new and reveals itself within a year — a scuff shows a different-colored base metal underneath, and regular contact eventually corrodes the plating at wear points. A rivet that sits flush and doesn’t wiggle was set correctly; one that sits proud or spins loose within months was not.
What a Fair Price Reflects
None of this is a pricing formula, but it’s worth understanding what a fair price for hand-stitched work is actually paying for, because it isn’t markup. It’s tannery-sourced leather that costs meaningfully more per square foot than corrected-grain commodity hide, plus real skilled hours — a bifold wallet with interior pockets can run four to eight hours of hand-cutting, hand-stitching, and hand-finishing before it’s done, and every one of those hours is either visible in the details above or invisible and still real. The full breakdown of where that value actually comes from — leather, hardware, stitching, and time — is in the what handmade leather goods are actually worth guide.
How to Evaluate a Maker’s Photos and Documentation
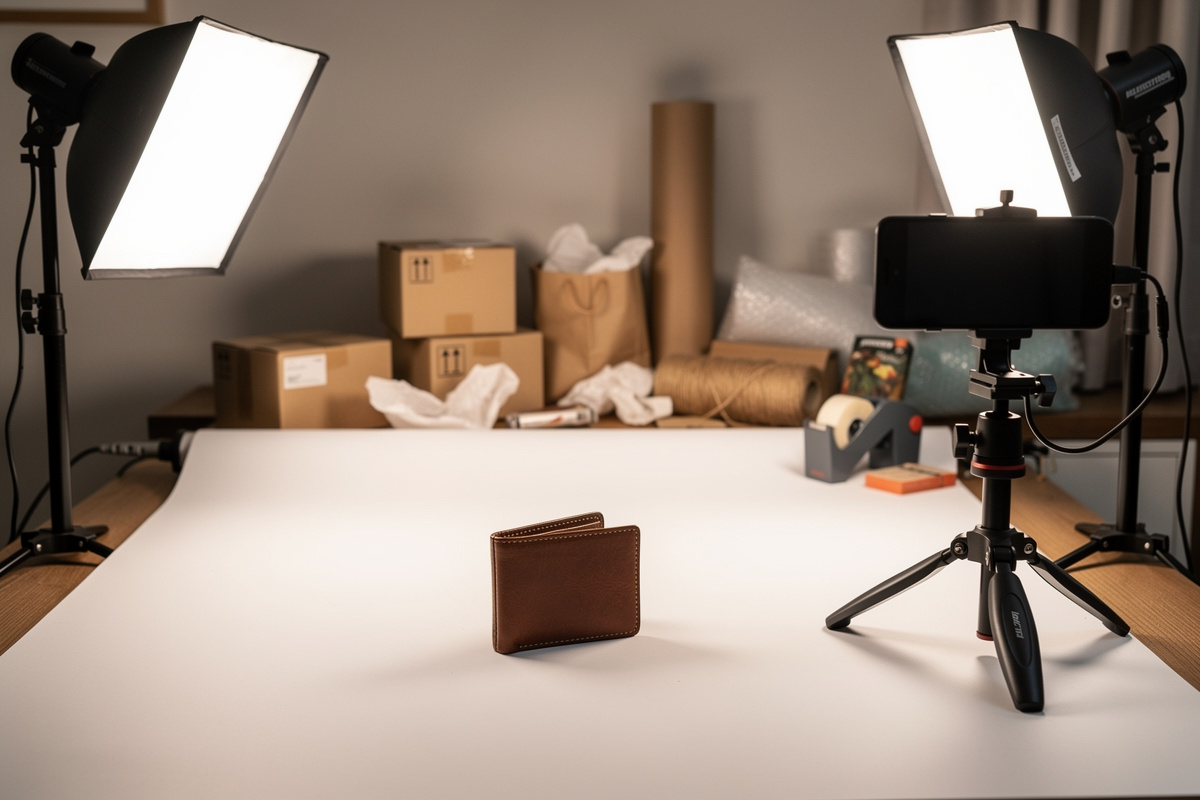
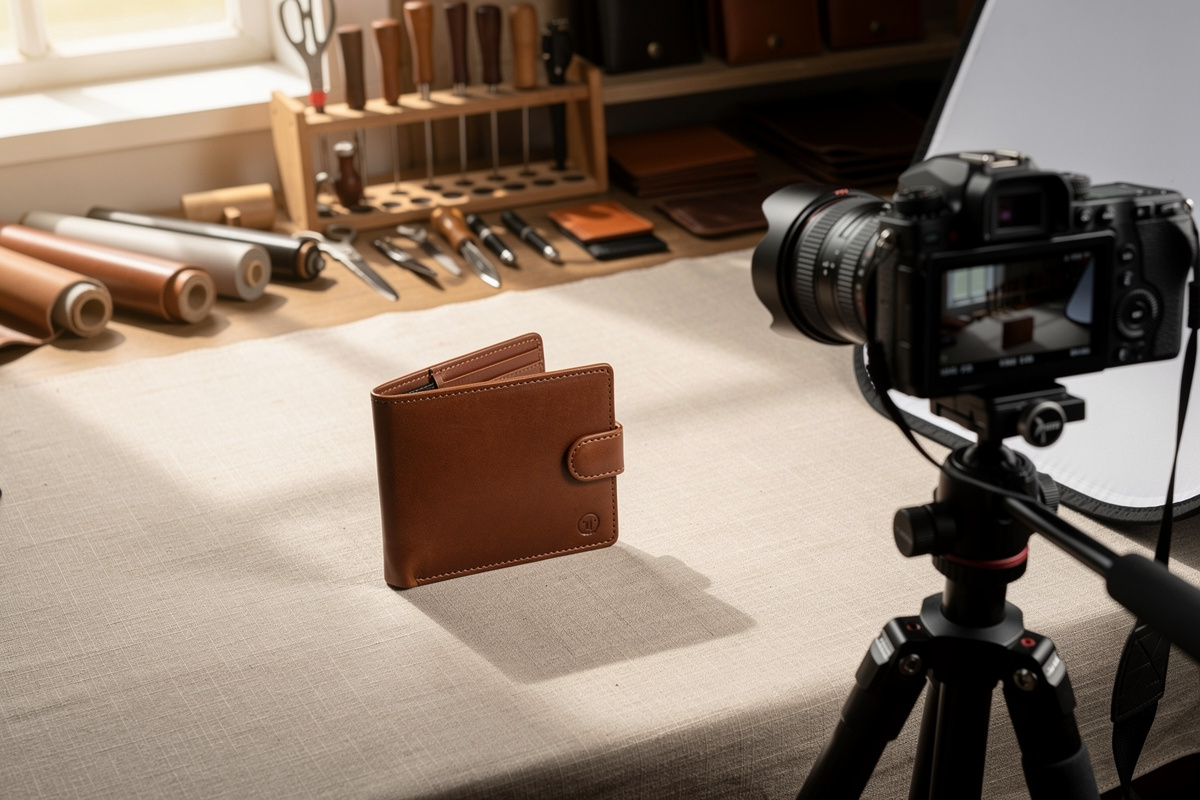
A maker who documents their own work well is usually a maker who’s confident in it. Look for a photo set that goes beyond a single hero shot — a genuine documentation set includes a stitch-line macro (so you can check for the saddle-stitch tell above), an edge-finish macro under raking light, and a hardware close-up. A maker who’s willing to show those detail shots, rather than just a flattering full-piece photo, is telling you something real about the work. The habits behind building a documentation set worth trusting — lighting, angles, what to actually shoot — are covered in the photographing and documenting handmade leather work guide.
Questions to Ask a Maker Before You Buy or Commission
A short list, in the order I’d actually ask them: what tannage is the leather (veg-tan or chrome-tan, and does it match the project), is the stitching hand-sewn with a saddle stitch or machine-sewn (neither is dishonest, but the answer should match the price), what’s the edge finish process, and is the hardware solid or plated. A maker who answers all four clearly and specifically is a maker who did the work and knows their own materials — vague answers to specific material questions are worth noticing.
Red Flags That Signal Mass-Produced Passed Off as Handmade
A few patterns are worth watching for: stitching that looks identical across dozens of listed items down to the exact same slight irregularities (a sign of machine production rather than individual hand work), an edge that looks glossy in photos but is never shown up close or under raking light, hardware described only as “brass-tone” or “gold-finish” rather than solid metal, and a maker who can’t or won’t answer a direct question about tannage or stitch method. None of these alone proves anything, but a piece that trips several of them at once is worth a second look before you pay a hand-stitched price for it.
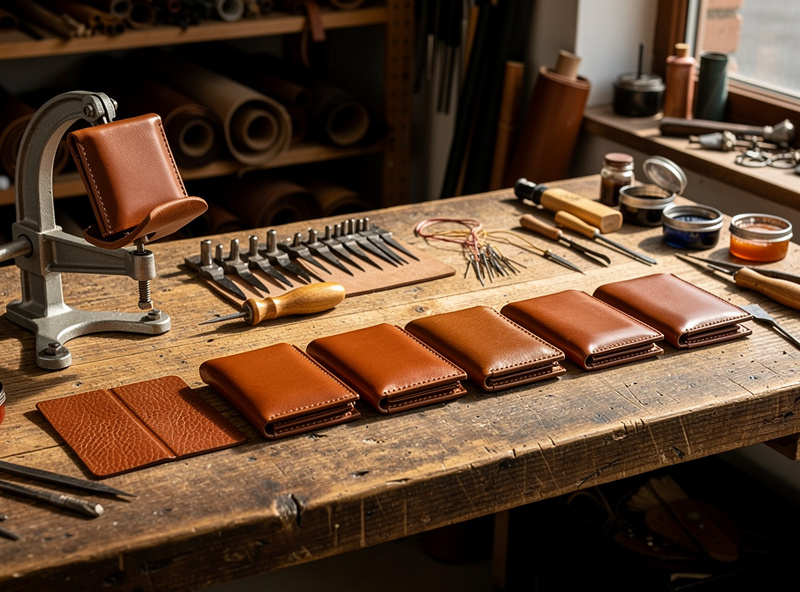
Evaluating a Commissioned Piece Before It’s Built
Commissioned work adds a layer most off-the-shelf evaluation doesn’t cover, because you’re judging a maker’s process before the piece exists rather than a finished object in your hand. Ask to see a documentation set from a comparable past project — same leather type, similar construction — rather than just the maker’s best-ever piece; it tells you what to actually expect. A maker worth commissioning will usually walk through the leather and stitch choices unprompted, the same way a real practitioner explains a decision rather than just asserting a result.
Spec everything in writing before the build starts: leather type and tannage, dye or finish color, dimensions, hardware finish, and stitch method. This isn’t a business formality — it’s the same discipline a maker uses on their own bench to avoid guessing halfway through a piece, and it protects both sides from a mismatched expectation later. A mid-build photo update, if the maker offers one, is a good sign — it means they’re documenting as they go, the same habit that produces trustworthy photo sets after the fact.
Frequently Asked Questions
How can I tell if leather goods are actually hand-stitched?
Check the back of the stitch line. A genuine saddle stitch (two needles, one thread, each stitch locked independently) looks identical on both faces of the leather. A machine lockstitch looks different front to back — one face shows a straight running stitch, the other shows small locking loops.
What is the difference between veg-tan and chrome-tan leather?
Veg-tan (vegetable-tanned) leather is tanned slowly with plant tannins, holds tooling and a burnished edge, and develops a deep patina with handling. Chrome-tan is tanned quickly with chromium salts and stays soft and pliable, suited to bags and soft goods, but will not hold a burnished edge or patina the same way. The right one depends on the project.
Why does the edge finish matter so much when evaluating leather goods?
The edge finish — bevel, sand, slick, and wax or seal — is the step most often rushed on mass-produced or low-effort handmade goods. A properly finished edge looks turned rather than cut and feels smooth under a finger. A skipped edge stays flat, slightly fuzzy, and darkens unevenly with handling.
Does hardware quality actually matter on handmade leather goods?
Yes. Solid brass or solid nickel-silver hardware does not rust or flake and stays the same color through a scratch. Plated hardware looks identical when new but reveals a different-colored base metal at any scuff and can corrode at contact points within a year of regular use.
Why does hand-stitched leather cost more than mass-produced leather goods?
Hand-stitched pieces use tannery-sourced leather that costs more per square foot than corrected-grain commodity hide, and they take real skilled hours to hand-cut, hand-stitch with a saddle stitch, and hand-finish the edges — often four to eight hours for a single wallet. Mass production replaces almost all of that labor with machine-minutes, which is the source of most of the price gap.
What questions should I ask a maker before buying a handmade leather piece?
Ask what tannage the leather is (veg-tan or chrome-tan) and whether it matches the project, whether the stitching is genuinely hand-sewn with a saddle stitch or machine-sewn, what the edge finish process was, and whether the hardware is solid metal or plated. A maker who answers specifically knows their materials.
Related Guides
- What Handmade Leather Goods Are Actually Worth
- How to Photograph and Document Handmade Leather Work
- Full-Grain vs Top-Grain Leather
- Types of Leather Cluster
- Leather Working for Beginners: Complete Starter Guide