Skiving leather for machine sewing means paring the leather thinner wherever layers stack — folds, overlaps, gusset corners, turned edges — so the presser foot stays level and…
Skiving leather for machine sewing means paring the leather thinner wherever layers stack — folds, overlaps, gusset corners, turned edges — so the presser foot stays level and the feed keeps its grip. Unskived bulk is the number one reason a leather machine skips, jams, or snaps needles: the foot tips off the edge of a thick step and the stitch length collapses to nothing right where the seam shows.
I skive constantly in my hand work, and on machine projects it matters even more, because a machine can’t feel the bulk and ease around it the way your hands do — it just hits the wall and the stitch goes ugly. This is the prep step that separates a seam that looks store-bought from one that puckers and lifts. Here’s where to skive, how thin, and the tools to do it, building on the main sewing machine for leather guide.
Why Machine Sewing Demands Skiving
A presser foot and feed system work by clamping the leather flat and pulling it through evenly. The moment the foot meets a sudden step in thickness — the edge of a folded-over piece, an overlap, a doubled gusset — it tips, loses contact with the lower layer, and the feed stops gripping. The result is a knot of tiny stitches piled up at the step, or skipped stitches as the needle deflects.
Skiving removes that step by ramping the thickness down gradually instead of leaving a cliff. Where two pieces overlap, you thin each so the combined stack is no thicker than a single layer; where leather folds back on itself, you thin the fold zone so it lies flat. Your hands can negotiate a thick corner on a hand stitch, slowing and adjusting; the machine has no such judgment, so you have to do the thinking ahead of time with a sharp blade. Get the skiving right and most “my machine won’t sew leather” complaints simply vanish.
Where to Skive on a Machine Project
Skive anywhere two or more layers come together or a single layer folds. The five usual suspects are folded (turned) edges, piece overlaps, gusset corners where several layers meet, the turned mouth of a bag, and lining edges that would otherwise add a ridge under the seam. Each is a place the foot would tip without a skived ramp.
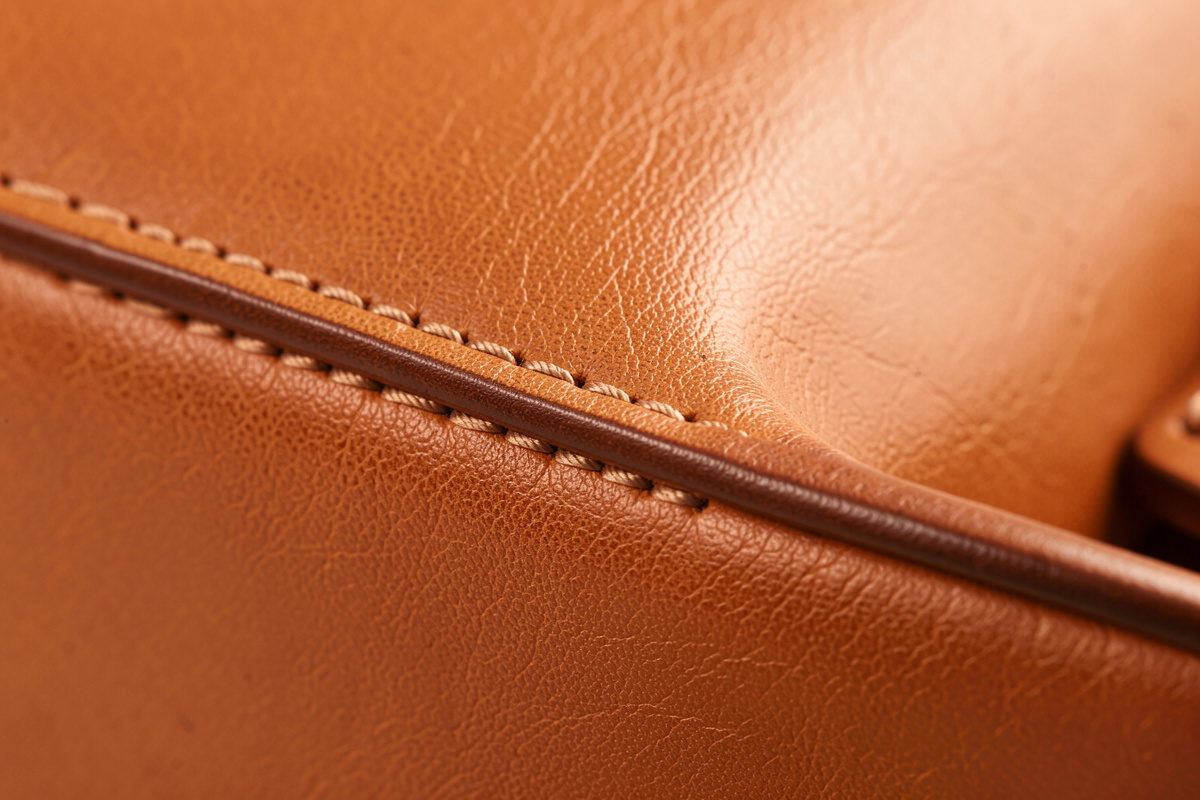
A turned edge is the most demanding: you’re doubling the leather and asking the machine to topstitch through the fold, so the fold zone has to come down to roughly half thickness or less or it reads as a fat ridge. Overlaps want each piece thinned so the join is flush, not stepped. Gusset corners, where three or four layers stack, are where machines choke most often — skive aggressively there. Lining edges get a gentle taper so the lining feathers into the main piece rather than ending in a hard line. Knowing your leather weights helps you judge how much to take off; the leather thickness chart is the reference I keep on the bench.
How Thin Is Thin Enough
The target is simple: after skiving, the stacked area should be no thicker than the surrounding single layer, and ideally a touch thinner. For a turned edge, taper the fold zone to a feather so the folded-back leather lies dead flat. For an overlap, split the difference so each piece gives up half the bulk. You’re aiming for a ramp the foot can climb, not a step it has to jump.
The mistake beginners make is timid skiving — taking off a whisker and leaving most of the bulk, then wondering why the seam still puckers. Be decisive: a fold that doesn’t lie flat under finger pressure isn’t skived enough. The opposite mistake is skiving so far you cut through the grain or leave the leather paper-thin and weak at the seam, so work in passes and check often. On firm veg-tan you can take a clean controlled slice; soft chrome-tan is harder to skive evenly and rewards a very sharp blade and a slow hand.
Skiving by Hand: Knife, French Skiver, and Safety Skiver
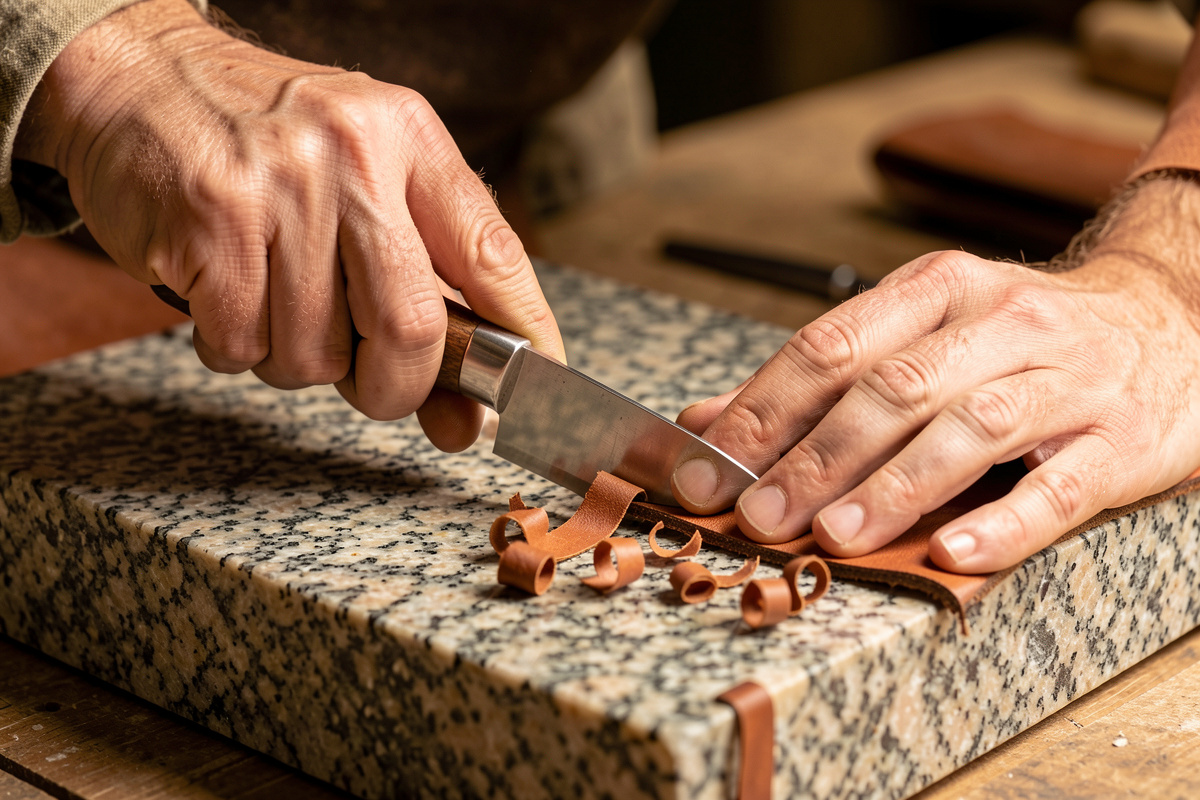
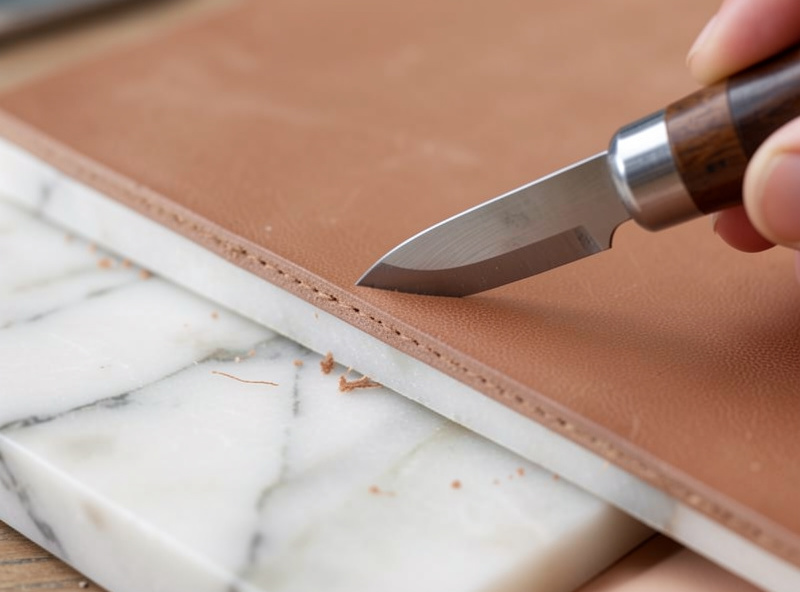
Most makers skive by hand, and the three common tools are the skiving knife, the French (or English) paring knife, and the safety skiver with replaceable blades. A skiving knife — a wide, scary-sharp blade held at a low angle — gives the most control once you learn it, taking long clean slices off the flesh side. It lives or dies by its edge, which is why I keep mine stropped to a mirror.
The safety skiver (a handled tool that holds a razor or replaceable blade) is the easiest way in for beginners because the blade angle is fixed and you can’t dig in as easily; it’s slower but forgiving. A French skiver sits between the two. Whichever you use, work on a hard smooth surface — a marble or granite slab — with the leather flesh-side up, and skive in shallow passes toward the edge. The full rundown of skiving knife types and how to sharpen them is in the leather skiving knife guide, and keeping any of these blades keen is covered in how to sharpen leather tools. A dull skiving blade tears and chatters; a sharp one whispers.
The Bell Skiver: When You Graduate
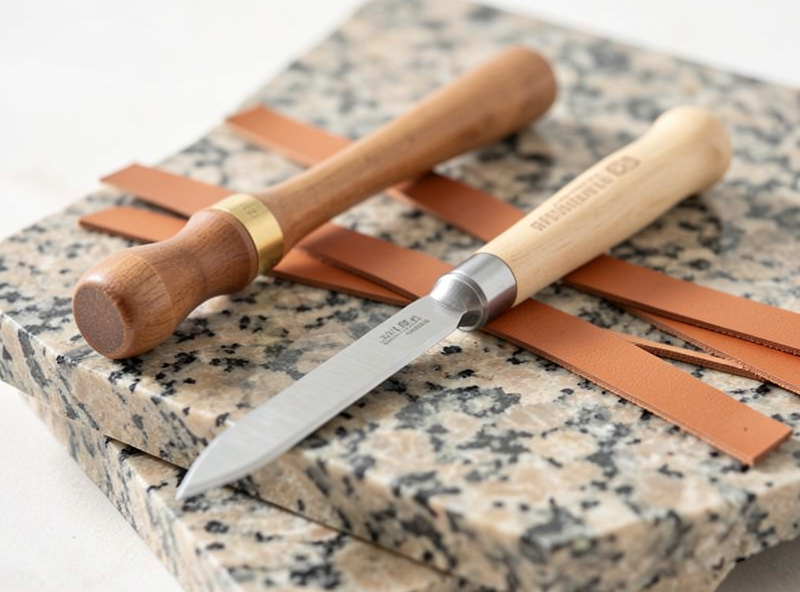
Once you’re skiving the same folds and edges over and over for production, a bell skiver machine earns its bench space. It’s a powered tool with a spinning bell knife and a feed wheel that splits a consistent bevel along an edge far faster and more evenly than hand skiving — the same logic as moving from hand stitching to a sewing machine. For volume turned edges, nothing else comes close.
A bell skiver is a real investment and a real learning curve, with the bevel angle, depth, and feed all adjustable, so it’s overkill until you’re genuinely repeating the same skive many times. For most hobby and small-batch makers, sharp hand tools cover everything. If you’re weighing a powered skiver alongside a splitter, the machine side of that decision is in the leather splitter and skiver machine guide. Don’t buy one to make a handful of wallets — buy it when hand-skiving every fold has become the bottleneck in your day.
Skiving Chrome-Tan and Veg-Tan Differently
The two main leather families skive differently and need different hands. Firm veg-tan slices cleanly and holds the skived shape, so you can take a confident long pass and the bevel stays where you put it. Soft, stretchy chrome-tan drags under the blade, wants to fold rather than cut, and springs back, so it demands a sharper edge, a lower angle, and a slower, more patient pass.
For chrome-tan especially, backing the leather flat and pulling it taut against the slab helps the blade cut instead of pushing the leather around. A safety skiver often beats a knife on thin chrome-tan because the fixed angle stops you diving through the soft grain. On veg-tan you’ll do most folds with a paring knife or skiving knife and barely think about it. Knowing which family you’re holding before you start — the differences are in chrome tan vs veg tan leather — tells you which approach to bring to the slab.
The Safety Word Nobody Skips Twice
A skiving blade sharp enough to skive cleanly is sharp enough to open your hand, and it’s pointed away from you across a hard slab for a reason. Keep your guiding hand behind the blade, never in its path, and skive in controlled passes rather than one greedy stroke that can skip off the edge. The single most dangerous move is a dull blade forced hard — it slips instead of cuts.
The broader bench-safety habits carry straight over from the rest of the craft, covered in leathercraft safety tips: good light, a stable slab that won’t slide, and full attention on the blade. Skiving is the quiet, patient end of leatherwork, the same focus a clean machine seam needs — rush it and both the leather and your fingers pay.
Jigs and Helpers From the Other Bench
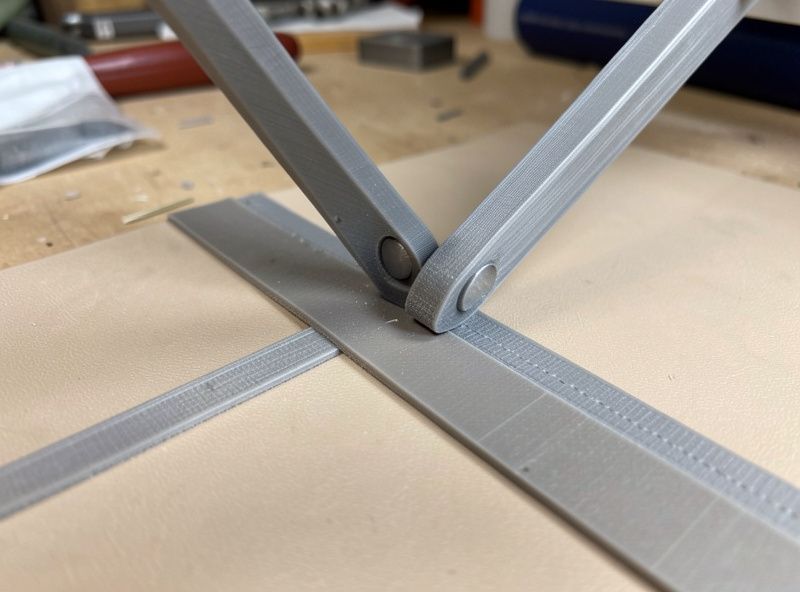
One advantage of working in a mixed workshop is that the same printer that turns out my edge slickers also prints skiving and folding jigs — little angled guides that hold a consistent fold line or set a repeatable skive width. They don’t replace a sharp blade, but they make a hand skive more repeatable, which is exactly what machine work rewards. I cover that printed-tooling crossover in DIY leather edge slickers and 3D-printed tooling.
The bigger point is that skiving is a habit, not a one-off step. Build it into the project before you ever sit at the machine: cut, glue, skive the stacks, set the folds, and only then sew. A seam planned with skiving baked in goes through the machine smooth and finishes clean. A seam where you remembered the bulk only when the foot started tipping is already fighting you. Plan the thin spots first, and the machine does the easy part.
Keep Building
- Sewing Machine for Leather: A Maker’s Complete Guide
- Leather Seam Finishing on a Machine
- Leather Skiving Knife Guide
- Leather Splitter and Skiver Machine Guide