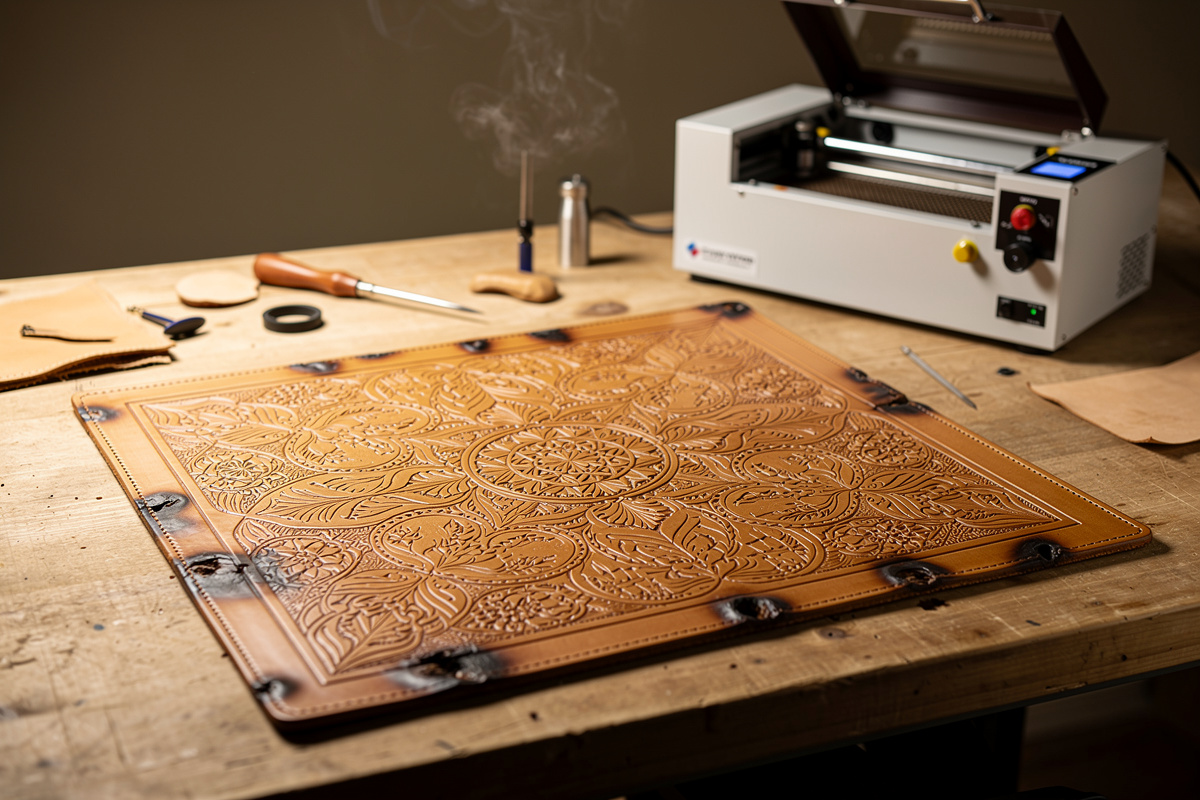
Vegetable-tanned leather engraves cleanly on a 5W diode laser at 100% power and 1200-1500 mm/min, single pass; on a 40W CO2 at 18-22% power and 250 mm/sec, single…
Vegetable-tanned leather engraves cleanly on a 5W diode laser at 100% power and 1200-1500 mm/min, single pass; on a 40W CO2 at 18-22% power and 250 mm/sec, single pass. The trick to avoiding burn-through and scorched edges is matching laser power to leather thickness — a 2-3 oz (0.8-1.2 mm) wallet panel needs different settings than 8-10 oz (3.2-4.0 mm) belt blank, and the wrong settings on either ruins the workpiece. This guide gives you a calibration test grid, the four leather types that engrave well, and the post-engrave finishing that prevents the brown-edge-fade problem most starter projects suffer.
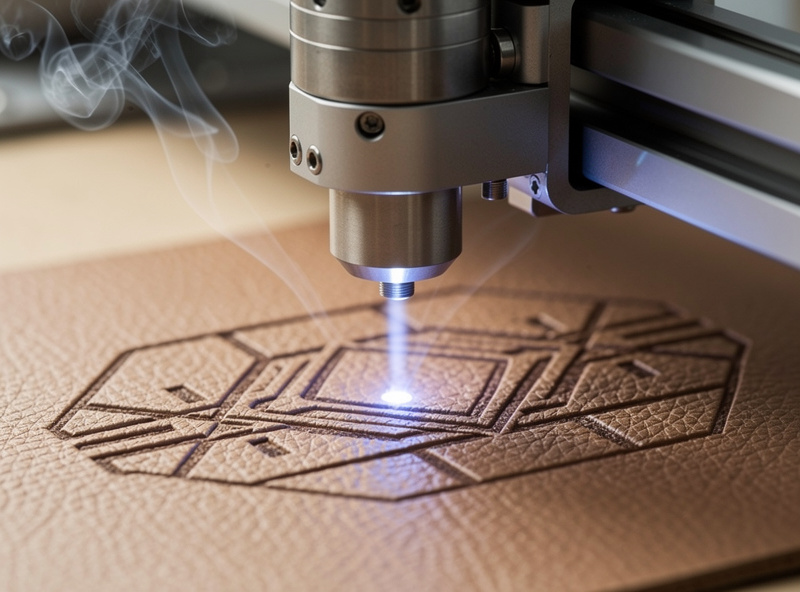
Leather is among the most rewarding materials to engrave because the contrast between the unburnt surface and the laser-darkened pattern is dramatic without being harsh. It is also among the easiest materials to ruin: too much power and the leather burns through to the back; too little and the engraving looks faded and washes out the first time the piece sees water. Get the settings right and a leather wallet, belt, journal cover, or knife sheath becomes a permanent personalized object. Get them wrong and you have $30 of scorched scrap.
I burned through three scrap pieces dialing in the settings on my first leather laser project because the test grid I used was from an acrylic tutorial — completely wrong power and speed for veg-tan. The material test grid section below is the exact method I now use for every new hide. On my 5W diode laser, 80% power at 1000 mm/min produces a clean dark brown mark without char on 4-5 oz Hermann Oak.
Why Vegetable-Tanned Leather Specifically
Three leather tannage types dominate the craft market: vegetable-tanned (tannins from oak, chestnut, mimosa bark — the traditional tooling leather), chrome-tanned (chromium salts — the upholstery and shoe-leather standard), and chrome-free combination tanned (mixed processes). Only vegetable-tanned engraves cleanly. The tannins react predictably with laser heat to produce the rich brown contrast that defines a good engraving. Chrome-tanned leather releases hexavalent chromium fumes and chlorine gas when laser-cut — OSHA classifies hexavalent chromium as a known human carcinogen with no safe exposure threshold, and no amount of ventilation makes cutting chrome-tan leather safe — it’s a hard “do not engrave” for any home setup, full stop.
The four vegetable-tanned leathers worth keeping in your shop:
- Hermann Oak (American, $14-$18/sq ft): The reference vegetable tannage. Engraves with the highest contrast and most consistent absorption.
- Wickett & Craig (American, $11-$15/sq ft): Slightly less consistent than Hermann Oak but excellent value for production.
- Tärnsjö (Swedish, $18-$25/sq ft): Premium European veg-tan. Slightly waxier surface that requires marginally more power.
- Tannery Row imports ($6-$10/sq ft): Variable quality — fine for practice, inconsistent for production.
For deeper laser-side coverage of which materials engrave well in general (and which definitely should not), see LaserBeamForge’s laser engraving leather settings guide. That article covers the diode-vs-CO2 tradeoff and the safety considerations for leather laser work in detail.
Settings by Laser Type and Leather Thickness
5-10W Diode Laser (xTool D1 Pro, Atomstack X20, OMTech Polar diode)
Diode lasers are the right entry-level choice for leather work. Power output is plenty for engraving; cutting through thicker leather is marginal but achievable.
| Leather Thickness | Operation | Power | Speed | Passes |
|---|---|---|---|---|
| 2-3 oz (0.8-1.2 mm) | Engrave | 30-40% | 2500 mm/min | 1 |
| 2-3 oz (0.8-1.2 mm) | Cut | 100% | 250 mm/min | 2-3 |
| 4-5 oz (1.6-2.0 mm) | Engrave | 50-60% | 2000 mm/min | 1 |
| 4-5 oz (1.6-2.0 mm) | Cut | 100% | 150 mm/min | 3-4 |
| 6-8 oz (2.4-3.2 mm) | Engrave | 70-80% | 1500 mm/min | 1 |
| 6-8 oz (2.4-3.2 mm) | Cut | 100% | 100 mm/min | 5-6 |
| 9-10 oz (3.6-4.0 mm) | Engrave | 80-100% | 1200 mm/min | 1 |
| 9-10 oz (3.6-4.0 mm) | Cut | Use CO2 instead | — | — |
40-80W CO2 Laser (Glowforge, OMTech, K40 modded, xTool P2)
CO2 produces noticeably cleaner engraving on leather than diode at equivalent throughput. The engrave depth is more controllable and the brown-burn contrast is richer.
| Leather Thickness | Operation | Power | Speed | Passes |
|---|---|---|---|---|
| 2-3 oz (0.8-1.2 mm) | Engrave | 15-18% | 350 mm/sec | 1 |
| 2-3 oz (0.8-1.2 mm) | Cut | 40-50% | 20 mm/sec | 1 |
| 4-5 oz (1.6-2.0 mm) | Engrave | 18-22% | 300 mm/sec | 1 |
| 4-5 oz (1.6-2.0 mm) | Cut | 50-60% | 15 mm/sec | 1 |
| 6-8 oz (2.4-3.2 mm) | Engrave | 22-25% | 250 mm/sec | 1 |
| 6-8 oz (2.4-3.2 mm) | Cut | 60-75% | 10 mm/sec | 1 |
| 9-10 oz (3.6-4.0 mm) | Engrave | 25-30% | 200 mm/sec | 1 |
| 9-10 oz (3.6-4.0 mm) | Cut | 75-90% | 8 mm/sec | 1 |
The Material Test Grid: Calibrate Before Every New Hide
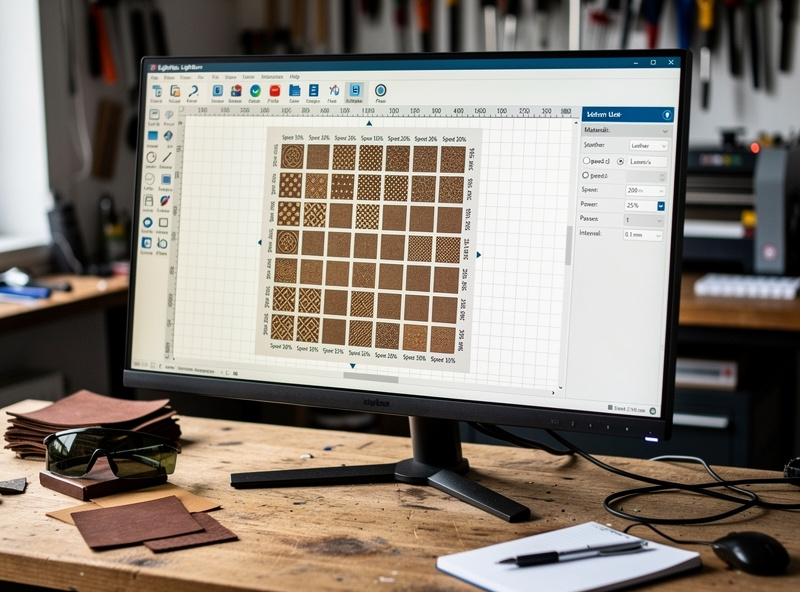
Each hide of leather has slightly different tannin density, moisture content, and surface treatment. A material test grid run on a 2 by 2 inch corner of the hide takes 10 minutes and saves the production piece from settings drift.
The test grid: in LightBurn or your slicer software, draw an 8 by 8 grid of small squares (each 8 mm). Vary power across rows (10%, 20%, 30%, … 80%) and speed across columns (1000, 1500, 2000, 2500 mm/min for diode; 200, 250, 300, 350 mm/sec for CO2). Engrave the grid, examine which cell produced the best contrast without scorching, and use those values for the production piece.
Run this grid the first time you cut from a new hide. Skip it on subsequent pieces from the same hide unless they are from the belly or shoulders (which engrave differently than the back). For the broader LightBurn workflow that supports this kind of test pattern, see LaserBeamForge’s LightBurn tutorial.
Post-Engrave Finishing: The Step Most Tutorials Skip
An unfinished engraving on vegetable-tanned leather will fade noticeably within 6-12 months. The dark brown burn lightens to dull tan as the leather oxidizes. Finishing locks in the contrast.
Three finish options work, in increasing complexity:
Beeswax burnishing. Rub a small amount of beeswax into the engraved area with a soft cloth, buff with the same cloth. Adds water resistance and slight darkening that emphasizes the engraving. Cheapest option, 5 minutes per piece.
Neatsfoot oil + leather conditioner. Apply a light coat of pure neatsfoot oil to the leather, let absorb for 30 minutes, follow with a leather conditioner (Smith’s Leather Balm, Aussie Leather Conditioner). Darkens the engraving slightly more, adds significant water resistance, and softens the leather. The right finish for items that will see regular handling.
Leather dye + sealer. For pieces where you want to dye the leather a different colour AND keep the engraving visible, apply Fiebing’s Pro Dye to the surface (the engraving will absorb dye more deeply, increasing contrast), then seal with Resolene or Leather Sheen. Most complex option, 24-hour total time, highest visual impact.
Common Mistakes That Ruin Leather Engravings
Five mistakes account for nearly every botched leather engraving:
- Engraving chrome-tanned leather. Releases toxic hexavalent chromium fumes. Never engrave anything sold as “chrome-tanned”, “wet-blue”, or “soft tannage”. When in doubt, ask the supplier; reputable craft leather suppliers always know the tannage.
- No air assist. Without air assist (or with weak air assist) leather smoke deposits on the engraving and creates a dirty grey rather than crisp dark brown. Add a $30 air pump and 6mm tubing to the laser if it does not have one.
- Engraving wet or oiled leather. Conditioned leather absorbs laser energy unevenly; the engraving comes out blotchy. Engrave first, condition or dye second.
- Wrong focal distance. Auto-focus is unreliable on the soft surface of leather. Use a manual focus tool (a 1/4 inch wood block or a metal focus gauge) to set focal distance directly on the leather surface every time.
- No material test grid for new hides. Each hide differs by 10-20% in optimal settings. Skipping the grid wastes more leather than running it.
Project Ideas to Build Your Settings Library
Three projects that build skill in order:
Beginner: Engraved leather coasters (4 inch circles, 4 oz veg-tan). Cut and engrave 6 in one 30-minute session. Tests cut-through settings and engrave depth on a forgiving piece.
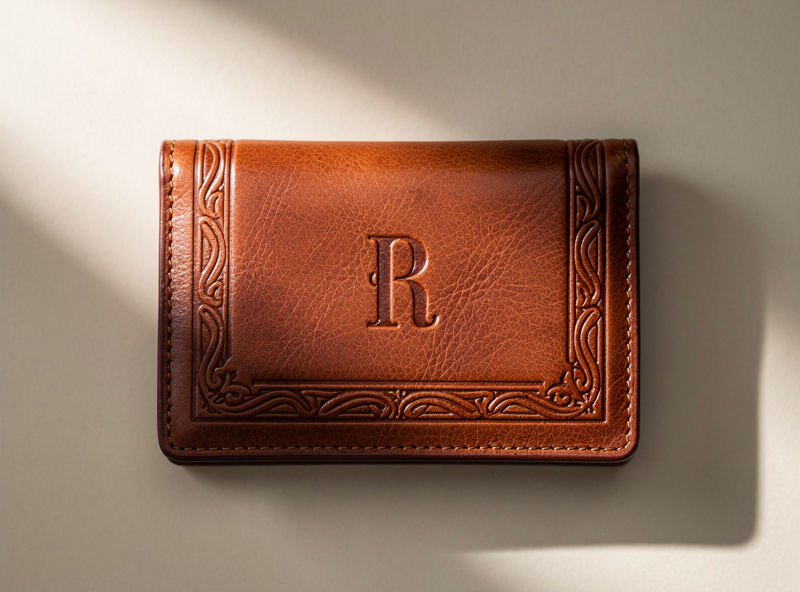
Intermediate: Leather wallet with engraved monogram (8-10 oz, 4 by 8 inch panels). Tests engrave-only settings on thicker stock plus assembly skills. Pairs with our leather projects guide.
Advanced: Knife sheath with engraved sheath body (6-8 oz, custom geometry). Combines cutting through 7 oz veg-tan, deep decorative engraving, and traditional saddle stitching. The final exam of laser-leather work.
Frequently Asked Questions
Can I laser engrave any type of leather?
No. Only vegetable-tanned leather is safe and produces good results. Chrome-tanned leather releases toxic hexavalent chromium fumes and chlorine gas when laser-cut. OSHA classifies hexavalent chromium as a known human carcinogen, and no amount of shop ventilation makes cutting chrome-tan leather safe — it’s a hard no for any home setup. When in doubt, ask the supplier — any reputable craft leather supplier knows the tannage of their stock.
What laser power do I need for leather work?
5W diode is enough for most engraving on 2 to 6 oz leather. 10W diode handles thicker stock and adds reliable cutting capability. 40W CO2 produces noticeably cleaner engraving with richer contrast and easily cuts through 9 to 10 oz belt-weight leather. Below 5W, leather work is impractical.
Why does my leather engraving fade over time?
Unfinished vegetable-tanned leather oxidizes and the dark engraved areas lighten within 6 to 12 months. The fix is post-engrave finishing: beeswax burnishing for casual pieces, neatsfoot oil plus leather conditioner for handling-heavy pieces, or dye plus sealer for color-finished pieces.
Should I run a material test grid for every project?
For every new hide, yes. Each hide of leather has slightly different tannin density and surface treatment that affect optimal engraving settings by 10 to 20 percent. A 64-cell test grid takes 10 minutes and saves the production piece from settings drift. Skip the grid on subsequent pieces from the same hide unless they are from the belly or shoulders.
What thickness leather is best for laser engraving?
4 to 8 oz (1.6 to 3.2 mm) for engraving and most cutting work. Thinner than 4 oz cuts through too easily; thicker than 8 oz pushes diode lasers past their cutting limits. The 4 to 8 oz range covers wallets, belts, journal covers, knife sheaths, and most decorative work.
Do I need air assist for laser engraving leather?
Yes. Without air assist, leather smoke deposits on the engraving and creates a dirty grey rather than crisp dark brown. A $30 air pump and 6 mm tubing connected to the laser nozzle solves this. The single biggest quality upgrade for leather work after the laser itself.
Related Articles
- Leather Projects Guide
- Leather Types Guide
- Leather Dyeing Complete Guide
- Leatherworking Tools
- Edge Finishing and Burnishing