To dye leather a deep, even black with no rub-off, deglaze the surface, flood on an oil-based black dye in two to three coats with the strokes crossed…
To dye leather a deep, even black with no rub-off, deglaze the surface, flood on an oil-based black dye in two to three coats with the strokes crossed between coats, let it cure overnight, buff off the grey haze hard, then seal with acrylic resolene. Black is the most demanding color because it shows every weak, thin, or streaky spot.
Black is the color that humbles people. It looks like it should be the easiest — just keep adding dye until it is dark — but in practice it is the one that exposes every shortcut: thin coverage reads as grey, an uneven coat reads as blotchy, and an unsealed black crocks onto a white shirt for months. I have dyed enough black belts and sheaths to know there are really two good roads to a true black, and I will walk you down both. For where black sits in the larger workflow, the complete leather dyeing guide is the parent map.
Why Black Is the Hardest Color
Black is the hardest leather color because it demands full saturation to read as true black rather than charcoal grey, and any unevenness in penetration shows instantly. A brown that is slightly streaky still looks like leather; a black that is slightly streaky looks broken. Black also leaves the most loose surface pigment, so rub-off is worst with black.
The physics are simple once you see them. Black pigment has to load the fibers heavily and uniformly to absorb essentially all visible light — that is what “black” is. Any spot where the dye went on thin, or where the leather was sealed by a fingerprint of oil or buffing compound, reflects a little light and reads grey. That is why black punishes poor prep more than any other color, and why people who get away with sloppy technique on tan suddenly cannot get an even result in black. The fix is not “more dye slapped on” — it is clean prep, full even coats, and patience between them.
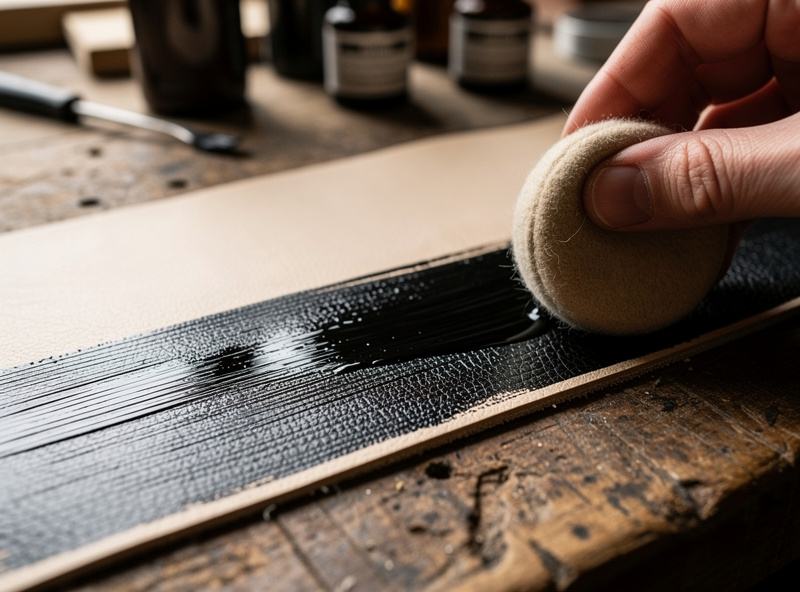
Step 1: Prep — Deglaze and Case
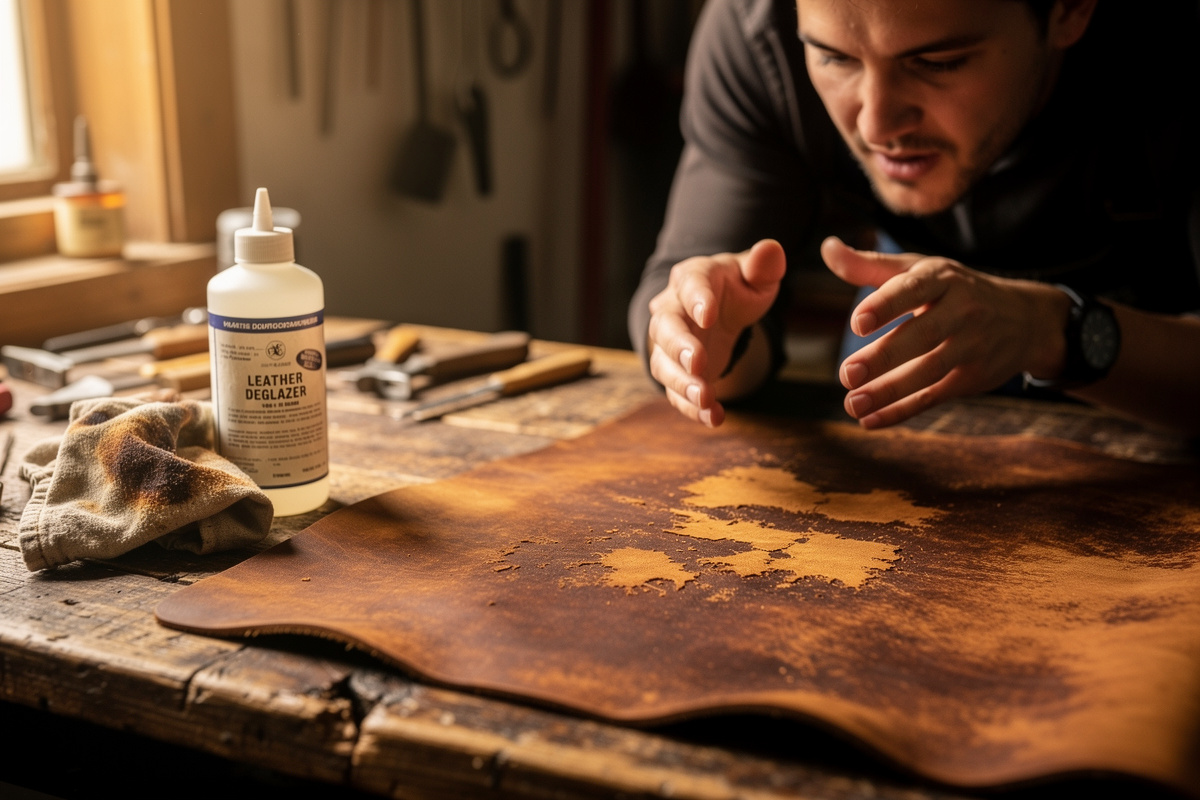
Deglaze first. Wipe the whole grain side with a deglazer or pure acetone on a cloth to strip the natural waxes, oils, and any handling residue that block dye. Skipping this is the single biggest cause of blotchy black. Both deglazer and acetone are flammable solvents with vapors that can ignite at room temperature, so work in a well-ventilated space away from open flame or sparks, per Fiebing’s Deglazer safety data sheet. After deglazing, a light casing with a damp sponge helps the dye draw in evenly.
Veg-tan comes from the tannery with a slick, slightly waxy surface and picks up oil from your hands the moment you cut a pattern. Black dye will refuse to take on those sealed spots and leave grey ghosts exactly where your fingers held the piece. Deglazer dissolves that film. Wipe with the grain, let it flash off for a few minutes, and avoid touching the grain side afterward — handle by the edges or the flesh side. A very light casing (a barely-damp sponge wiped once over the surface) opens the fibers so the first coat draws evenly rather than sitting on top. Do not soak it; you want damp, not wet. The full prep sequence, including how casing interacts with stroke direction, is laid out in how to dye leather without streaks.
Step 2: The Oil-Dye Method (Coats and Crossing)
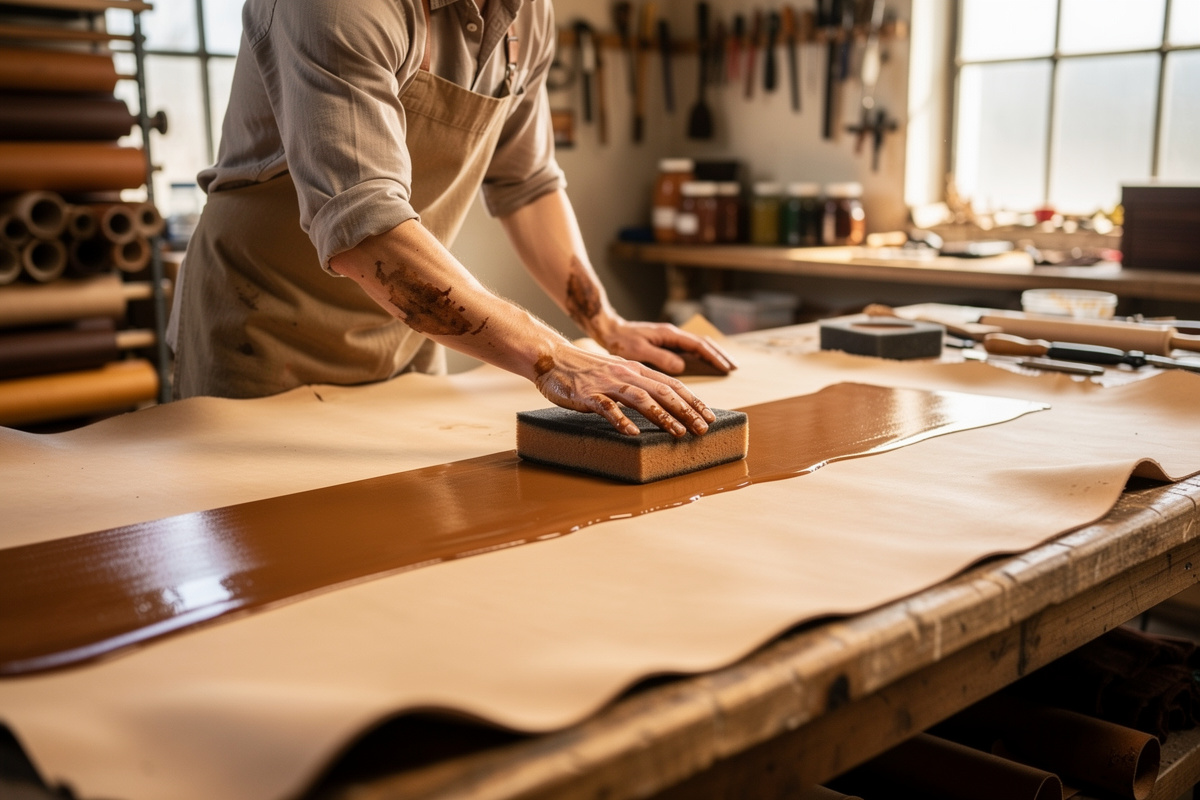
Use a black oil-based dye such as Fiebing’s Pro Dye and apply it in two to three full coats, crossing the stroke direction between coats. First coat in long parallel strokes one way, second coat perpendicular, third (if needed) diagonal. Let each coat flash dry to the touch before the next, and dye well past the edges so you never leave a light border.
Oil dye is the right choice for black because its slow carrier lays down evenly and resists the streaking that black exposes. Load a wool dauber generously — a starved applicator drags and streaks — and work in long confident strokes, not dabs. Cross-hatching the coats is the trick that kills directional streaking: any thin line left by the first pass gets filled by the perpendicular second pass. Two coats covers most veg-tan; dense, oily, or pale leather sometimes wants a third. Resist the urge to pile on coats while the leather is still wet — that floods loose pigment to the surface and makes rub-off worse, not coverage better. Once the color looks uniformly black and slightly wet-glossy, stop and let it cure.
Step 3 (Alternative): Vinegaroon for a Bulletproof Black
Vinegaroon is the traditional chemical black: a solution of iron dissolved in vinegar that reacts with the tannins in veg-tan to turn the leather a permanent, deep black with essentially zero rub-off. It does not coat the leather — it chemically changes it. The catch is it only works on veg-tan and the depth depends on the leather’s tannin content.
You make vinegaroon by dissolving clean steel wool or iron in white vinegar and letting it sit a week or two until the steel is mostly consumed and the liquid is dark. The reaction between the iron and the vinegar’s acetic acid produces hydrogen gas as it brews, so keep the container’s lid loose or vented rather than sealed airtight — a fully sealed jar can pressurize, per Adams Leatherworks’ vinegaroon guide. Brushed onto veg-tan, the reaction is almost instant — grey-to-black in seconds — because the iron acetate bonds with the vegetable tannins. Because the color is a chemical reaction in the fibers rather than a pigment sitting on top, vinegaroon black never crocks and never fades. Two practical notes: the leather can come out smelling of vinegar (a wipe with a baking-soda-water solution neutralizes it and stops the acid), and because it relies on tannin, leather with low tannin or any oil contamination blackens unevenly. Many makers, myself included, will vinegaroon a piece for the permanent base and then hit it with one light coat of black oil dye to even out any thin spots — the best of both methods. Vinegaroon is mild but it is still acidic, so wear gloves and eye protection when you brush it on.
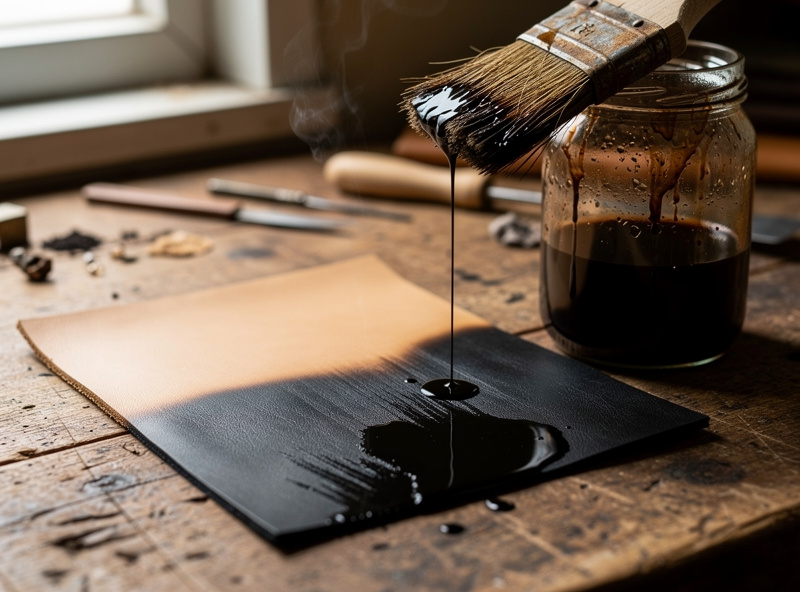
Step 4: Cure, Then Buff Off the Haze
Let the dyed leather cure overnight — a full 12 to 24 hours — then buff the surface hard with a clean cloth or horsehair brush. This removes the loose grey pigment that sits on top of a fresh black dye job. Black always dries with a chalky haze, and buffing it off is what reveals the true depth and kills most of the rub-off.
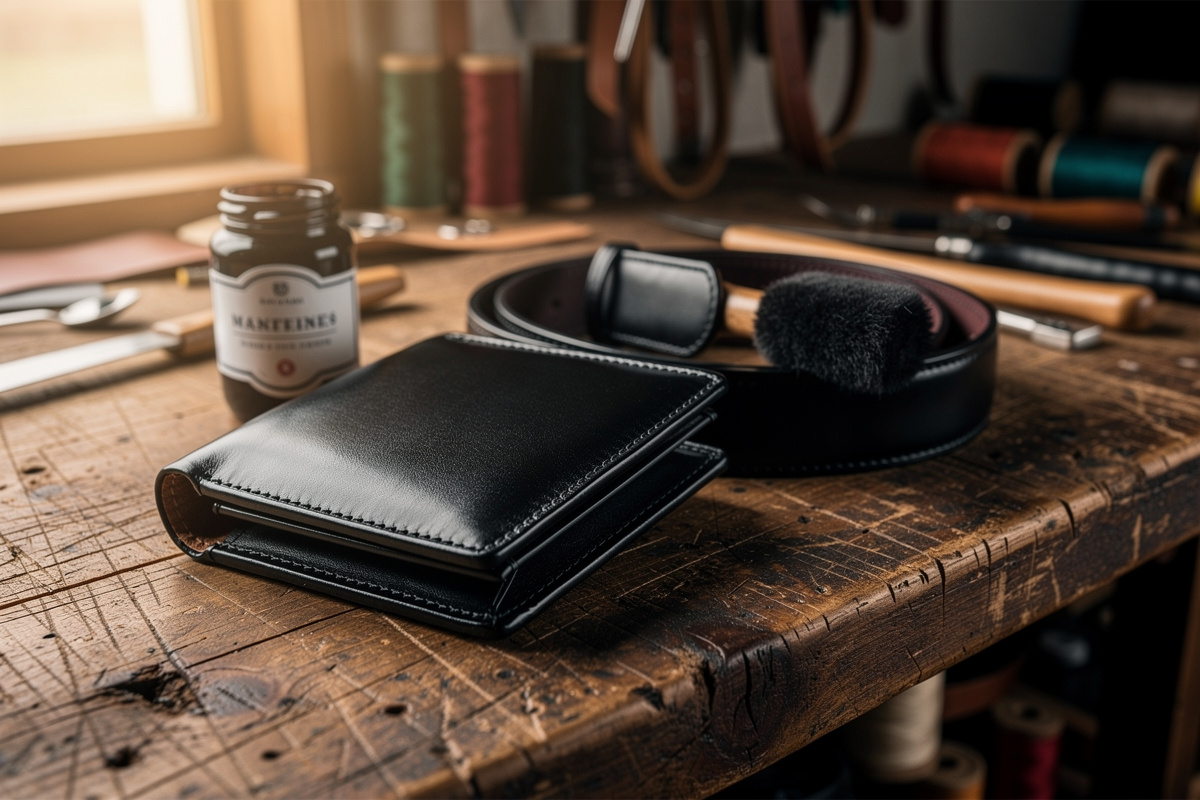
The grey-chalk look on a fresh black panel fools people into thinking the dye failed. It did not — that haze is excess pigment that never bonded, and it must come off before you seal or it will smear forever. Buff aggressively with a dry cloth, changing to a clean section as it loads up black, or run a horsehair shoe brush over it. You will see the surface go from dull charcoal to deep even black as the loose pigment lifts. If the cloth keeps coming away heavily black after a lot of buffing, the leather was over-dyed wet; a wipe with a barely-damp cloth and another buff settles it. Only when a light buff comes away nearly clean is the piece ready to condition and seal.
Step 5: Condition and Seal Against Rub-Off
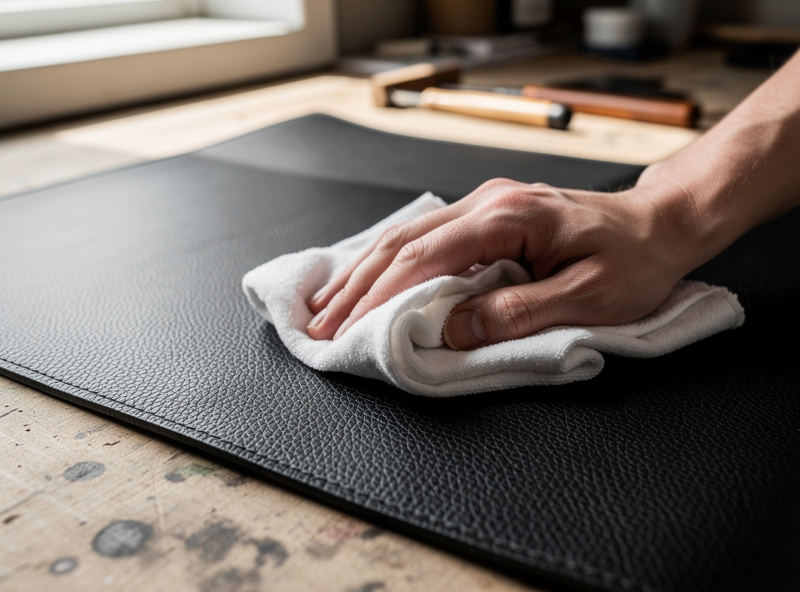
Black oil dye dries the leather, so condition with a light coat of neatsfoot oil after buffing, let it absorb, then seal with two thin coats of acrylic resolene to lock the color and stop crocking for good. The resolene is what finally makes a black piece safe to wear against light clothing. Skip it and even a good black job will mark.
A thin pass of neatsfoot oil restores the suppleness the dye stripped and slightly deepens the black, but use it sparingly — too much oil can darken unevenly and soften a structural piece. Once the oil has absorbed (give it a few hours), seal. Acrylic resolene, thinned roughly 50/50 with water for brush or sponge application and wiped on in two light coats, forms a clear flexible topcoat that traps the remaining surface pigment. Two thin coats beat one heavy coat, which can streak or go cloudy. For edges, dye and burnish them black too so the piece reads finished all the way around — the full edge sequence is in the edge finishing guide. After sealing, a final buff and the black is done: deep, even, and crock-free.
Oil Dye vs Vinegaroon for Black
Both routes get you to black; they get there differently. Here is how I choose between them.
| Factor | Black Oil Dye | Vinegaroon |
|---|---|---|
| How it colors | Pigment soaks into fibers | Chemical reaction with tannins |
| Works on chrome-tan? | Poorly | No (veg-tan only) |
| Rub-off / crocking | Moderate until sealed | Essentially none |
| Fade resistance | Good (sealed) | Excellent (permanent) |
| Evenness | Depends on technique | Depends on tannin content |
| Coats needed | 2-3 | 1 (often + 1 dye coat) |
| Prep time | Minutes | 1-2 weeks to brew |
| Smell | Solvent | Vinegar (neutralize after) |
| Best for | Any black piece, fast | Heavy veg-tan, permanent black |
As an Amazon Associate I earn from qualifying purchases.
What You Need for a True Black
Black is one of the few colors where the gear list is short and worth getting right, because the failure modes — grey, blotch, rub-off — all come from skipping one of four things: deglaze, dye, buff, seal.
You need a bottle of black oil leather dye, a leather deglazer to strip the surface before you start, a pack of wool daubers for even coats, and acrylic resolene finish to seal against crocking. If you would rather pick a black by tested brand consistency, the best leather dye for veg-tan roundup ranks eight bottles, and if you want to understand why oil black beats alcohol black here, the dye types comparison breaks down the carriers.
Frequently Asked Questions
How do you dye leather a deep even black?
Deglaze the grain to strip waxes and oils, then flood on black oil-based dye in two to three coats, crossing the stroke direction between coats. Cure overnight, buff off the grey haze hard, condition lightly with neatsfoot, and seal with two thin coats of acrylic resolene.
Why does my black leather dye look grey?
Grey means the pigment did not load the fibers fully or evenly, usually from poor prep or too few coats. Deglaze before dyeing, apply full crossed coats rather than thin dabs, and buff off the loose surface pigment after curing. Sealed, well-saturated black reads true black, not charcoal.
How do I stop black leather dye from rubbing off?
Buff the cured dye hard to remove loose surface pigment, then seal with two thin coats of acrylic resolene. The buffing lifts the chalky haze that causes most crocking, and the resolene topcoat traps the rest so the black no longer marks light clothing.
What is vinegaroon and does it dye leather black?
Vinegaroon is iron dissolved in vinegar that reacts with the tannins in veg-tan leather to turn it permanently black with no rub-off. It chemically changes the fibers rather than coating them, so it never fades or crocks, but it only works on vegetable-tanned leather.
How many coats of dye to make leather black?
Two to three coats of black oil dye for most veg-tan, crossing the stroke direction each coat to fill any streaks. Dense or pale leather may need a third coat. Let each coat flash dry before the next, and stop once the color is uniformly black rather than piling on wet coats.
Can you dye chrome-tanned leather black?
Penetrating dyes barely take on chrome-tan because it is sealed, and vinegaroon needs tannin it does not have. Use black acrylic leather paint instead, applied in thin coats and sealed with a flexible finisher, since acrylic bonds to the surface rather than soaking in.
Do you condition leather after dyeing it black?
Yes. Black oil dye dries the leather, so wipe on a light coat of neatsfoot oil after buffing and let it absorb before sealing. Use it sparingly, since too much oil can darken unevenly or soften a structural piece like a belt or sheath.
Related Articles
- Leather Dyeing: The Complete Veg-Tan Guide
- How to Dye Leather Without Streaks or Blotches
- Leather Dye Types: Oil vs Water vs Acrylic
- Best Leather Dye for Veg-Tan: 8 Brands Tested
- Leather Edge Finishing: The Bevel-to-Burnish Guide