Set your leather stitch line about 3 to 4 mm from the edge for most small goods, and never closer than the thickness of the leather stack you…
Set your leather stitch line about 3 to 4 mm from the edge for most small goods, and never closer than the thickness of the leather stack you are stitching. Too close and the stitches tear out toward the edge; too far and the seam looks clumsy and the edge flaps. Mark the distance with a wing divider before you punch a single hole.
This is one of those quiet decisions that separates a piece that looks made from one that looks bought, and most beginners never think about it until their stitches blow out the edge. The margin between your stitch line and the edge is doing structural work and visual work at once. Get it right and the seam looks intentional and holds for decades; get it wrong and you either tear out or bulk up. Here is how I set it on every piece.
The Standard Distance and Why It Works
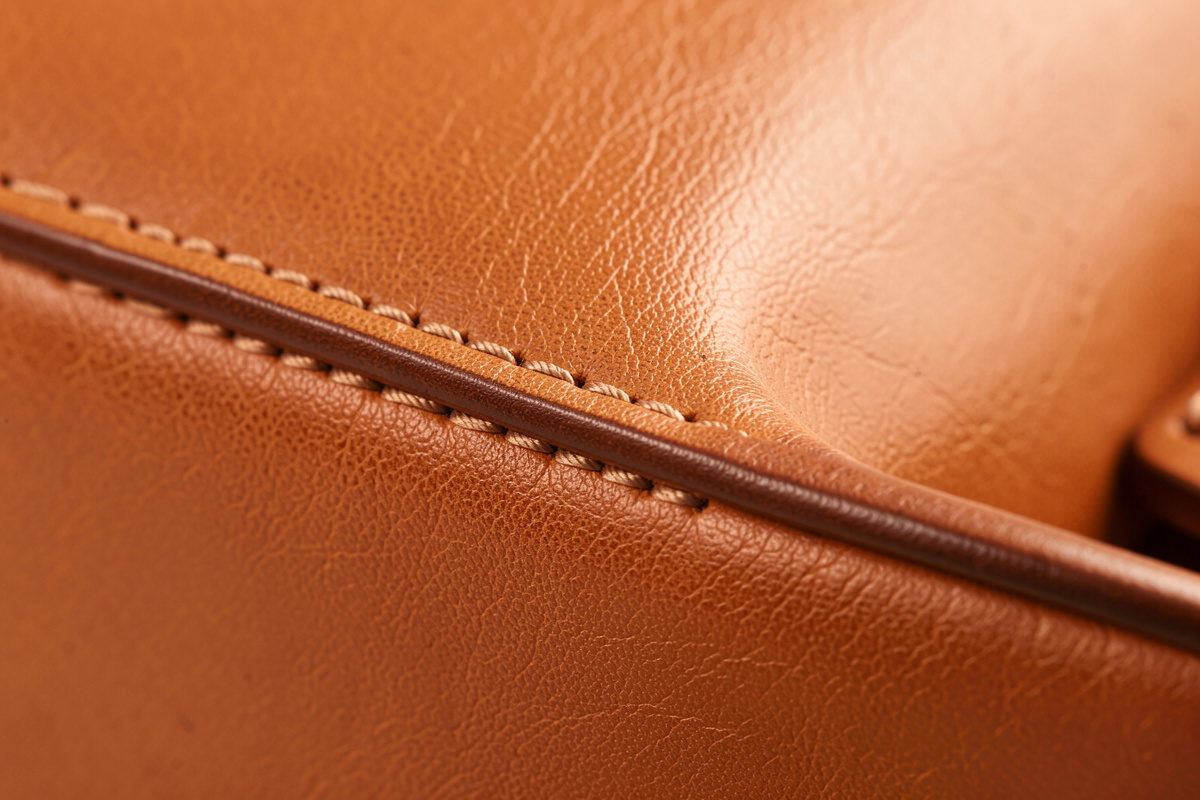
For most wallets, card holders, and small goods, set the stitch line 3 to 4 mm from the edge. That margin leaves enough leather between the stitches and the edge to resist tear-out, leaves room to bevel and burnish the edge cleanly, and reads as a deliberate, refined line rather than a stitch crowded against the rim.
The 3 to 4 mm range is not arbitrary — it is the sweet spot where three needs balance, and it lines up with what other makers land on independently (Gold Bark Leather’s guide to stitching-hole placement covers the same edge-margin logic). You need enough leather outboard of the stitches that the holes do not tear through to the edge under stress. You need room for the beveler and burnisher to work the edge without hitting the thread. And you need the line to look balanced — close enough to define the edge, far enough not to crowd it. Drop to about 3 mm on thin, fine pieces like card holders; sit at 4 mm on standard wallets. Below roughly 2.5 mm on normal leather, you start risking tear-out, and the edge work gets cramped.
Whatever distance you choose, consistency matters more than the exact number. A line held dead-parallel at 3.5 mm looks far better than one that drifts between 3 and 5 mm, which is exactly the wandering-line fault covered in the stitching mistakes guide. Pick a distance, set your divider, and hold it.
Scale the Distance to Leather Thickness
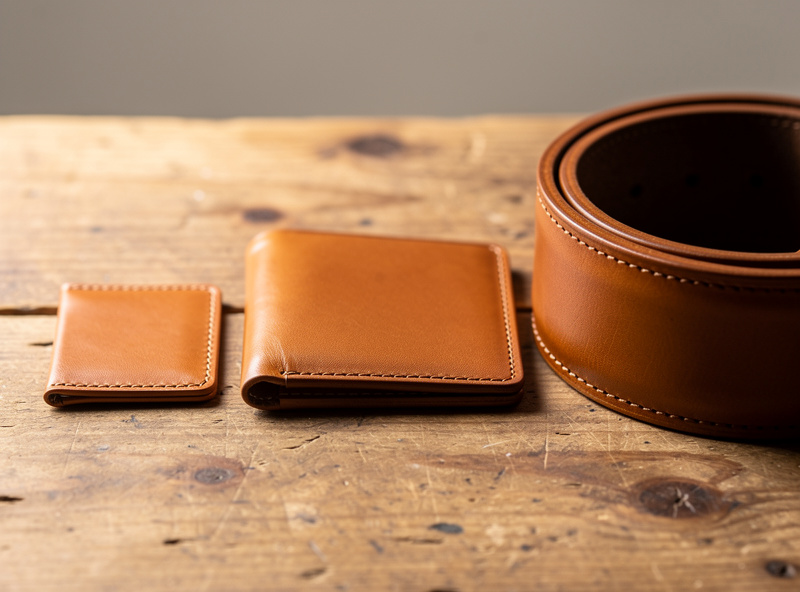
The one rule that prevents tear-out: never set the stitch line closer to the edge than the thickness of the leather you are stitching. On a thick 8 oz belt or a doubled sheath, that means pushing the margin out to 4 to 5 mm or more; on a thin 3 oz lining, 3 mm is plenty. Thicker leather needs more edge margin, full stop.
The reason is mechanical. The leather between the stitch hole and the edge is what carries the load when the seam is stressed, and on thick leather the holes are larger and the stress higher, so they need more material outboard to hold — the same thickness-scales-the-margin logic other edge-stitching technique guides point to when explaining tear-out. Set a thick belt’s stitches at a thin wallet’s 3 mm margin and they will eventually pull toward the edge and tear out. Matching the setback to the thickness — at minimum equal to it, often a touch more — keeps the margin strong regardless of weight. This is the same leather-weight logic that runs through every structural decision, from the chisel and thread sizing to which leather holds a form.
Heavier leather also changes the look the margin produces. A wide 5 mm setback on a thick belt reads as rugged and substantial, which suits the piece; the same 5 mm on a slim card wallet would look clumsy. So thickness drives both the structural minimum and the aesthetic target — they happen to push in the same direction, which makes the decision easy: thicker leather, wider margin.
Marking the Line: Wing Divider and Groover
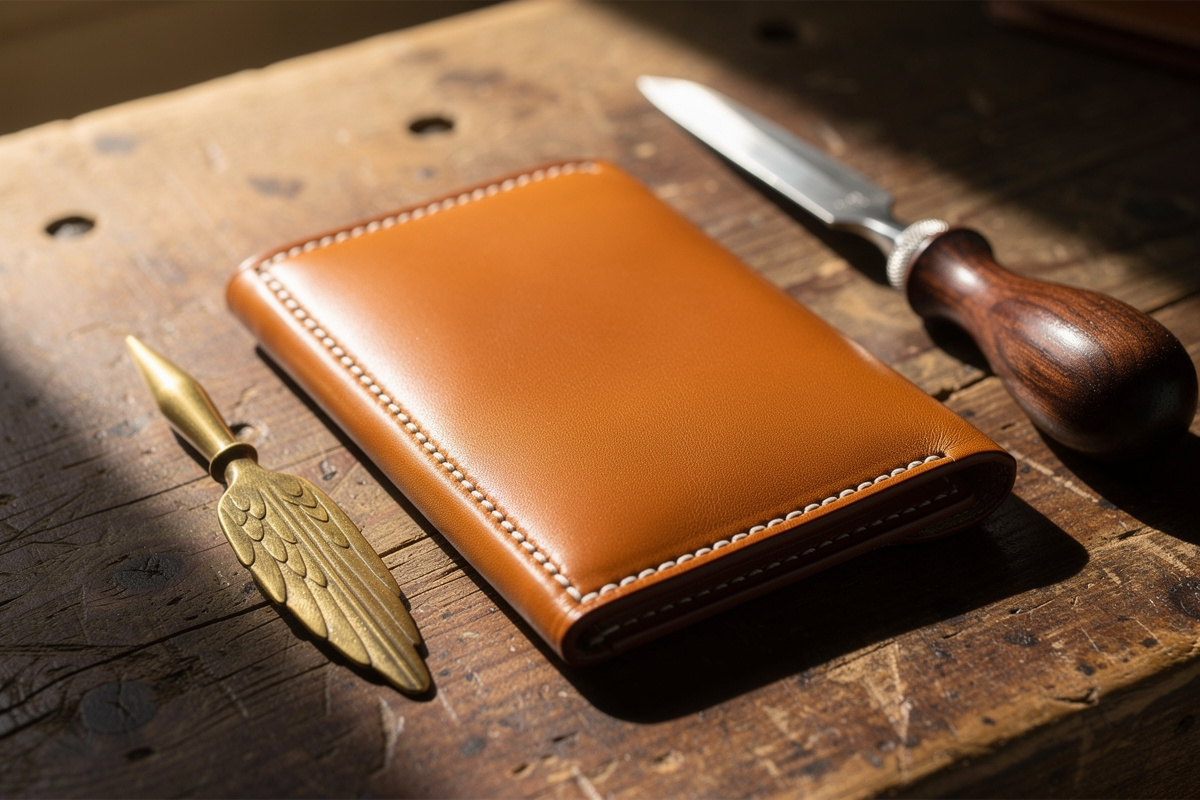
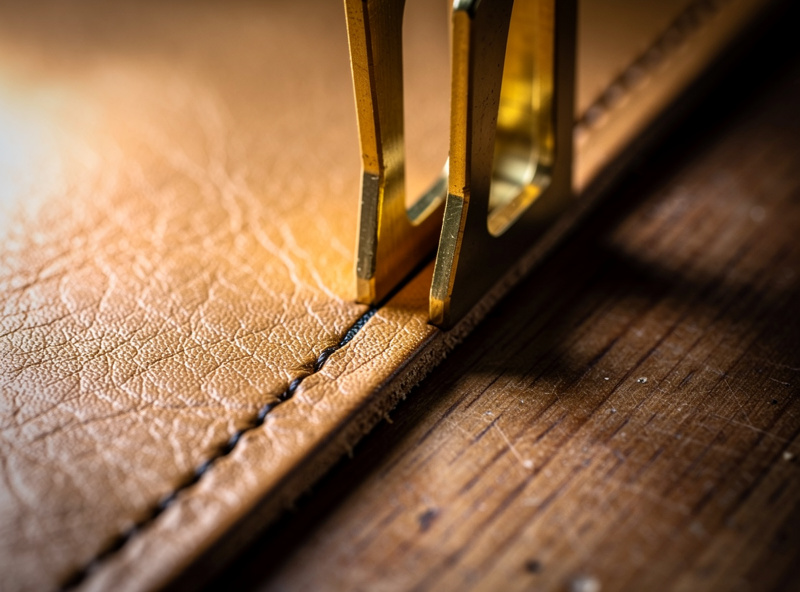
Mark the stitch line before punching using a wing divider set to your chosen distance, running one leg along the edge so the other scribes a perfectly parallel line. For hard-use pieces, use a stitching groover instead, which both marks the line and cuts a shallow channel that recesses and protects the finished stitches.
The wing divider is the precision tool here: lock it at 3.5 or 4 mm, ride one point along the cut edge, and drag the other to score a faint guide line that stays exactly parallel no matter how the edge curves. That scored line is what your chisel prongs follow, and it is the single thing that guarantees an even setback. Freehand punching is the number-one cause of a wandering line, so the divider is not optional on quality work — it is the step that makes everything after it line up.
A stitching groover does the same marking job but also cuts a channel so the stitches sit recessed below the surface, protected from abrasion. I reach for the groover on belts, sheaths, and anything that drags against other surfaces; the recessed line lasts far longer because the thread cannot catch and wear. On fine small goods I often prefer the divider’s scored line alone, which leaves the stitches proud and crisp. Either way, the marking happens before the first hole, and it sets the distance for the whole seam. The recessing detail ties into how you finish the seam ends in the seam finishing guide.
Stitch Distance by Project and Weight
The table below is my default setback by project. Treat it as a starting point, then hold whatever distance you pick dead-consistent across the whole seam.
| Project | Leather weight | Distance from edge | Mark with | Notes |
|---|---|---|---|---|
| Card holder | 2 to 4 oz | 3 mm | Wing divider | Fine line, crowded edge looks bad |
| Bifold wallet | 3 to 5 oz | 3.5 to 4 mm | Wing divider | Standard refined setback |
| Watch strap | 3 to 4 oz | 2.5 to 3 mm | Wing divider | Tight margin for a slim look |
| Small bag / pouch | 4 to 6 oz | 4 mm | Divider or groover | Match to thickness |
| Belt | 8 to 10 oz | 4 to 5 mm | Stitching groover | Recess the line for wear |
| Knife sheath | 8 to 9 oz (doubled) | 5 mm or more | Stitching groover | Wide margin resists tear-out |
The pattern is the same one throughout this cluster: thicker leather wants a wider, often recessed margin; thinner leather wants a tighter, proud line. Match the setback to the weight and never go below the thickness, and the seam holds and looks right.
How the Margin Works With Edge Finishing
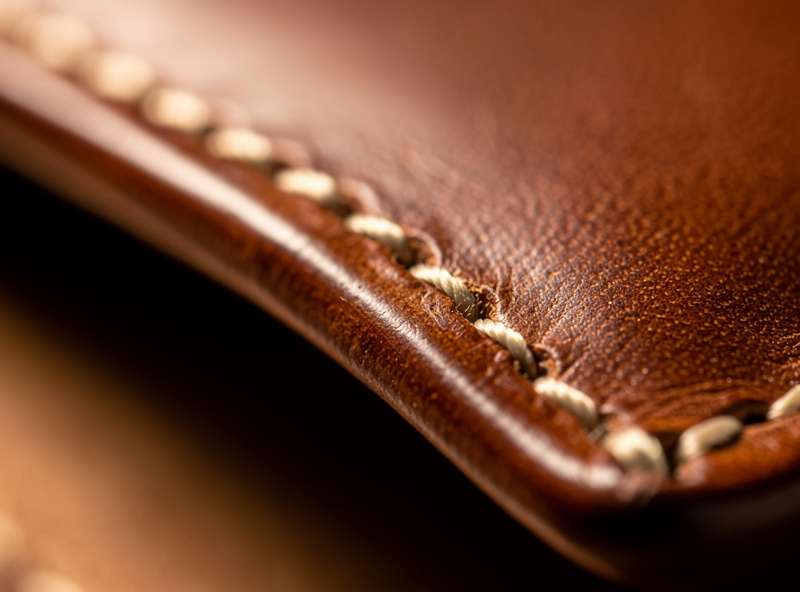
The stitch margin and the edge finish are one system: the distance you set must leave room to bevel, sand, and burnish the edge without the tools or the slicker hitting the thread. Too tight a margin and you cannot work the edge cleanly; the right margin lets the bevel and the stitch line frame each other.
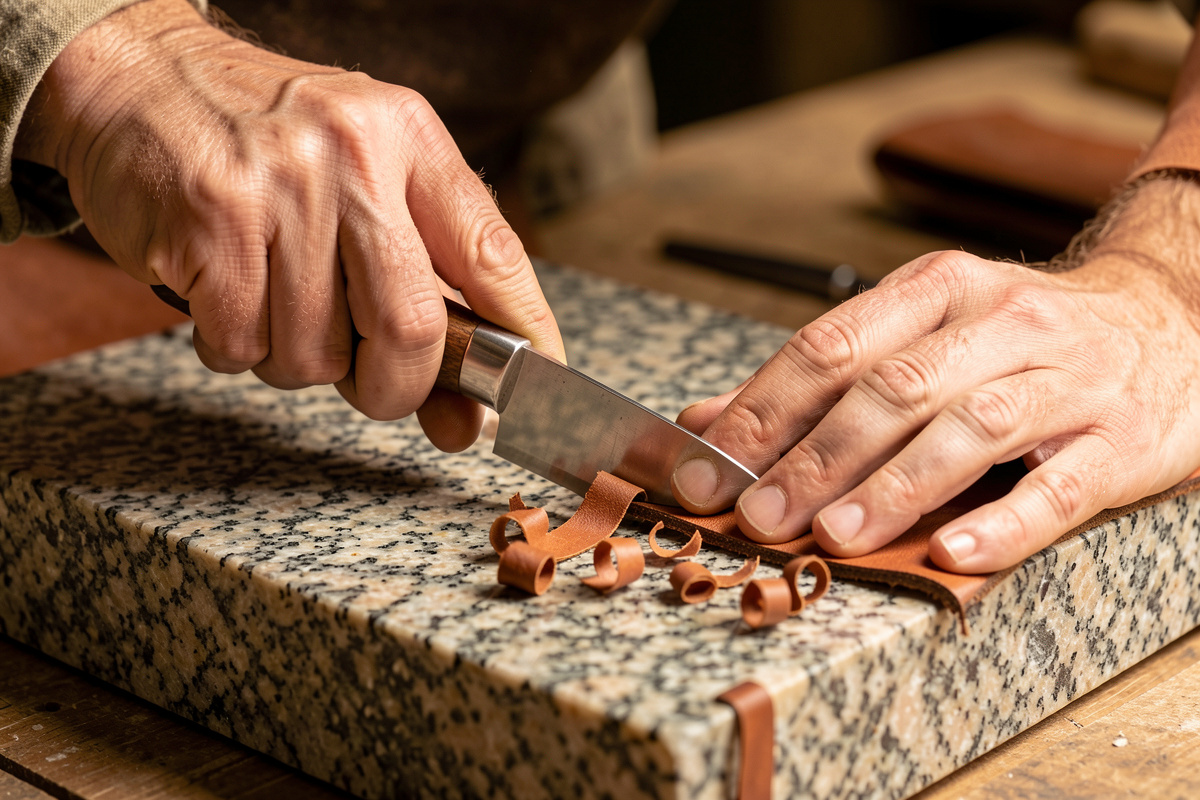
Think about the sequence on a finished edge: you bevel both grain-side corners, sand the edge smooth, then burnish it with Tokonole or gum trag until it is slicked and waxed. All of that happens in the few millimetres between the stitch line and the very edge. If the stitches sit too close, the beveler rides into the thread and the burnisher drags on it, and you cannot get a clean slicked edge — which the edge finishing guide treats as the single biggest tell between made and bought. A proper 3 to 4 mm margin gives the edge room to be finished and makes the stitch line and the burnished edge read as two clean parallel lines.
This is also why I cut, mark, and stitch with the final edge in mind. The setback is not just about the stitches — it is about reserving the strip of leather where the edge work lives. Plan the margin and the edge finish together, and the piece comes off the bench looking deliberate from stitch line to slicked edge.
As an Amazon Associate I earn from qualifying purchases.
The Tools That Set the Distance
Setting a consistent stitch distance takes one precision marking tool and, for hard-use pieces, a groover. These are inexpensive and they are what make the difference between a line that drifts and one that sits dead-parallel down the whole seam.
A leather wing divider is the core tool — lock it at your distance and it scores a perfectly parallel line every time. Add a stitching groover for belts and sheaths where you want the line recessed and protected. And because the margin only works if the edge can be finished in it, a quality edge beveler earns its place right beside the divider. Those three tools set the distance, recess it where needed, and let you finish the edge it reserves.
Frequently Asked Questions
How far from the edge should you stitch leather?
About 3 to 4 mm from the edge for most wallets and small goods, and never closer than the thickness of the leather stack. Drop to 3 mm on thin fine pieces and push to 4 to 5 mm or more on thick belts and sheaths. The margin must leave room to bevel and burnish the edge.
Why do my leather stitches tear out toward the edge?
The stitch line is set too close to the edge for the leather thickness. The strip of leather between the holes and the edge carries the load, so on thick leather it must be wider. Never set the stitches closer to the edge than the thickness of the leather, and push thick belts out to 4 to 5 mm.
What tool do you use to mark stitching distance from the edge?
A wing divider set to your chosen distance, with one leg riding the edge so the other scribes a parallel line. For hard-use pieces, a stitching groover both marks the line and cuts a channel that recesses the stitches. Always mark before punching, since freehand punching causes a wandering line.
Does stitch distance from the edge change with leather thickness?
Yes. The minimum rule is that the stitch line should never be closer to the edge than the leather is thick, so thicker leather needs a wider margin. A 3 oz lining can stitch at 3 mm, while an 8 oz belt needs 4 to 5 mm so the larger, higher-stress holes have enough material to resist tear-out.
What happens if you stitch too far from the edge of leather?
The seam looks clumsy and the edge can flap loose beyond the stitch line, especially on thinner leather. A wide margin also wastes leather and unbalances the look on small goods. Match the setback to the project: tight on fine pieces, wide and often recessed on thick belts and sheaths.
Should you mark the stitch line before or after gluing layers?
Mark after gluing and cutting the edge to final shape, so the wing divider rides the true finished edge. If you mark before final edge trimming, the line will not stay parallel once you cut the edge. Mark, then punch, then stitch, then bevel and burnish the edge the margin reserved.
Is a stitching groove necessary for the edge distance?
Not for fine small goods, where a scored divider line and a proud stitch line look crisp. A groove is worth it on belts, sheaths, and hard-use pieces, where recessing the stitches below the surface protects them from abrasion so the line lasts far longer against constant wear.
Related Articles
- Leather Stitching Techniques: Saddle Stitch and Beyond
- Leather Stitching Chisels Guide
- Leather Edge Finishing: Bevel to Burnish
- Leather Stitching Mistakes and How to Fix Them
- Best Stitch Length for Leather