Leather stitching chisels punch the angled holes your saddle stitch passes through, and the two tools that do it are not interchangeable: punching chisels drive all the way…
Leather stitching chisels punch the angled holes your saddle stitch passes through, and the two tools that do it are not interchangeable: punching chisels drive all the way through the leather in one strike, while pricking irons only mark the surface so you can pierce each hole with a diamond awl. Pick by how fine you want the line and how much practice you have.
This is the single most confused topic in hand stitching, because the names get used loosely and half the listings online call everything a “chisel.” On my bench I keep both kinds for different jobs, and once you understand what each tool actually does to the leather, the buying decision and the technique both fall into place. Here is the distinction that the saddle stitch lives or dies on.
Two Tools, One Job, Different Holes
There are two families of stitching-hole tools: punching chisels (also sold as stitching chisels or diamond chisels) that punch fully through the leather, and pricking irons that only mark the surface to a shallow depth so you finish each hole with a diamond awl. Both set the slant and spacing of the stitch; they differ in how much skill the hole itself requires.
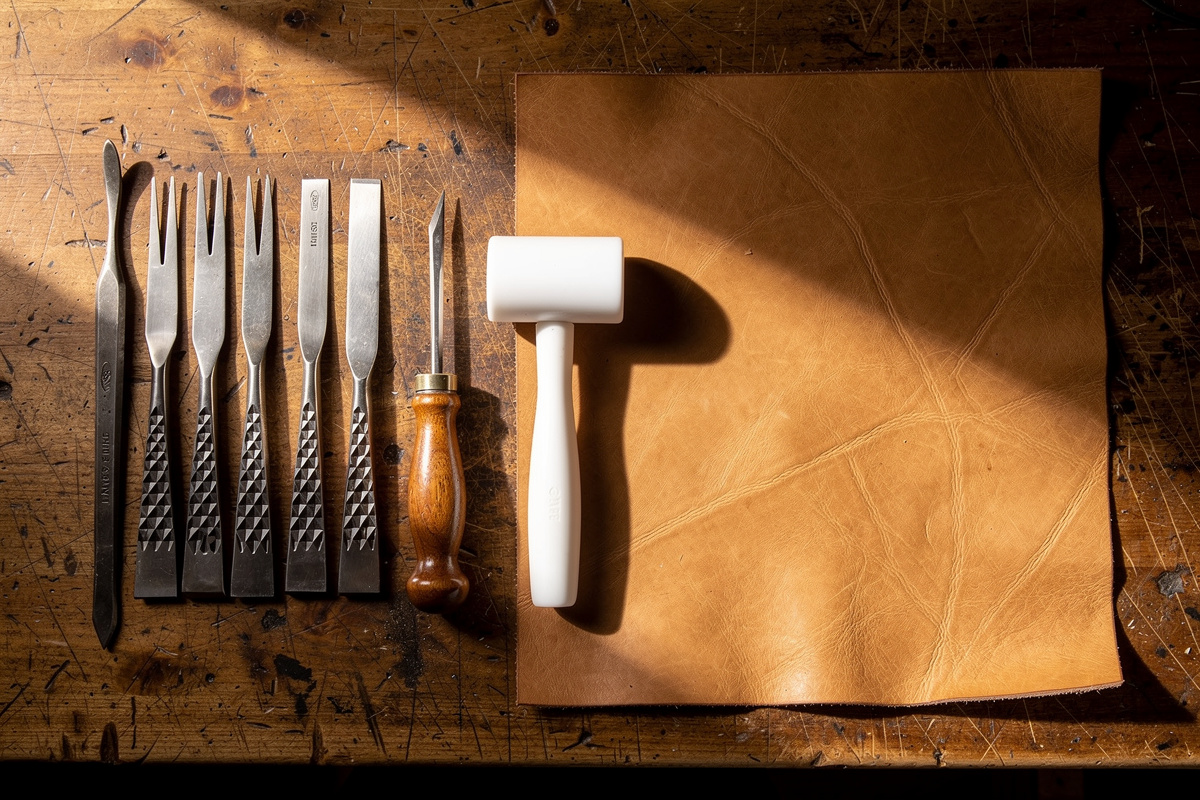
Punching chisels are the beginner-friendly tool: you line them up, strike with a maul, and the prongs drive a row of slanted slits clean through the leather, ready to stitch. They are fast, consistent, and forgiving, and they are what most hobbyists reach for. Pricking irons are the traditional European saddler’s tool — their teeth are shorter and finer, designed only to dent the grain and mark the angle, after which you open each hole one at a time with a stropped diamond awl as you stitch. The awl method produces a marginally cleaner, tighter stitch line, but it is a year-two skill that demands a genuinely sharp awl and a steady hand.
The hub I built this cluster around, the leather stitching techniques guide, treats the chisel-and-needle method as the place to start and the iron-and-awl method as the upgrade — and that is exactly right. Learn to punch clean holes with chisels before you spend money on pricking irons.
Punching Chisels: The Beginner Workhorse
Punching chisels are the right first purchase for almost every new leatherworker. They punch a complete, correctly slanted stitching hole in one maul strike, so the quality of your stitch line depends on your spacing and alignment rather than on awl skill you have not built yet. A decent set costs far less than a quality iron set.
Buy them in a matched set of three prong counts: a 2-prong for corners and tight curves, a 4-prong for short straight runs and around the body of a wallet, and an 8 or 10-prong for long straight runs like belts and bag panels. The trick that keeps a line consistent is to always reset the last prong of the chisel into the last hole you punched — that re-registration is what keeps the spacing dead even across a long seam, even when you reposition the tool a dozen times.
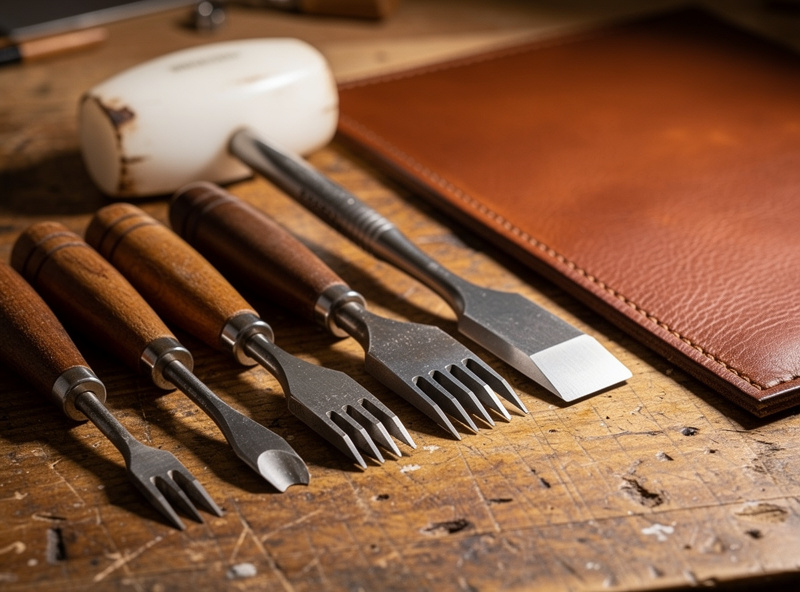
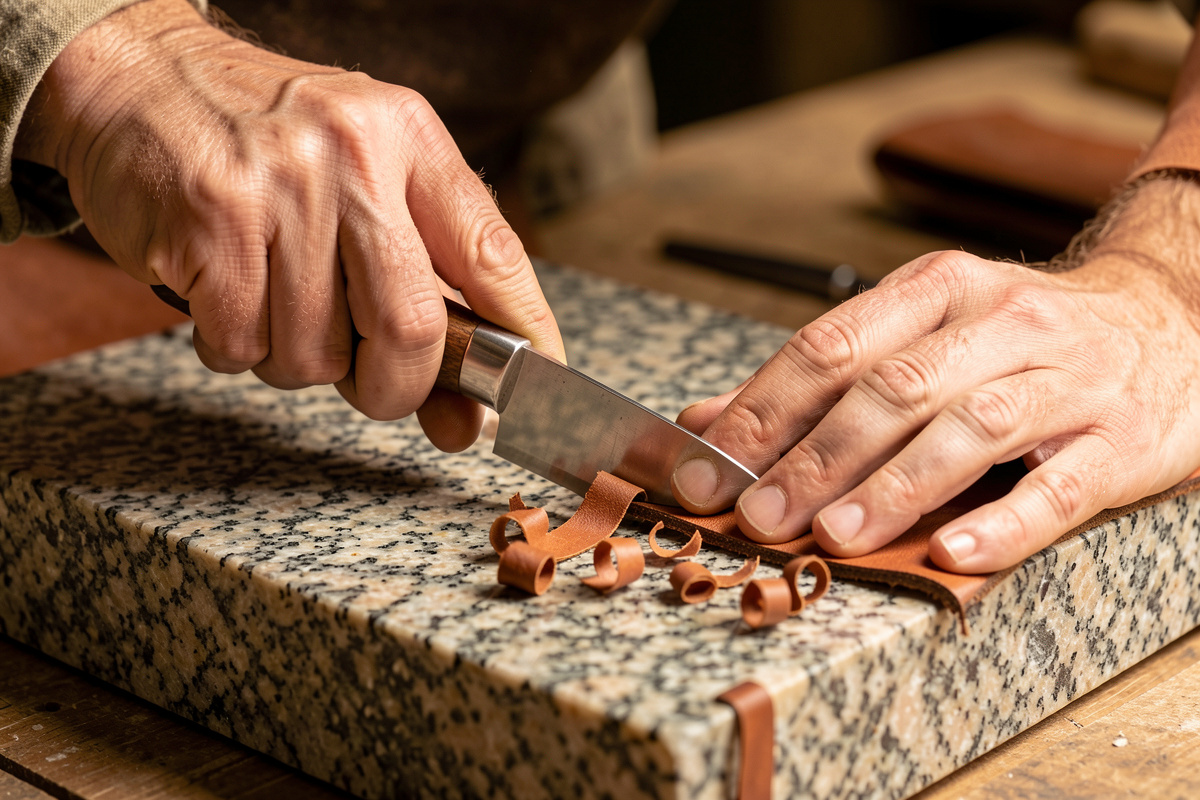
Punch on a hard backing — a self-healing mat over a granite or marble slab, or a poly cutting board — so the prongs drive fully through and stay sharp. Punching straight down matters: a chisel tilted even slightly sends the holes through the back at an angle and they will not line up between two layers. Strike with a poly or rawhide maul, never a steel hammer, which mushrooms the chisel tops and jars your wrist. Brands worth the money run from budget Wuta sets through Tandy diamond chisels to KS Blade and Amy Roke at the upper end; the cheap sets work fine once you deburr the tips.
Pricking Irons and the Diamond Awl
Pricking irons are the tool you graduate to when you want the finest possible stitch line. Their teeth only mark the leather; you open each hole with a diamond awl during stitching, which produces a smaller, tighter exit hole than a punch and a stitch line that sits the way high-end European goods do. The catch is that the awl has to be scary-sharp.
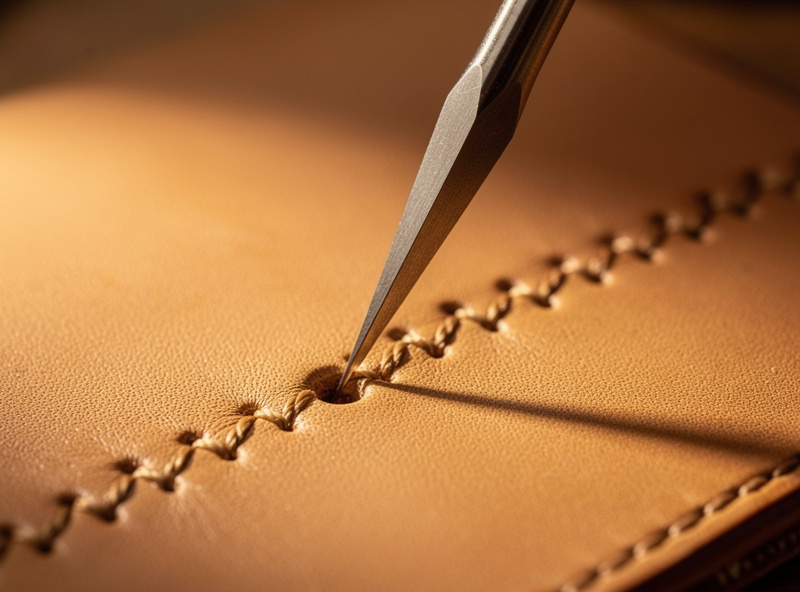
A diamond awl has a diamond-shaped cross-section that pierces a slanted slit rather than a round hole, matching the angle the iron marked. I keep mine stropped razor-sharp on a strop with polishing compound, and that single habit fixes most of the problems beginners blame on the awl — a dull awl tears the hole, drifts off line, and needs so much force you lose accuracy. The sharpening guide for leather tools covers the strop-and-compound routine that keeps an awl piercing rather than punching.
Pricking irons are pitched the way I prefer to talk about stitching — in stitches per inch or millimeter spacing, not “holes.” A fine 9 or 10 SPI iron suits watch straps and card wallets; 7 to 8 SPI suits general wallets and small goods; 5 to 6 SPI suits belts. The technique is slower than chiseling because you pierce as you stitch, but on a thin, refined piece the result is worth it. This is genuinely the method I default to for fine work, and I keep a set of punching chisels mainly for thick, fast jobs and for teaching why the awl exists.
Chisels vs Pricking Irons vs Awl: The Comparison
The table below is how I decide which tool comes off the wall. Match the tool to the piece and your current skill, not to what looks most impressive in a video.
| Tool | What it does | Hole result | Speed | Skill level | Best for |
|---|---|---|---|---|---|
| Punching chisel (2-prong) | Punches through | Full slit, ready to stitch | Slow but precise | Beginner | Corners, tight curves |
| Punching chisel (4-prong) | Punches through | Full slit, ready to stitch | Medium | Beginner | Wallet bodies, short runs |
| Punching chisel (8 to 10-prong) | Punches through | Full slit, ready to stitch | Fast | Beginner | Belts, long straight runs |
| Pricking iron | Marks surface only | Shallow angled dent | Marking is fast | Intermediate | Marking the line for the awl |
| Diamond awl | Pierces each hole by hand | Tight, refined slit | Slow (pierce as you stitch) | Advanced | Fine, high-end stitch lines |
The spacing you choose matters more than which family of tool you use. Standard pitches are 3 mm (8 SPI, fine and decorative), 3.85 mm (6.5 SPI, wallets), 4 mm (6 SPI, the most common all-rounder), 5 mm (5 SPI, belts), and 6 mm (4 SPI, heavy work). The best stitch length guide shows those pitches stitched on identical wallets so you can pick by eye. Whatever you choose, commit to one pitch per project — mixing spacings within a piece always looks worse than any single consistent spacing.
European Angle vs Asian Straight
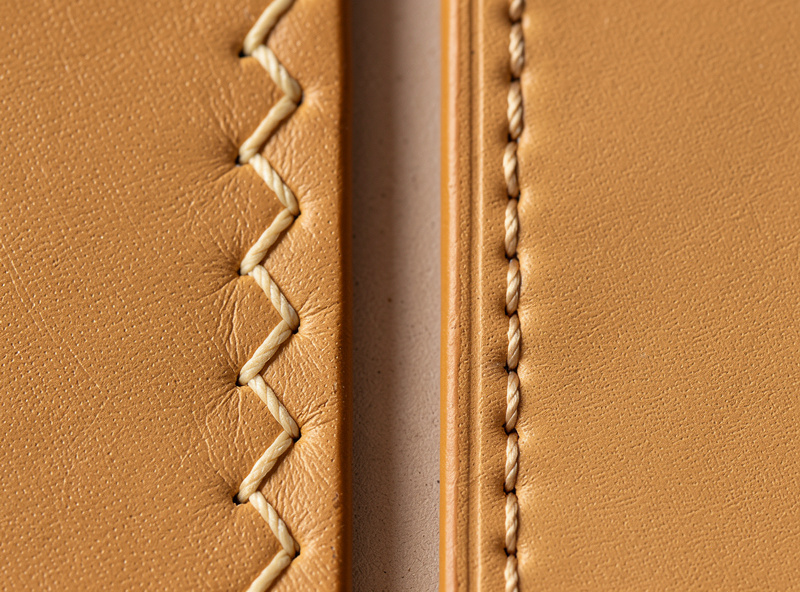
Stitching chisels and irons come in two tooth geometries. European-style teeth are angled, producing the slanted stitch line that reads as classic European leather goods; Asian-style teeth are straighter, producing a more vertical, even stitch. Neither is better — they are different signatures, and you should pick one and stay consistent across a project.
European-style tools (KS Blade, Crimson Hides, Wuta, Amy Roke’s own French-style pricking irons, sold in 2.7/3.0/3.38/3.85 mm pitches) cut the diamond hole at a pronounced slant, so the thread lies at an angle and the line has that distinctive saddle-stitch lean. Asian-style tools (Tandy, Seiwa, Kyoshin Elle) cut a more upright hole for a straighter line. The reason to choose deliberately is that the two looks do not mix: switch tooth styles partway down a seam and the change is instantly visible. I keep a European set as my main line because the slant matches the way I thread the front needle over the back, and the geometry of the hole and the stitch agree with each other.
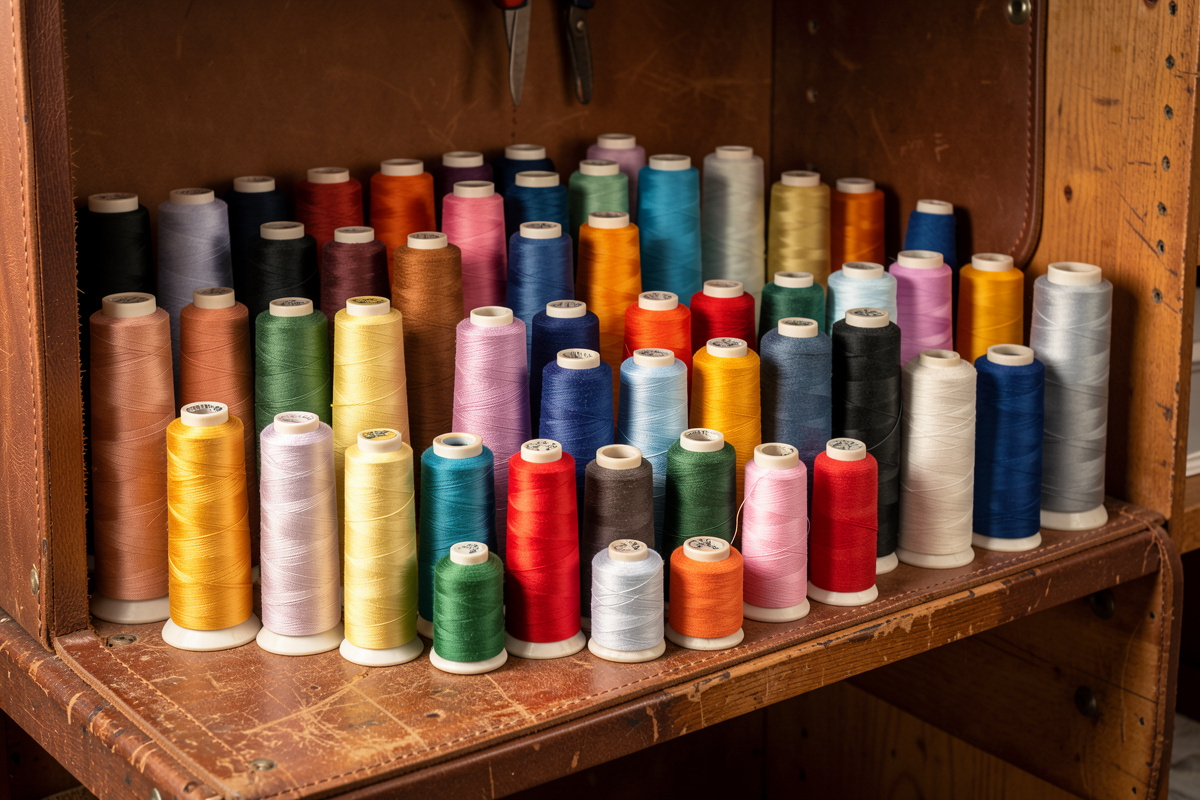
Hole width is the other half of the chain. Thread diameter should run about half the chisel hole width so the stitch seats snug without straining the leather — the same sizing rule from the leather thread guide. A fine iron wants 0.3 to 0.6 mm thread (Vinymo’s finest #20 at the low end, Ritza 25’s own 0.6 mm floor at the high end); a 5 mm belt chisel wants 0.8 to 1.0 mm. Match the three together — pitch, hole width, thread diameter — and the stitch seats itself.
As an Amazon Associate I earn from qualifying purchases.
What to Buy First, and What to Skip
If you are starting out, buy a matched set of leather stitching chisels in 2, 4, and 6 or 10-prong at a 4 mm pitch — that single set will stitch wallets, card holders, and most small goods cleanly. Punch on a hard slab and drive them with a poly maul, and you will get an even line your first weekend.
Hold off on pricking irons and a diamond awl until you can punch and stitch a clean wallet with chisels. The iron-and-awl method is a real upgrade in finish, but it only pays off once you have the sharpening discipline to keep the awl piercing rather than tearing. Some makers skip buying multiple chisel pitches entirely and print their own custom-spaced punching jigs — the 3D-printed leather tooling guide covers printable stitch-line guides and spacing templates that pair with a single awl.
Do not confuse stitching chisels with rotary or drive hole punches — those cut the round holes for hardware, snaps, and rivets, a completely different job covered in the leather hole punch guide. A stitching chisel makes the slit your needle passes through; a hole punch makes the round hole your rivet passes through.
Frequently Asked Questions
What is the difference between stitching chisels and pricking irons?
Stitching (punching) chisels drive all the way through the leather in one strike, leaving a finished hole ready to stitch. Pricking irons only mark the surface, and you open each hole with a diamond awl as you stitch. Chisels are beginner-friendly; pricking irons plus an awl give a finer line but need awl skill.
What size stitching chisel do I need for a wallet?
A 4 mm pitch chisel (6 stitches per inch) is the standard all-rounder for wallets and small goods. Step down to 3 mm or 3.85 mm for fine card holders and watch straps, and up to 5 mm for belts. Buy a matched set with 2-prong, 4-prong, and 8 or 10-prong tools.
Do you need a diamond awl if you have stitching chisels?
No. Punching chisels make a complete hole, so an awl is optional for chisel-based stitching. You only need a diamond awl if you switch to pricking irons, which mark the surface but do not punch through. Keep a sharp awl on hand anyway for opening any hole that did not punch fully through both layers.
How do you keep stitching holes evenly spaced?
Always reset the last prong of the chisel into the last hole you punched before striking the next set. That re-registration keeps the spacing identical across a long seam even when you reposition the tool. Punch on a hard flat slab and keep the chisel perfectly vertical so the holes exit straight.
What is the difference between European and Asian stitching chisels?
European-style chisels have angled teeth that cut a slanted diamond hole, producing the classic leaning saddle-stitch line. Asian-style chisels have straighter teeth for a more vertical, even line. Neither is better, but the two looks do not mix, so pick one geometry and use it for the entire project.
Can you use a hole punch instead of a stitching chisel?
No. A rotary or drive hole punch makes round holes for snaps, rivets, and buckles, which are too large and the wrong shape for stitching. A stitching chisel makes a narrow slanted slit sized for waxed thread. Using a hole punch for stitching leaves loose, sloppy stitches that the thread cannot fill.
What do you hit stitching chisels with?
A poly, nylon, or rawhide maul, never a steel hammer. A steel face mushrooms the chisel tops and jars your wrist, while a maul delivers a clean, heavy blow that drives the prongs through without damaging the tool. Strike on a hard backing such as a granite slab under a poly board.
Related Articles
- Leather Stitching Techniques: Saddle Stitch and Beyond
- Best Thread for Leather Stitching
- Best Stitch Length for Leather
- How to Sharpen Leather Tools
- Leatherworking Tools Guide: Three Tiers of Buy-In