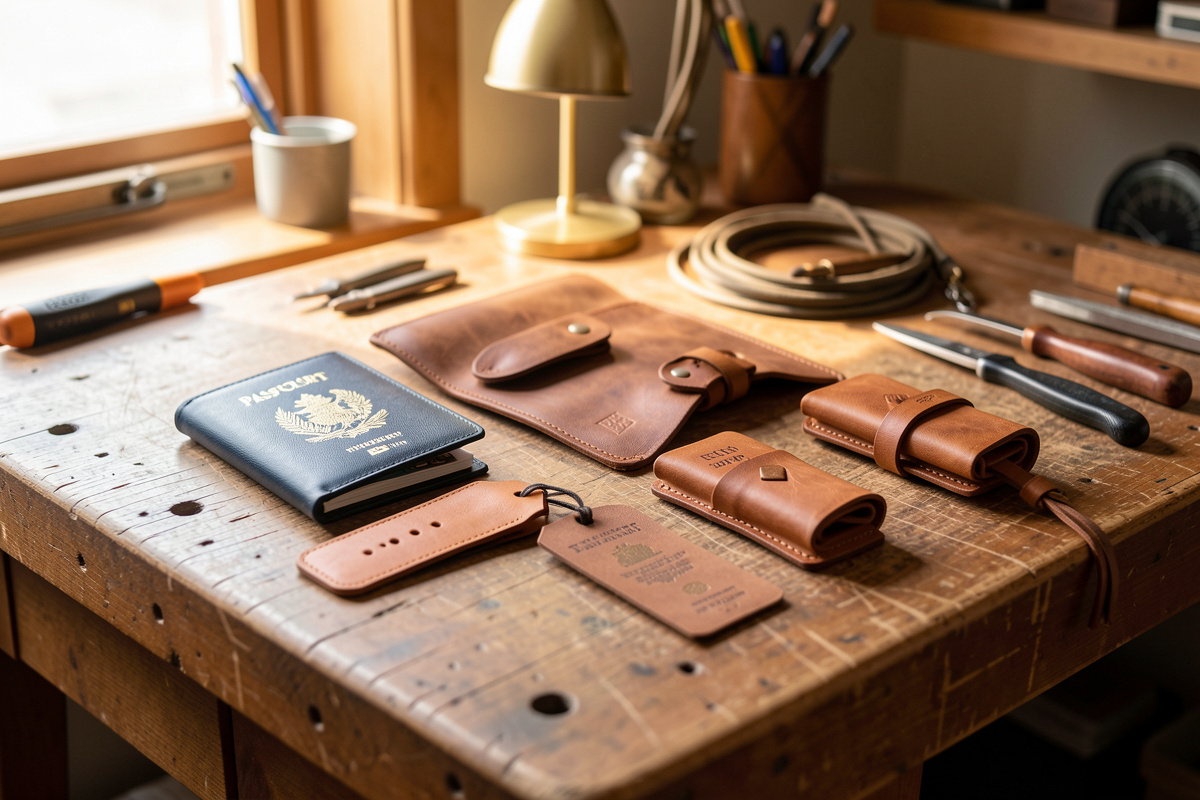
The best travel leather is the gear you can make in a weekend and still trust ten years later. A passport cover, luggage tag, and cable roll together…
The best travel leather is the gear you can make in a weekend and still trust ten years later. A passport cover, luggage tag, and cable roll together cost me about $18 in veg-tan offcuts and maybe six hours on the bench — and unlike the mall versions, the edges are beveled, slicked and waxed so they don’t fuzz apart in a jacket pocket. This is the master plan for the whole travel kit.
I make things that get used. The wallet in my back pocket has flown more than I have, and it still closes flat because the spine was skived, not just folded. That’s the difference this guide is about: travel gear lives a brutal life — jammed into bags, rained on, dropped on jet-bridge concrete — and the pieces that survive are the ones built with the right leather weight and a finished edge. Get either wrong and your beautiful passport cover looks chewed by the second trip. Get them right and the leather ages into something you’d never buy off a shelf.
Below I’ve broken the kit into seven build guides — every one a standalone project you can knock out in an evening or a weekend. Start with the luggage tag if you’ve never saddle-stitched; graduate to the travel wallet when your edges look turned rather than cut. I’ll point you to each build as we go, and lay out the leather, tools, and finishing that tie the whole set together.
What Leather Weight Do You Need for Each Travel Piece?
Leather is sold by weight, and weight is really thickness: one ounce equals roughly 1/64 inch, or about 0.4 mm. A travel kit spans nearly the full range a hobbyist uses — 2–3 oz for a passport-cover lining, 8–10 oz for a luggage tag that has to stay stiff on a bag handle. Matching weight to the job is the single decision that separates gear that holds its shape from gear that flops.
Here’s how I spec each piece on my own bench. I keep Wickett & Craig and Hermann Oak veg-tan shoulders in three working weights, and I reach for a specific one depending on whether the piece needs to fold, hold, or stand up to abuse. Chrome-tan comes in only where softness matters — a zip pouch body or a rolled sleeve that has to drape.
| Travel Piece | Leather & Weight | Why That Weight | Build Guide |
|---|---|---|---|
| Passport cover | Veg-tan 4–5 oz outer, 2–3 oz lining | Folds flat without cracking; thin lining keeps slots slim | Passport cover build |
| Luggage tag | Veg-tan 8–9 oz | Stays rigid on a handle; takes a deep stamp | Luggage tag build |
| Cable organizer | Veg-tan 3–4 oz or chrome-tan | Rolls tightly; light enough not to bulk a bag | Cable organizer build |
| Travel wallet | Veg-tan 4–5 oz outer, 2–3 oz pockets | Holds boarding passes flat; slim enough to fold | Travel wallet build |
| Tool roll | Veg-tan 5–7 oz or heavy chrome-tan | Body drapes to roll; pockets stay open | Tool roll build |
| Watch roll | Chrome-tan or 3–4 oz veg-tan, soft lining | Cushions cases; rolls without pressure creases | Watch roll build |
| Eyeglass roll | Veg-tan 4–5 oz shell, soft lining | Shell resists a crush; lining protects lenses | Eyeglass case build |
Notice the pattern: anything that needs to hold a shape — the luggage tag, the tool-roll pockets — leans on veg-tan, the leather that molds, tools and burnishes. Anything that needs to drape and roll — the watch roll body, a soft cable sleeve — can go chrome-tan. Mixing them up is the classic beginner error, and I made it: my first watch roll used 8 oz veg-tan for the body and it wouldn’t roll without cracking the grain at the fold. Live and learn — I re-cut it in 4 oz and it’s been in my carry-on ever since.
Should You Use Veg-Tan or Chrome-Tan for Travel Goods?
For structured travel goods, veg-tan wins by default: it molds, it burnishes to a glass edge, it takes dye and a stamp, and it patinas from tan to deep honey over years of handling. Chrome-tan earns its spot only where you want softness and drape that never firms up — a rolled sleeve, a zip pouch, a lining that has to feel like fabric.
The reason comes down to chemistry. Veg-tan is tanned with plant tannins, which leave the fibers able to reabsorb water — that’s why it wet-forms and why its cut edges fuse under a slicker. Chrome-tan is tanned with chromium salts that lock the fibers soft and stable, which is exactly why it won’t slick the same way; its edges you paint, you don’t burnish. On a travel kit that means the passport cover, luggage tag, and travel wallet all want veg-tan for a proper burnished edge, while the watch roll’s cushioning body can lean chrome-tan for feel. I keep chrome-tan offcuts in a bin specifically for the soft-goods jobs so I’m never tempted to force the wrong leather into a structured piece.
What Tools Do You Actually Need to Start the Kit?
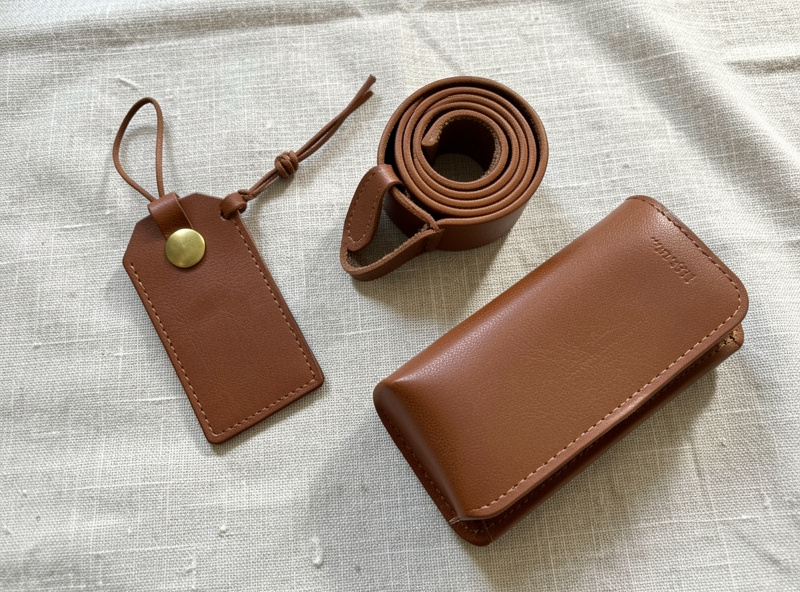
You can build every piece in this kit with about eight tools, and none of them is a machine. My daily drivers are a fine European-pitch pricking iron set, a diamond awl I keep stropped razor-sharp, two harness needles, a poly thread, a beveler, and a slicker — plus a rotary cutter and steel straightedge for clean cuts. That’s the whole travel-kit toolkit.
The pricking irons are the heart of it. I default to a set that measures pitch in stitches-per-inch rather than “holes,” because pitch is what you match your thread to — the iron marks the stitch line, and the awl opens each hole at the same angle so the saddle stitch seats evenly. I run Ritza 25 “Tiger” thread in three sizes — 0.6 mm for wallet interiors, 0.8 mm for most exteriors, 1.0 mm for belts and heavy tags — matched to iron pitch so the thread fills the hole rather than pulling through loose. For edges I bevel with a #1 or #2 beveler, sand up through the grits, then slick with a PETG slicker I printed on the workshop FDM printer to fit specific edge weights. The same printer that prints hydroponic reservoir lids prints my leather edge slickers — same tool, different bench, same workflow.
If you’re buying in, don’t overbuy. A single set of irons, one good awl, a strop, and one slicker will carry you through all seven builds. The luggage tag and cable organizer are the two I’d start on — simple enough to learn the saddle stitch and edge sequence without wasting good leather. You can find a starter set of leather stitching tools and pricking irons if you’re outfitting a bench from scratch.
As an Amazon Associate I earn from qualifying purchases.
How Long Does a Leather Passport Cover Take to Make?
A passport cover is a half-day project — about three to four hours once your pattern’s dialed, most of it stitching two interior slot pockets and burnishing the outer edge. It’s the piece people notice first at a border, so the spine and the slot fit are where the craft shows: a spine skived too thick won’t close flat, and slots cut a hair too tight tear the corners.
The full build — pattern, slot layout, a clean skived spine, and the edge finish that keeps it from fuzzing in a jacket pocket — is walked through in the leather passport cover pattern guide. The trick I wish I’d known sooner: skive the spine fold down to about 3 oz so the cover wraps the passport without springing open. I detail exactly how much to thin it, and where, in that build. A passport cover is also the best showcase for a travel wallet upgrade later, once you want boarding-pass slots too.
What’s the Easiest Travel Piece to Start With?
The luggage tag. It’s one or two pieces of heavy veg-tan, a window for a card, a strap, and a stamp — a project you can finish in an evening and learn every core skill on: cutting, punching, one stitch line, and a burnished edge. Because it’s 8–9 oz leather, the edge is thick enough that slicking it is genuinely satisfying and easy to see.
I hand every new-to-leather friend a scrap of 8 oz and point them at the leather luggage tag DIY guide. It’s where you learn to bevel and slick a real edge without risking a big piece, and where you can practice a stamp or a laser-engraved monogram — I engrave mine on the veg-tan panel with the workshop laser before assembly. Once the tag’s edge looks turned rather than cut, you’re ready to move up to the cable organizer or the passport cover.
How Do You Keep Cables and Cords Organized in Leather?
A leather cord roll is the piece that saves your sanity in a bag: a soft panel with elastic or snap loops for cables and a rolled closure, built in light 3–4 oz veg-tan or chrome-tan so it wraps tight. Mine holds a charger, three cables and earbuds in a package the size of a fat wallet — no more digging for a tangled knot at the bottom of a backpack.
The leather cable organizer pattern covers loop spacing, closure options, and why I keep the body thin: a heavy body fights the roll and you end up with a brick. It’s a low-stakes build — a great second project after the luggage tag — and it teaches you elastic and snap hardware you’ll reuse on the tool roll and the watch roll.
What Makes a Good Leather Travel Wallet?
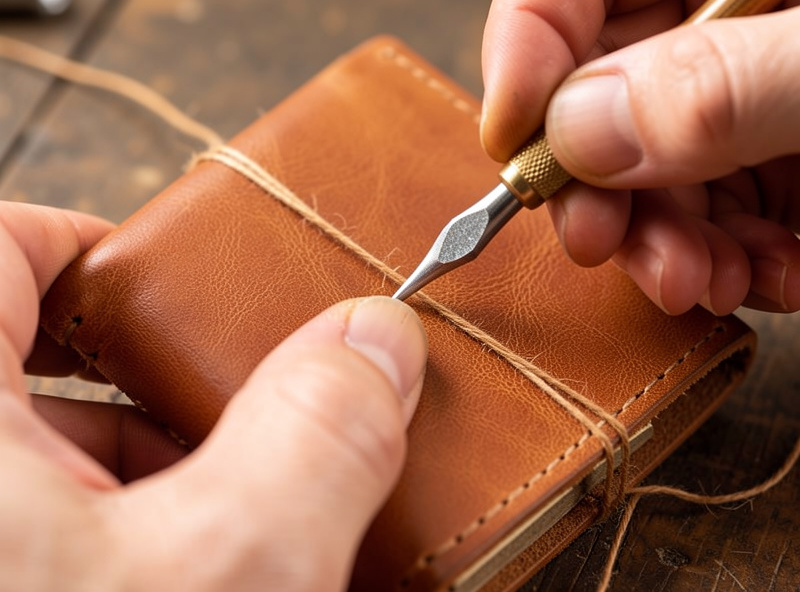
A travel wallet is a passport cover that grew up: it swallows a passport, boarding passes, a few cards and folded cash, and it has to stay slim enough to slide into a jacket. The make-or-break is slot stacking — every layer adds thickness, so the interior gets skived thin and the boarding-pass slot runs full-height so a pass doesn’t crease.
The leather travel wallet pattern lays out the slot math — how many layers you can stack before the wallet won’t fold flat, and where to skive to buy back thickness. It’s the most advanced build in the kit and the one I’d tackle after you’ve made the passport cover, because the skiving and edge work are unforgiving on a thick assembly. Get it right and it’s the piece you’ll carry every trip for a decade.
How Do You Build a Tool Roll That Actually Protects Edges?
A tool roll is a flat leather panel with a row of pockets, a flap that folds over the tool tips, and a wrap tie — built in 5–7 oz veg-tan or heavy chrome-tan so it drapes to roll but holds the pockets open. The flap is the whole point: without it, chisel and awl tips migrate out the top and dull against each other.
I keep my own edge tools and swivel knives in one, and the leather tool roll pattern shows how to size pockets to actual tools, set the flap depth, and place the tie so a full roll doesn’t unspool in a bag. The same pocket-and-flap logic scales up or down — it’s the parent pattern for the watch roll and the eyeglass roll, both of which are really tool rolls with softer linings.
How Do You Carry Watches Safely When Traveling?
A watch roll cradles two or three watches in padded pockets and rolls closed with a tie, cushioning the cases so crowns don’t scratch and crystals don’t touch. The body wants to be soft — chrome-tan or light veg-tan — with a padded lining, because a stiff body presses the watches together and a hard fold creases the grain.
The leather watch roll DIY guide covers pocket padding, how to size the tubes to a 40–44 mm case, and the soft lining that keeps a bezel from rubbing. It’s a gift-grade build — the one friends ask me to make — and it’s where the leather-choice lesson from earlier really bites: use a soft body or the roll fights you. Pair it with the eyeglass roll for a matched carry set.
How Do You Protect Glasses in a Soft Leather Case?
An eyeglass roll or soft case protects lenses with a crush-resistant veg-tan shell and a soft suede or chrome-tan lining that won’t scratch a coating. The tension is real: too soft and a bag crushes the frames, too stiff and it won’t slip into a jacket — so I build a 4–5 oz shell with a wet-formed curve for rigidity and a soft inner face.
The leather eyeglass roll DIY guide shows both versions — a rolled soft case and a wet-formed hard shell — and how to line either so the lenses ride safe. Wet-forming here is the same skill you’d use on a knife sheath: case the veg-tan, mold it over a form, let it dry hard. It rounds out the travel kit and reuses every skill from the earlier builds.
How Do You Finish Edges So Travel Gear Survives a Bag?
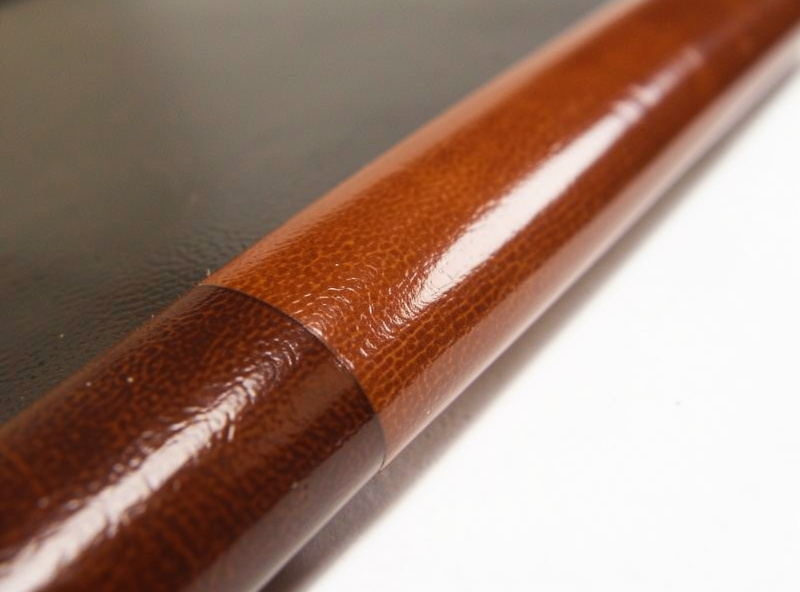
The edge is where travel gear lives or dies, because a raw cut edge fuzzes and delaminates the moment it rubs against zippers and other contents. The fix is a four-step sequence on veg-tan — bevel, sand, slick, wax — that fuses the fibers into a rounded, sealed edge that shrugs off abrasion. Skip any step and it shows within a trip.
My sequence: knock the corner off both faces with a #1 beveler, sand up through 400 then 800 grit, dampen the edge and slick hard with Tokonole and a printed slicker until it goes glassy, then seal with a carnauba creme. On chrome-tan, which won’t burnish, I finish edges with edge paint instead — a completely different approach, and one reason I keep the structured pieces in veg-tan. The sound tells you when it’s done: a slicked edge stops squeaking against the slicker and starts to hum, smooth and hard. That hum is the tell that the piece will look made rather than bought, ten trips from now. If you want to go deeper on this, edge finishing is the through-line of every build in the kit.
How Should You Condition and Care for Travel Leather?
Travel leather needs a light conditioning two or three times a year and a topcoat that suits how the piece gets handled — no more. Veg-tan darkens and stiffens if you over-oil it, so I use a thin coat of neatsfoot only when a piece feels dry, and a neutral Resolene or carnauba topcoat to shed the odd rain shower. Over-conditioning is the mistake I see most: people drown a new wallet in oil and wonder why it went limp and dark.
For pieces that ride in a pocket — passport cover, travel wallet — I skip heavy topcoats and let hand oils build the patina naturally; the leather goes from raw tan to deep honey on its own. For pieces that face weather — luggage tag, tool roll — a neutral Resolene seal earns its keep. Rotate your luggage tag and passport cover care to the seasons and they’ll outlast the bags they ride in. Leatherwork is the patience-discipline hobby — slower than welding, faster than dry-aging beef, and the finish rewards the same restraint.
Which Travel Project Should You Build First?
Build in order of difficulty, and each project teaches the next. Here’s the sequence I’d hand a beginner, with realistic bench time and the skill each one drills.
| Order | Project | Bench Time | Skill It Teaches | Guide |
|---|---|---|---|---|
| 1 | Luggage tag | ~2 hours | Cutting, one stitch line, burnished edge, stamping | Build it |
| 2 | Cable organizer | ~2–3 hours | Elastic/snap hardware, thin-leather handling | Build it |
| 3 | Eyeglass case | ~3 hours | Wet-forming, lining a soft interior | Build it |
| 4 | Passport cover | ~3–4 hours | Slot pockets, skived spine, flat fold | Build it |
| 5 | Watch roll | ~4 hours | Padded pockets, soft-body leather choice | Build it |
| 6 | Tool roll | ~4–5 hours | Pocket sizing, flap, wrap tie | Build it |
| 7 | Travel wallet | ~5–6 hours | Slot stacking, skiving a thick assembly | Build it |
What I’d do starting today: cut a luggage tag from an 8 oz scrap tonight, learn the bevel-sand-slick-wax edge on that low-stakes piece, and let the finished edge tell you when you’re ready to move up. By the time you reach the travel wallet, your edges will look turned, your stitch line will run straight, and you’ll have a full carry kit that no shelf sells.
Where to Buy Travel-Kit Leather and Tools
For structured pieces I buy veg-tan shoulders and bends from established tanneries — Wickett & Craig and Hermann Oak are the two I keep on the shelf, both consistent enough that a spec repeats build to build. For thread I run Julius Koch’s Ritza 25 Tiger thread, matched to iron pitch. If you’d rather grab a starter bundle to get going, a veg-tan leather and tooling starter kit will cover the first few projects before you graduate to full sides.
How Do You Pattern Travel Goods for a Repeatable Fit?
Travel goods live or die on fit — a passport cover a few millimeters too tight won’t close, a watch tube 2 mm too wide lets the case rattle. So I pattern everything to the actual object plus a measured allowance, then cut a durable template I can reuse. Cardstock for the first pass, acrylic or a laser-cut template for the keeper.
My workflow: measure the object closed, add the leather’s own thickness around every fold (an 5 oz cover needs about 2 mm extra per wrap so it doesn’t spring open), then mock the whole thing up in manila folder cardstock and fold it around the real passport or watch before I ever touch leather. Cardboard is cheap; a ruined shoulder is not. Once the paper fits, I cut a permanent template — for shapes I’ll repeat, I laser-cut a thin acrylic or MDF template on the workshop laser so the outline and stitch-hole marks are dead identical every time. That’s the polymath crossover no leather-only maker gets: the same laser that engraves a monogram cuts a template that makes the next ten covers match the first. On the passport cover and travel wallet especially, a reusable template is what turns “I made one that fit” into “I can make ten that fit.”
What Hardware Do Travel Pieces Need?
Most of this kit is hardware-light — a saddle stitch does the structural work — but four small goods lean on findings: the cable roll and tool roll want snaps or a tie, the luggage tag wants a rivet or a strap-and-buckle, and the watch roll wants a wrap tie. Choosing the metal matters more than beginners expect, because plating wears and cheap snaps pull through thin leather.
I run solid-brass or stainless hardware on travel gear and avoid cheap nickel-plated snaps, which flake at the edge after a season of thumbing open. For the luggage tag I set a solid copper or brass rivet through the strap — a rivet won’t work loose the way a stitched strap can under a bag’s weight. For the cable roll I like line-24 snaps for a positive click, and for the tool and watch rolls a simple leather wrap tie needs no hardware at all, which is why I default to it: nothing to corrode, nothing to fail at 30,000 feet. Whatever you set, back thin leather with a reinforcement disc or a second layer so the hardware doesn’t tear out — a snap set straight into 3 oz will eventually pull through, a lesson I learned when a cable-roll snap took a plug of leather with it.
How Do You Personalize Travel Leather With Dye, Stamp, or Engraving?
Personalization is where a travel piece stops being generic and starts being yours — a monogram on the luggage tag, an oxblood dye on the passport cover, initials engraved inside the watch roll. Veg-tan takes all three beautifully; chrome-tan takes almost none of it, which is one more reason the structured pieces are veg-tan. The order of operations is what beginners botch.
The stack that works, every time: cut and tool first, then dye, then buff, then condition, then seal — never reverse it. I dye travel pieces with Fiebing’s Pro Oil for even, forgiving color, and mix my own mahogany and oxblood within one dye family when I want a color the shelf doesn’t carry, recording the recipe so the matching piece comes out the same. For a maker’s mark I either stamp a cased, damp piece with a basic stamp and a modeling spoon, or — for crisp lettering — laser-engrave the veg-tan panel before assembly. Engraving veg-tan gives a clean, permanent burn that dye then settles into for contrast; it’s the finish I put inside a watch roll or on a luggage tag, and it’s genuinely hard to replicate by hand. One caution from experience: seal after dyeing, never before — a topcoat laid down first resists the dye and you get a blotchy, patchy field that no amount of buffing saves.
What is the easiest leather travel accessory to make first?
A luggage tag. It uses one or two pieces of heavy 8 to 9 oz veg-tan, a single stitch line, and a burnished edge, so you learn every core skill in about two hours without risking a big piece of leather.
What leather weight is best for a passport cover?
A 4 to 5 oz veg-tan outer with a 2 to 3 oz lining. The outer folds flat without cracking, and the thin lining keeps the interior slots slim so the cover closes properly around the passport.
Should travel leather be veg-tan or chrome-tan?
Use veg-tan for structured pieces like the passport cover, luggage tag and travel wallet, because it burnishes to a sealed edge and molds. Use chrome-tan only where you want softness and drape, like a watch roll body or a soft cable sleeve.
How do I keep leather travel gear from fuzzing at the edges?
Finish every veg-tan edge in four steps: bevel the corners, sand up through 400 then 800 grit, slick with Tokonole until glassy, and seal with a carnauba creme. A sealed edge resists the abrasion from zippers and bag contents.
How often should I condition leather travel accessories?
Two or three times a year, and only when a piece feels dry. Over-conditioning is the most common mistake. Use a thin coat of neatsfoot oil, and a neutral topcoat like Resolene on pieces that face weather.
Keep Building the Kit
Every piece in the travel kit has its own full build guide — pattern, leather spec, stitch and edge sequence:
- How to Make a Leather Passport Cover — slots, fit, and a clean spine
- How to Make a Leather Luggage Tag — window, strap, and stamp
- How to Make a Leather Cable Organizer and Cord Roll
- How to Make a Leather Travel Wallet — with boarding-pass slots
- How to Make a Leather Watch Roll — for two or three watches



