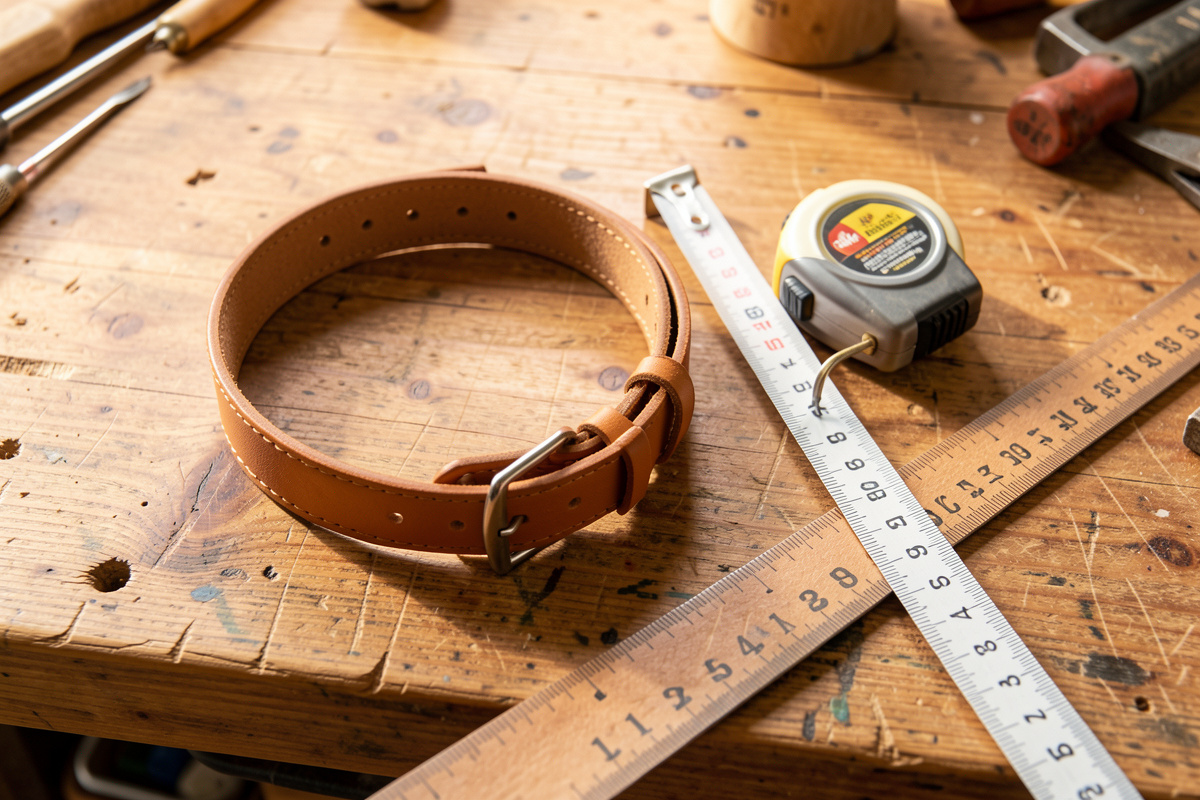
To size a leather dog collar correctly, measure the dog’s neck snugly where the collar will sit, add 1–2 inches, and set the middle of five adjustment holes…
To size a leather dog collar correctly, measure the dog’s neck snugly where the collar will sit, add 1–2 inches, and set the middle of five adjustment holes at that number. The finished fit should let two fingers slide flat under the strap. Get that one measurement and the hole spacing right and the collar fits the first time — this is the step that gets a handmade collar returned more than any other.
Sizing is not the glamorous part of collar making, but it is the part that decides whether the dog wears your work or it sits in a drawer. I have re-punched plenty of collars early on because I measured the wrong spot or spaced the holes for myself instead of the dog. Here is the exact method I use on the bench, from the tape measure to the last hole.
Measuring the Neck the Right Way
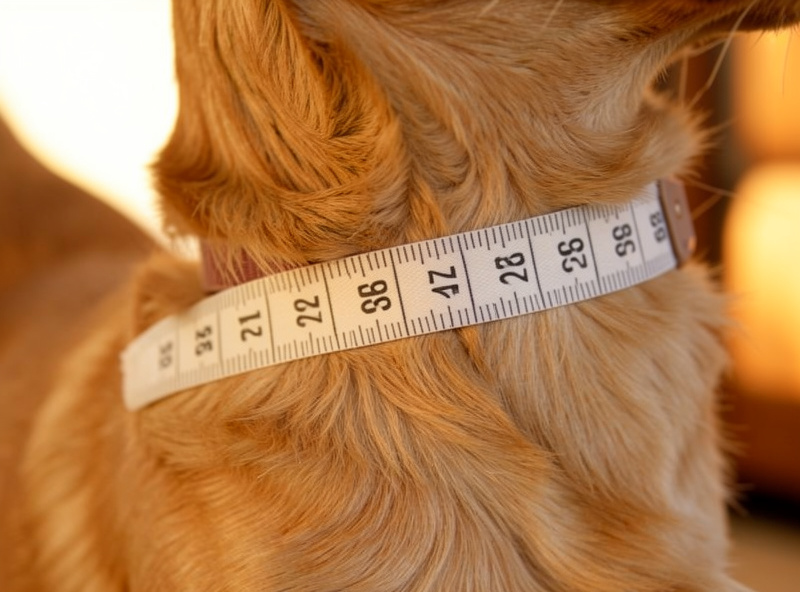
Wrap a soft tape measure around the dog’s neck where the collar naturally rides — usually mid-neck, a couple of inches below the ears, not up tight behind the jaw. Keep it snug but not compressing the coat. That snug number is your base measurement; everything else is built from it. For a thick double coat, measure down to the skin and again over the coat, and build to the over-coat number so the collar is not buried.
The classic check is the two-finger rule: when fitted, two fingers should slide flat between strap and neck. Add 1 inch to the snug measurement for a small or short-coated dog, up to 2 inches for a large or thick-coated one, and that becomes your target middle-hole length. The full collar build that this sizing feeds into is in the collar making guide.
From Neck Measurement to Strap Length
The cut strap is much longer than the finished collar because of the buckle fold and the billet end. Take your middle-hole target, add about 3 inches for the buckle fold-back, and add another 2–3 inches of billet past the middle hole so the end seats in the keeper with room to adjust looser. For a 16-inch target that is roughly a 21–22 inch cut strap before rounding the end.
Always cut long — you can trim a billet, you cannot add length. Round the billet end so it feeds the buckle cleanly. The strap-cutting technique itself is in the cutting straight guide, and the same length logic scaled up is in the belt tutorial.
| Snug Neck Measurement | Target Middle Hole | Approx. Cut Strap Length |
|---|---|---|
| 10 in (small) | 11 in | 16–17 in |
| 14 in (medium) | 15–16 in | 20–21 in |
| 18 in (large) | 19–20 in | 24–25 in |
| 22 in (giant) | 23–24 in | 28–29 in |
Hole Spacing and Placement
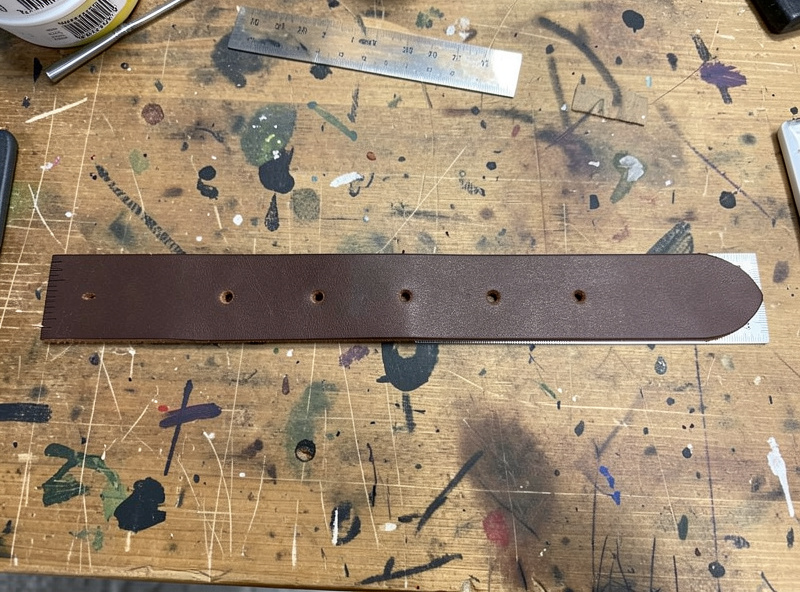
Five holes spaced evenly is the standard for a dog collar, and I space mine 3/4 inch apart on the strap centerline. Put the middle (third) hole at your target length, giving two holes tighter and two looser — about 1.5 inches of adjustment each way. That range covers a winter coat, a summer trim, and a growing pup without leaving the strap flapping or the holes crowding the buckle.
Mark every hole on the exact centerline with a wing divider or a ruler and an awl before punching — holes that wander off-line are the clearest homemade tell on an otherwise clean collar. Punch with a sharp rotary or drive punch sized to your buckle tongue (a 5/32 inch hole suits most collar buckles). The punch options are covered in the hole punch guide.
Sizing for Puppies and Growing Dogs
A puppy is a moving target, so size for now with room to grow, not for the adult neck. Build the collar to the pup’s current snug-plus-1-inch and plan to make a second collar when it outgrows the last hole — a collar two sizes too big rides loose and can slip over the ears, which is a real escape and choke risk. The five-hole range buys a few months between collars, not a year.
For fast-growing large breeds I sometimes punch a sixth or seventh hole on a longer billet to stretch the usable window. Just keep the holes evenly spaced and on the line. When the dog has stopped growing, a final fitted collar in good bridle is the one that lasts; the right weight for it is in the leather weight guide.
Width Sizing: Matching Strap to Dog
Length is only one axis; width matters for comfort and proportion. A strap too wide for a small neck cannot follow the curve and gaps at the throat; too narrow on a big dog concentrates pull and looks undersized. As a rule, 5/8–3/4 inch suits small dogs, 3/4–1 inch medium, and 1–1.25 inch large dogs.
Width and weight scale together — a wider strap wants a touch more weight to stay flat. The full width-and-weight pairing is in the weight guide, and the hardware has to match the chosen width, covered in the hardware guide and the wider hardware reference.
Common Sizing Mistakes
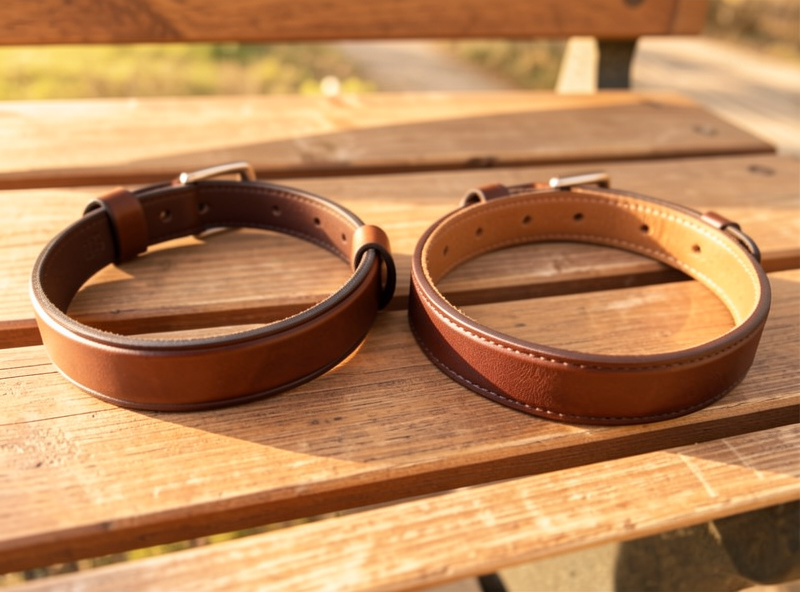
The two errors I see most are measuring the wrong spot and spacing holes for the maker’s eye instead of the dog. A collar measured up tight behind the jaw fits a different, smaller circumference than where it actually rides, so it ends up too snug. And holes punched by eye drift off the centerline and crowd unevenly, which limits real adjustment and looks rushed.
A third quiet mistake is sizing to the snug number with no allowance at all — a collar with zero ease cannot pass the two-finger check and pinches the moment the dog lowers its head to drink. Always build in the 1–2 inch allowance, mark every hole on the line, and dry-fit before you set the buckle. The broader set of beginner traps is in the common mistakes guide.
Sizing a Martingale or Sighthound Collar
A martingale collar is sized differently because it tightens under tension. The main loop is sized to slip over the head when open — measure the widest point of the skull, not the neck — and the control loop is set so that when drawn tight the collar closes to the neck measurement without choking. That two-loop geometry is why sighthounds, whose heads are narrower than their necks, need it.
For a martingale, build to the head measurement for the slip-on dimension and to the neck measurement for the closed dimension, then size the chain or strap section so the gap between rings closes to snug, not throttling. Everything else — weight, edge finish, hardware — follows the same rules as a flat collar.
Frequently Asked Questions
How do I measure my dog’s neck for a collar?
Wrap a soft tape measure snugly around the neck where the collar will sit, a couple of inches below the ears. Keep it snug but not compressing the coat. That number is your base measurement for sizing the collar.
How much should I add to the neck measurement?
Add 1 inch for a small or short-coated dog and up to 2 inches for a large or thick-coated one. That sum becomes the target for the middle hole, leaving room for two fingers under the strap.
How far apart should collar holes be?
Space five holes 3/4 inch apart on the strap centerline, with the middle hole at your target length. That gives about 1.5 inches of adjustment in each direction, covering coat changes and a growing dog.
What is the two-finger rule for a dog collar?
A correctly fitted collar lets two fingers slide flat between the strap and the neck. Looser than that and it can slip over the ears; tighter and it restricts the dog. Use it as your final fit check.
How long should I cut the strap for a given neck size?
Take your target middle-hole length, add about 3 inches for the buckle fold, and 2 to 3 inches of billet past the middle hole. A 16-inch target needs roughly a 21 to 22 inch cut strap before rounding the end.
Related Guides
- Leather Dog Collar Making: The Complete Guide
- Best Leather Weight for a Dog Collar
- Best Hardware for Leather Dog Collars
- Leather Hole Punch Guide
- How to Make a Leather Dog Leash



