Most leather furniture damage is repairable at home: surface scratches buff out, peeling topcoat and worn color recolor, and small tears take a sub-patch and flexible filler. The…
Most leather furniture damage is repairable at home: surface scratches buff out, peeling topcoat and worn color recolor, and small tears take a sub-patch and flexible filler. The repair that defeats DIY is a large tear across a flexing seat or rotted foam underneath — that is reupholstery. Match the fix to the damage and the finish, and a tired sofa comes back to life.
Leather furniture lives a hard life: elbows, pets, sunlight and years of body oils. The good news is that the same surface-finish logic that governs car seats governs sofas, because both are pigmented or semi-aniline upholstery hides — the family I lay out in my garment and upholstery leather guide. Repairing furniture is mostly about rebuilding that surface coat, with the occasional structural fix underneath.
Diagnose the Damage and the Finish First
Before buying a single product, work out two things: what kind of damage you have, and what finish the leather wears. For damage, separate surface problems (light scratches, scuffs, faded or worn color, peeling topcoat) from structural ones (cracks you can feel, tears, split seams, sagging where the foam has gone). Surface problems are forgiving; structural ones need real repair or a pro.
For finish, most furniture is pigmented or semi-aniline, which means it has a protective surface coat you can clean, fill and recolor. Aniline leather — soft, matte, no surface coat — is far less forgiving and absorbs everything, so its repairs are specialist work. If you are not sure which you have, my upholstery leather selection guide explains the tiers, and a drop of water that beads and sits is usually protected leather, while one that soaks straight in is usually aniline.
Cleaning and Prepping the Repair Area
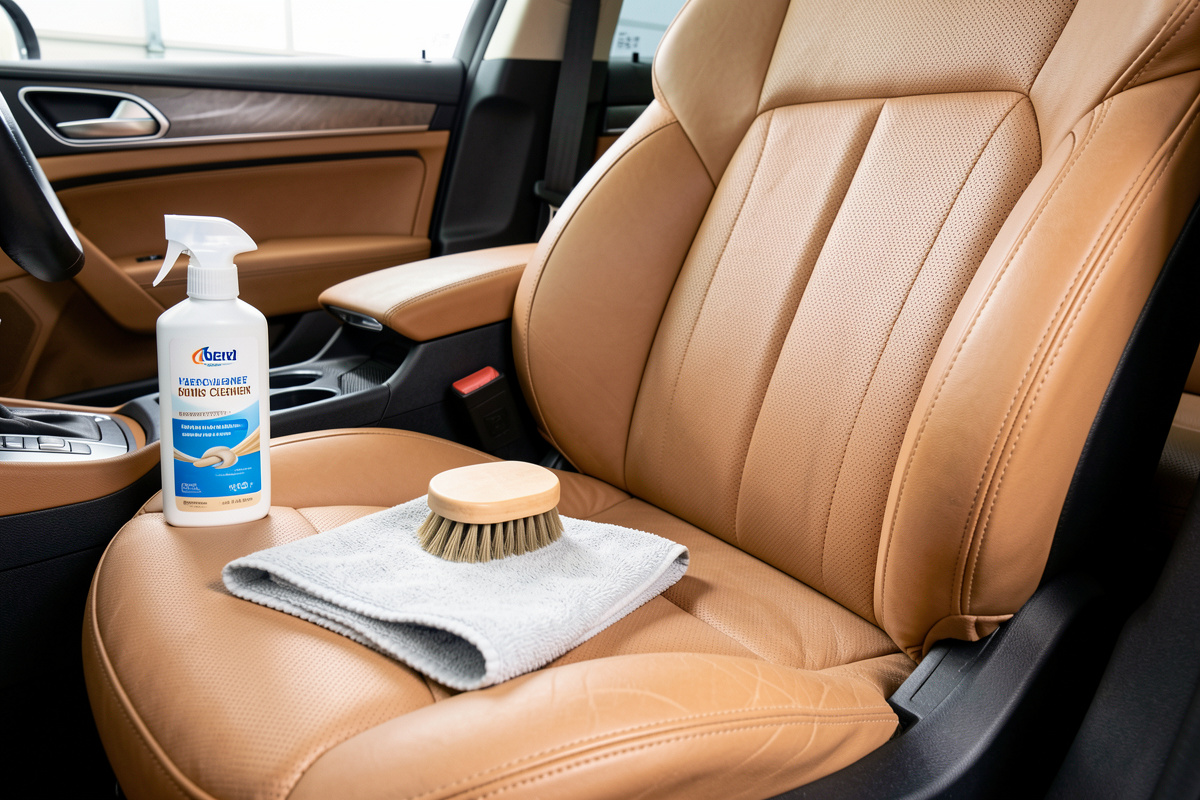
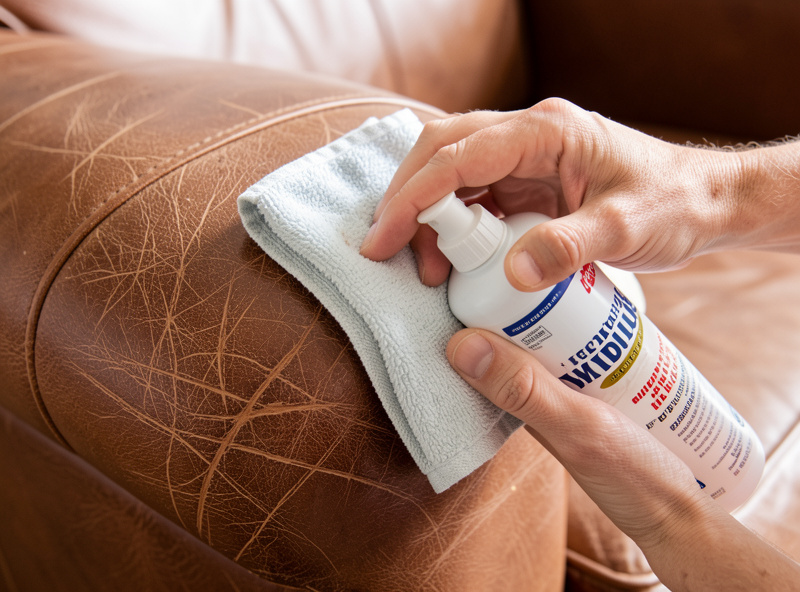
Every repair starts with a clean surface, because filler and color will not bond to grime, body oil or old conditioner. Clean the whole panel, not just the damage, with a dedicated leather cleaner and a soft cloth or brush, working the seams and the high-contact zones where oils build up. My cleaning leather goods guide and the broader leather care and restoration guide cover the products and the order.
Once clean and dry, prep the immediate repair area by degreasing it with a leather prep solution so new material grips. On glossy spots, a very light scuff with a fine abrasive pad helps the color key in. The surface should feel clean and slightly matte before you go further. Skipping this is the single biggest reason home repairs peel off weeks later.
Scratches and Scuffs
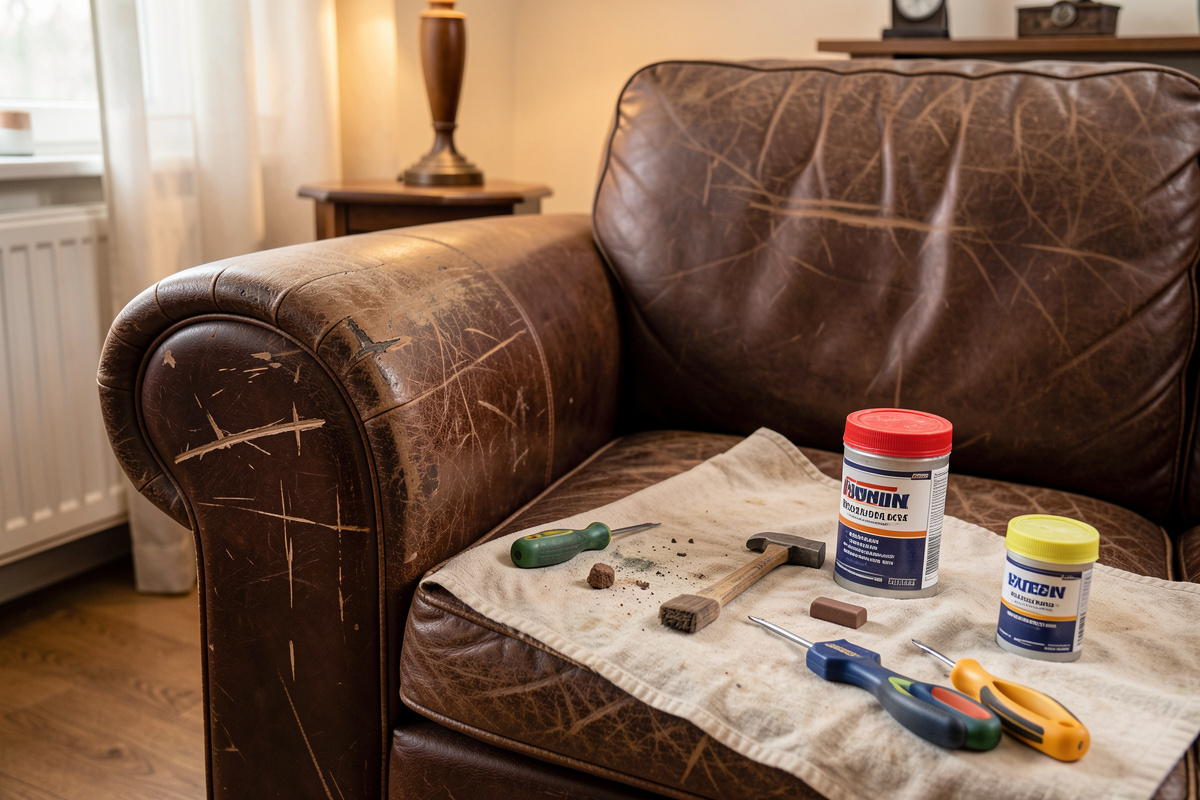
Light surface scratches on protected leather often improve with nothing more than cleaning and a leather conditioner worked in with a fingertip — the warmth and oils swell the scratch closed. Deeper scuffs that have removed color need a touch of matching leather color coat feathered over the mark and sealed. The key is to keep additions thin and feather the edges so there is no visible patch; build up gradually rather than dabbing on one heavy spot.
Pet scratches that have raised a fuzzy nap can be smoothed: lay the fibers down with a little flexible filler or color, let it set, and seal. Work in good light and step back often — matching color is easier when you judge it against the surrounding panel rather than up close.
Cracks, Peeling and Worn Color
Peeling is the classic protected-leather failure: the surface topcoat lets go in flakes, especially on headrests and seat fronts. There is no shortcut — you must remove the loose flaking coat first, because anything you apply over peeling finish peels with it. Gently scrape and abrade back to a sound, well-bonded surface, feather the transition smooth, then rebuild with flexible filler where needed and recolor.
Cracks get the same treatment as on a car seat: flexible filler worked in and built in thin layers, sanded smooth between coats, then recolored. The filler must cure flexible, because furniture flexes every time someone sits down, and a rigid filler simply cracks straight back out. Manage expectations on deep cracks — you will minimize them, not erase them. The recolor step uses a flexible water-based leather pigment rather than a penetrating dye; the principles overlap with my leather dyeing guide, but furniture wants surface pigment that flexes, not spirit dye that soaks in.
Tears and Seam Splits
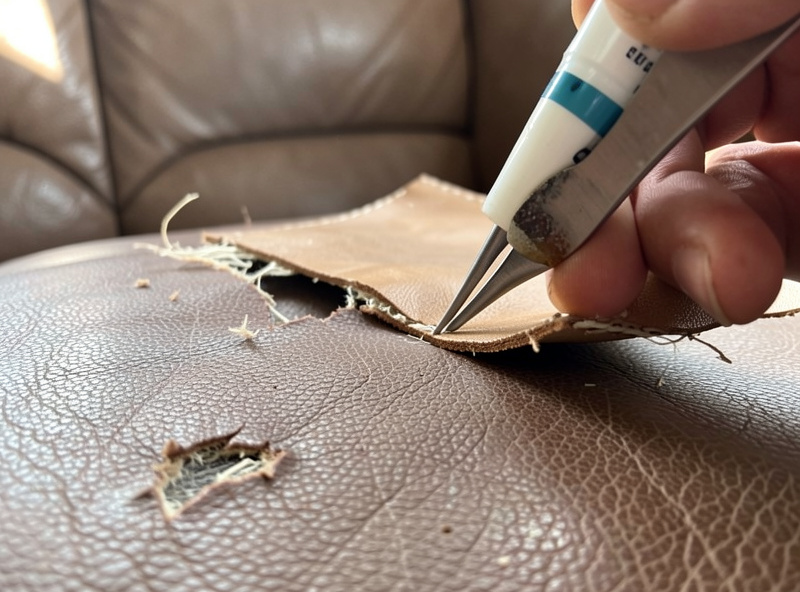
A clean tear in a non-flexing area — the side of a sofa, a back panel — is a realistic home repair. The method is a sub-patch: slide a piece of repair fabric or thin leather under the tear through the opening, glue it to the underside of both edges with flexible leather adhesive so it bridges the gap, then draw the edges together, fill the seam line, and recolor over the top. Done patiently, a tear on a low-flex panel becomes hard to spot.
Tears across a seat cushion or any high-flex area are much harder, because every sit pulls at the repair, and a glued patch eventually works loose. Split seams where the stitching has failed can sometimes be restitched if you can reach them, but that is awkward on assembled furniture and often a job for someone with the right curved needles and access. Be honest about which tears are on flexing surfaces; that single judgment decides whether the repair lasts.
Recolor, Seal and Maintain
Whatever you repaired, finish the same way: even out the color across the repair and surrounding area with light coats of flexible leather pigment, feathering so there is no hard line, then lock it in with a flexible leather sealer in the correct sheen — most furniture is a low satin, not gloss. The sealer is what makes the repair survive daily use rather than rubbing off in a month.
After that, prevention does the heavy lifting. Keep furniture out of direct sun, wipe spills immediately, and condition a couple of times a year to keep the finish supple and slow the next round of cracking. The same maintenance habits keep car interiors alive too, which is why the techniques in my leather car interior restoration guide read so similarly — it is the same surface, doing the same job, wearing the same way.
Matching the Color: The Hardest Part
Honestly, the structural repair is rarely what gives people away — the color match is. A perfectly filled crack still looks like a repair if the recolor is a shade off or the sheen is wrong. The first move is to get color from the leather itself, not a paint chip: most leather-repair suppliers will mix to a sample, and many publish standard furniture colors. If you can cut a tiny swatch from a hidden spot (the underside of a cushion, behind a skirt), a supplier can match it far more accurately than any photo.
When you mix or adjust color yourself, the same discipline from my leather dyeing guide applies: build up to the target in thin coats, check the match in daylight and lamplight because leather color shifts under different light, and feather every edge so the repair blends into the surrounding panel instead of stopping at a hard line. Sheen matters as much as color — a satin repair on a matte sofa catches the eye even when the color is dead-on, so finish with a sealer in the matching sheen. Test your mixed color on a scrap or a hidden area first; it is far easier to adjust before it is on the visible panel than after. Patience and good light do more for an invisible repair than any single product.
When to Call a Pro
I do my own furniture repairs because I have the products and the patience, but I am a hand maker, not an upholstery trade shop, and I am honest about the line. Large tears on seat surfaces, collapsed foam, structural frame issues, full reupholstery, and any repair on a valuable aniline piece are genuinely specialist work. A professional leather technician or upholsterer will do those faster and cleaner, and on an expensive sofa that is money well spent. My rule is simple: surface and small structural repairs at home, big structural and aniline work to a pro.
As an Amazon Associate I earn from qualifying purchases. For furniture work I keep a complete leather furniture repair kit and a bottle of leather conditioner on hand for upkeep.
Keep building. If this helped, the rest of the cluster goes deeper: the garment and upholstery leather hub ties it all together, upholstery leather selection helps you choose replacement hide, leather car interior restoration applies the same skills to seats, cleaning automotive leather covers the maintenance side, and the leather care and restoration guide is the master reference for keeping every leather piece alive.