Burnish leather edges with Tokonole in five steps: bevel the edge, sand to 600 grit, dampen the edge, apply a thin layer of Tokonole with a finger or…
Burnish leather edges with Tokonole in five steps: bevel the edge, sand to 600 grit, dampen the edge, apply a thin layer of Tokonole with a finger or a canvas cloth, then slick with a wooden burnisher in long even strokes for 15 to 20 seconds. Repeat the Tokonole-and-slick cycle two or three times for a glassy finish on veg-tan leather. The whole sequence takes about 4 to 6 minutes per linear foot of edge. The leather edge finishing hub covers the full bevel-sand-dampen-burnish sequence and how it pairs with the Tokonole step covered here.
As an Amazon Associate I earn from qualifying purchases.
Tokonole works by combining a wax-and-polymer coating with the friction heat from slicking, which compresses the leather fibers into a dense smooth surface. It only works on vegetable-tanned leather — chrome-tan doesn’t have the same fiber density to compress. This guide covers the full sequence, the three most common mistakes (over-slicking, wrong leather, too much product), and how the result compares to gum tragacanth and edge paint.
My first attempt at edge burnishing used a plastic slicker from a $15 Amazon kit and plain water. The result was a slightly darker, still-fuzzy edge that caught pocket lint within a week. Switching to a wooden burnisher and Tokonole changed everything — the edges went glass-smooth and stayed that way. The leather edge finishing guide covers the full bevel-to-burnish sequence with the right pressure and timing for every leather thickness.
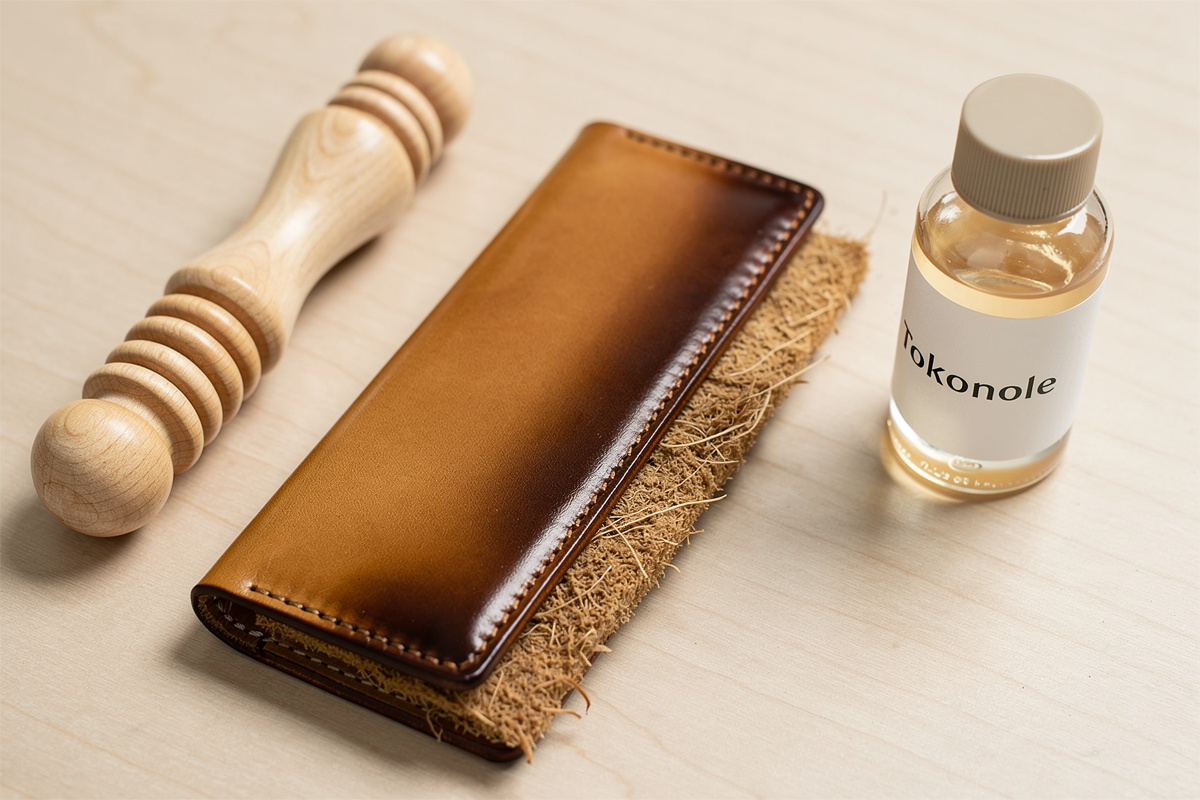
What Tokonole Actually Is
Tokonole is a Japanese leather edge finish made by Seiwa, sold in 120 ml or 500 ml plastic bottles in three colors: clear (most common), brown, and black. The active ingredients are a wax-polymer emulsion suspended in water, which makes it odorless, easy to clean off skin, and shelf-stable for years if the lid stays sealed.
It replaces traditional gum tragacanth (a tree-sap-based burnishing agent that smells like turpentine) and gives a slightly harder, more water-resistant edge than gum trag. Tokonole started as a Japanese leatherworking standard and has since become the default most hobbyists reach for worldwide when they outgrow gum trag (Hab-to’s guide to what Tokonole is and how it holds up). A 120 ml bottle costs $12 to $18 and, on my own bench, lasts through dozens of small leather goods projects before I need to reorder.
Two product variations matter: Tokonole burnishing gum (the standard finish for cut edges) and Tokonole leather thinner (used to dilute the gum if it thickens, and to clean tools). The gum is what you apply to edges; the thinner is a workshop maintenance product. Don’t confuse them at the supplier — both bottles look similar.
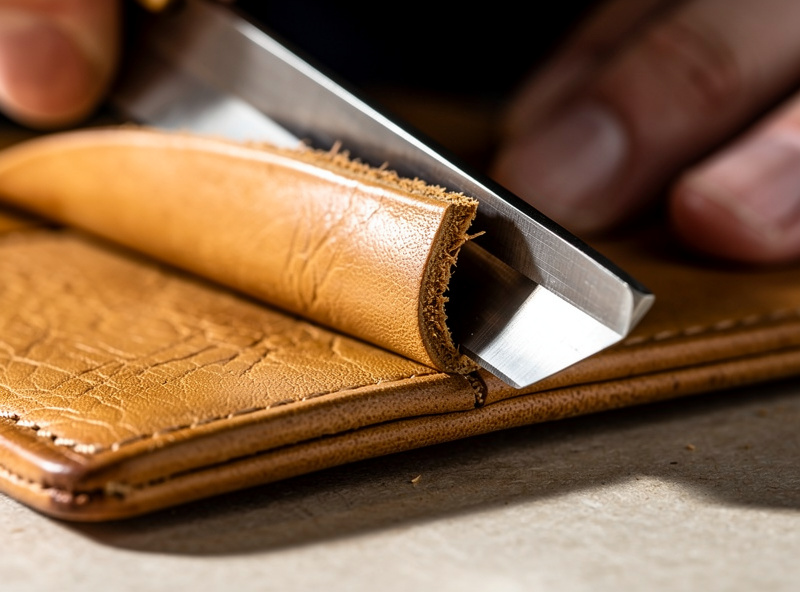
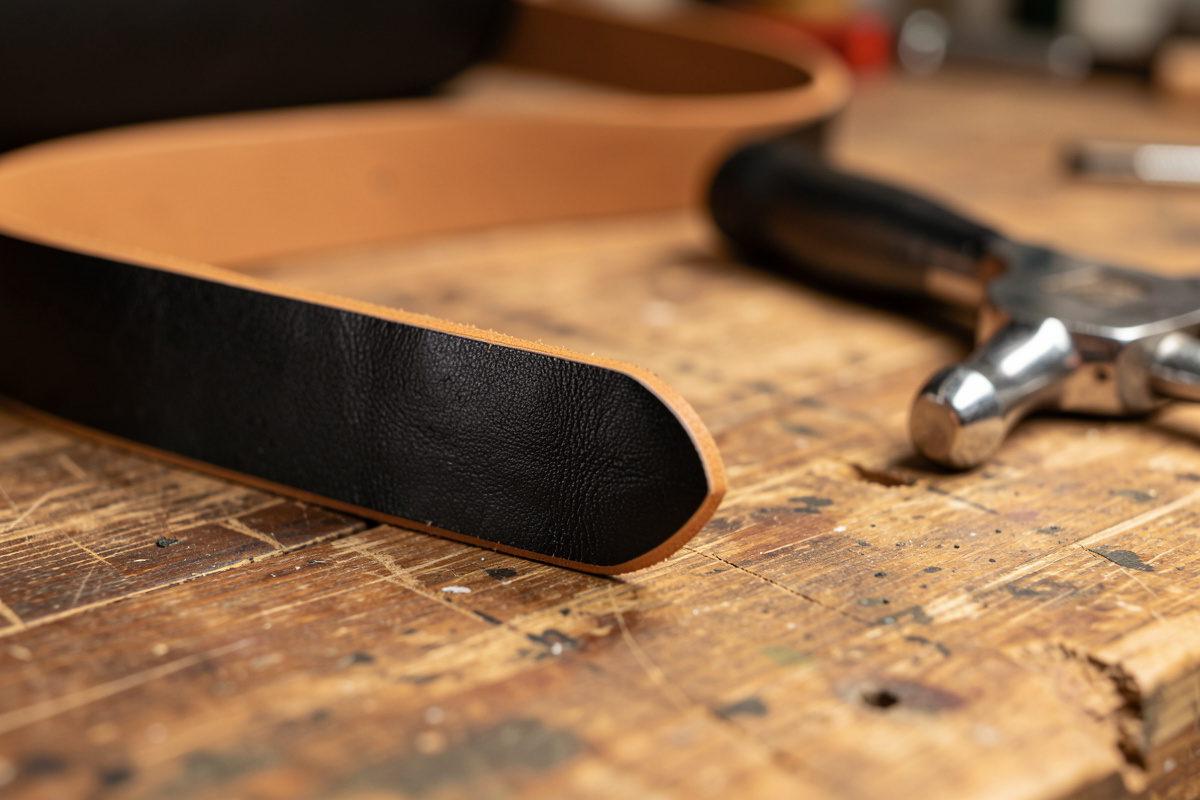
Step 1: Bevel the Edge
An edge beveler removes the sharp 90-degree corner where the leather edge meets the grain side, leaving a 45-degree chamfer roughly 0.5 to 1 mm wide. This eliminates the corner that would otherwise crack and lift during burnishing, and it creates a continuous round edge profile that takes Tokonole evenly.
Use a size 1 beveler for 3 oz to 4 oz leather, size 2 for 5 oz to 6 oz, size 3 for 7 oz to 8 oz, size 4 for 9 oz and heavier. Bevel both the grain side and the flesh side of the edge — only beveling the grain leaves a sharp flesh-side corner that won’t burnish smoothly. Pull the beveler with steady moderate pressure, keeping the blade angle constant.
For curved edges, slow down on tight curves and let the beveler track the leather. Skipping the bevel is the single most common cause of edges that look “fuzzy” no matter how much Tokonole you apply — without the chamfer, the burnisher can’t reach the corner and the fibers there stay raised.
Step 2: Sand the Edge to 400 to 600 Grit
Sand the bevelled edge with progressively finer sandpaper: 220 grit to remove cut-line roughness, then 400 grit, then 600 grit for the final pass. Wrap the sandpaper around a small block of wood or an emery board so the pressure is even. Sand parallel to the edge, not across it — perpendicular sanding leaves visible scratches that Tokonole highlights instead of hiding.
For projects where multiple panels are stacked (wallets, sheaths, holsters), glue the panels together first, clamp until dry, then sand all panels as a single edge. This guarantees the edges align perfectly and the burnish is one continuous surface across all layers. Sanding panels separately and then assembling almost always leaves visible step lines at panel boundaries.
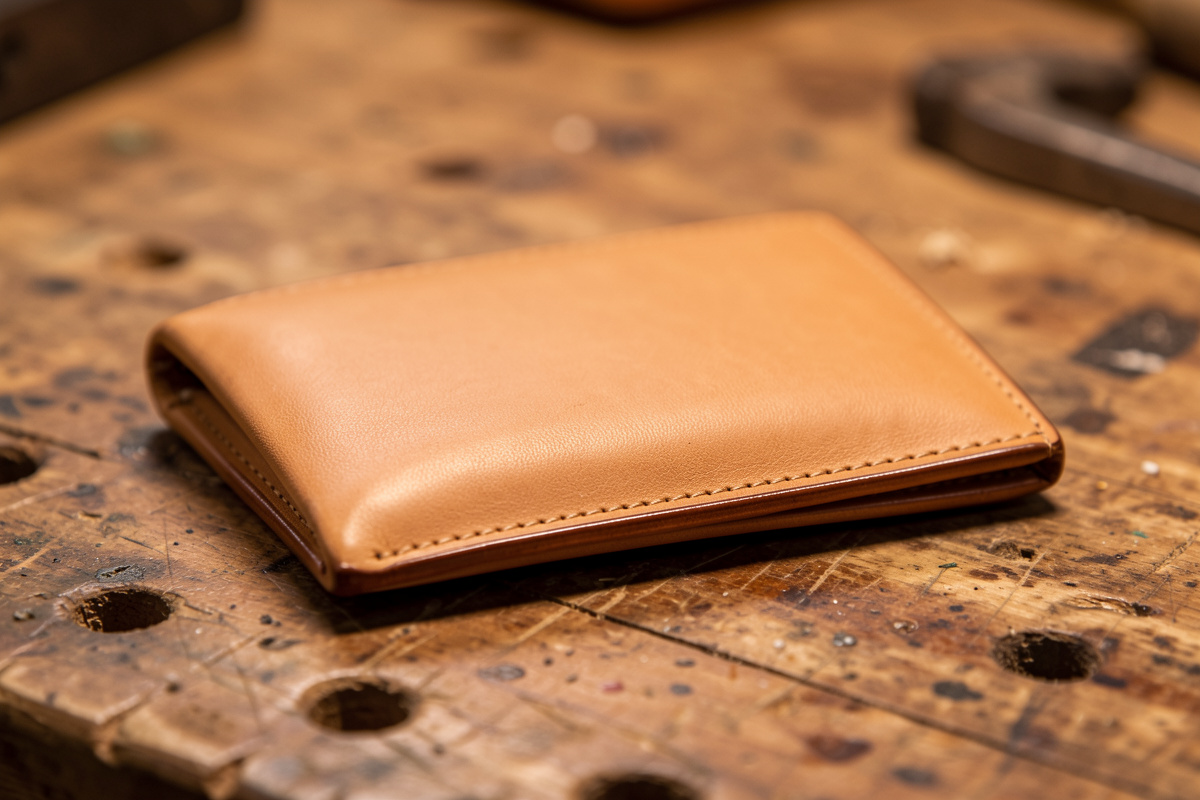
Skip 600 grit if you want a slightly more rustic edge appearance — many crafters stop at 400 for belts and dog collars where the smoother finish would look out of place. For wallets, watch straps, and small leather goods where the edge is the visual focus, 600 grit is the standard.
Step 3: Dampen the Edge
Wipe a damp cloth or wool dauber along the edge to lightly moisten the fibers — not soaking wet, just visibly damp. The water raises the fibers so they’re easier to compress during burnishing, and it lets the Tokonole spread evenly without beading up. Skipping the damp step works on thinner leather but leaves bare patches on heavy stock.
If the edge dries before you apply Tokonole (which happens fast in dry climates), re-wipe with the damp cloth. Don’t apply Tokonole to a fully dry edge expecting the gum to do the moistening — Tokonole’s polymer content works against absorption when the leather isn’t pre-dampened.
For projects that have been dyed (see the leather dyeing cluster), let the dye cure 24 hours before this damp step. Wet sanding through dye lifts color and creates pale rings around the edge that no amount of burnishing fixes.
Step 4: Apply Tokonole
Pour or squeeze a small amount of Tokonole onto a fingertip — a pea-sized dab is enough for 6 inches of edge. Wipe it onto the damp edge in one continuous motion, keeping the gum in the bevel zone (don’t smear it onto the grain side). Less is better than more: too much Tokonole leaves a tacky residue that takes minutes to slick out.
For longer edges (12+ inches), apply Tokonole in 4 to 6 inch sections and slick each section before moving on. The gum starts to dry within 30 to 60 seconds of application, and dried Tokonole won’t slick smoothly — it just smears. Working in sections keeps the working area within the wet window.
If you accidentally get Tokonole on the grain side, wipe immediately with a damp cloth. Once it dries, the polymer leaves a slightly waxy patch that resists dye and conditioner. Keep a small damp cloth in your other hand for quick cleanup. The dyeing cluster covers how Tokonole interacts with finishing products.
Step 5: Slick With a Wooden Burnisher
The slicker is the tool that does the actual work of compressing the fibers. A proper wooden edge slicker with grooves sized to your leather thickness generates the friction heat that melts the Tokonole wax into the fibers. Use a wooden multi-groove edge slicker (Cocobolo or Lignum vitae are the best woods because they don’t burn the leather). Place the slicker groove that matches your leather thickness against the edge and rub back and forth with steady moderate pressure for 15 to 20 seconds per 4-inch section. The friction heats the Tokonole and compresses the fibers, creating the glassy finish.
Stop when the edge is smooth and the original rough surface has compressed into a darker, denser line. If you keep slicking past this point, the fibers heat past the polymer’s working temperature and start to scorch — you’ll see the edge turn dark brown to black with hairline cracks along the surface. This is the over-burnish failure mode and the leather is permanently compromised.
Let the edge dry for 60 seconds, then apply a second thinner coat of Tokonole and slick again. Two thin coats give a better finish than one heavy coat. For high-end small leather goods, a third coat brings the edge to a mirror finish, but two is enough for daily-use items like wallets and watch straps.
Tokonole vs Other Edge Finishes
| Product | Best For | Finish Quality | Drying Time | Price (per project) |
|---|---|---|---|---|
| Tokonole (clear) | Veg-tan small leather goods | Glassy, water-resistant | 30 to 60 sec working window | $0.10 to $0.25 |
| Gum tragacanth | Veg-tan, traditional finish | Smooth, slightly softer than Tokonole | 2 to 4 min working window | $0.15 to $0.30 |
| Beeswax block | Belts, leashes, rustic finish | Matte to satin, soft | Instant | $0.05 |
| Edge paint (Fenice/Stahl) | Chrome-tan leather, all colors | Painted plastic-like coating | 20 min between coats | $0.50 to $1.50 |
| Saddle soap + slick | Quick informal projects | Soft satin finish | Instant | $0.05 |
Why Tokonole Doesn’t Work on Chrome-Tan
Chrome-tanned leather has a much looser fiber structure than vegetable-tanned because the chromium tanning process doesn’t crosslink the collagen as densely. Burnishing depends on compressing dense fibers into a smooth glassy surface — chrome-tan fibers don’t pack down because they’re already loose, and the edge stays fuzzy no matter how much Tokonole you apply or how long you slick.
For chrome-tan edges, switch to edge paint (Fenice or Stahl are the standard brands) applied in 2 to 4 thin cured coats with a small applicator. Edge paint creates a hard polymer coating on top of the leather rather than compressing the leather itself. The finish looks more uniform but lacks the depth that Tokonole gives veg-tan. For the full breakdown of what does and does not work on chrome-tan, the chrome-tan edge finishing guide covers edge paint, burnishing attempts, and what to expect from each approach.
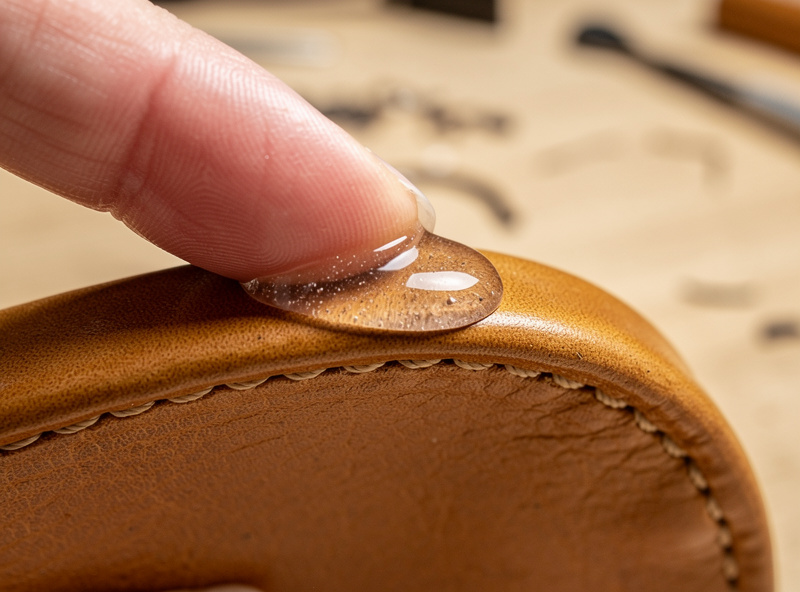
If you don’t know whether your leather is veg-tan or chrome-tan, drop a bead of water on the flesh side. Veg-tan absorbs and darkens within seconds; chrome-tan beads up and rolls off. The water-drop test is the cleanest field check before committing to an edge finishing approach. The leather types cluster covers identification in detail.
The Three Most Common Tokonole Mistakes
Mistake 1: Skipping the bevel. Without a bevelled edge, the burnisher can’t reach the corner where the grain meets the edge, and the fibers there stay raised no matter how much Tokonole you apply. Always bevel both grain side and flesh side before sanding.
Mistake 2: Using too much Tokonole. A pea-sized dab covers 6 inches of edge. More than that creates a tacky surface that takes minutes to slick out and often leaves residue on the grain side. Two thin coats consistently beat one heavy coat.
Mistake 3: Slicking past the polymer’s working temperature. Once the edge looks glassy and the fibers are compressed, stop. Continued friction past that point scorches the leather and creates surface cracks that won’t close. The signal to stop is when the slicker starts gliding without resistance — that’s the polymer fully cured. See the edge finishing cluster for visual examples of each failure mode.
If you are still choosing a compound, the tokonole vs gum tragacanth comparison breaks down finish, water-resistance, and cost side by side.
For the full tier ranking by brand, size, and price, the guide to the best edge bevelers covers Tandy, OWDEN, Crimson Hides, and Vergez Blanchard side by side.
Frequently Asked Questions
How much Tokonole do I need per project?
A pea-sized dab covers about 6 inches of leather edge. A standard 120 ml bottle is enough for 50 to 100 small leather goods projects (wallets, watch straps, card holders) before you need to refill. Less product is almost always better than more.
Does Tokonole work on chrome-tanned leather?
No. Chrome-tan has a looser fiber structure that does not compress under burnishing, so Tokonole cannot create a smooth glassy finish. Use edge paint such as Fenice or Stahl for chrome-tan instead, applied in 2 to 4 thin cured coats.
How long should I burnish each section?
15 to 20 seconds per 4-inch section with a wooden slicker, with steady moderate pressure. Stop when the edge looks glassy and the slicker starts gliding without resistance — past that point you risk scorching the leather and creating surface cracks.
Do I need to sand the edge before applying Tokonole?
Yes for a high-quality finish. Sand 220 grit then 400 grit then 600 grit before the first Tokonole coat. Skipping sanding leaves cut-line roughness that the burnishing process highlights instead of hiding. For rustic projects you can stop at 220 grit.
Can I use Tokonole on dyed leather?
Yes, but let the dye cure 24 hours first and apply Tokonole carefully to avoid the grain side. Wet sanding through fresh dye lifts color and creates pale rings around the edge. Once the dye is cured, the Tokonole sequence is the same as on undyed leather.
Tokonole vs gum tragacanth — which is better?
Tokonole gives a harder, more water-resistant finish and works faster (30 to 60 second working window vs 2 to 4 minutes for gum trag). Gum tragacanth has a slightly more traditional appearance and is forgiving of slow application. Most modern crafters prefer Tokonole for production work.
Related Articles
- Edge Finishing & Burnishing cluster
- Leatherworking Tools Guide
- Leather Types cluster
- Leather Dyeing cluster
- Leather Projects cluster