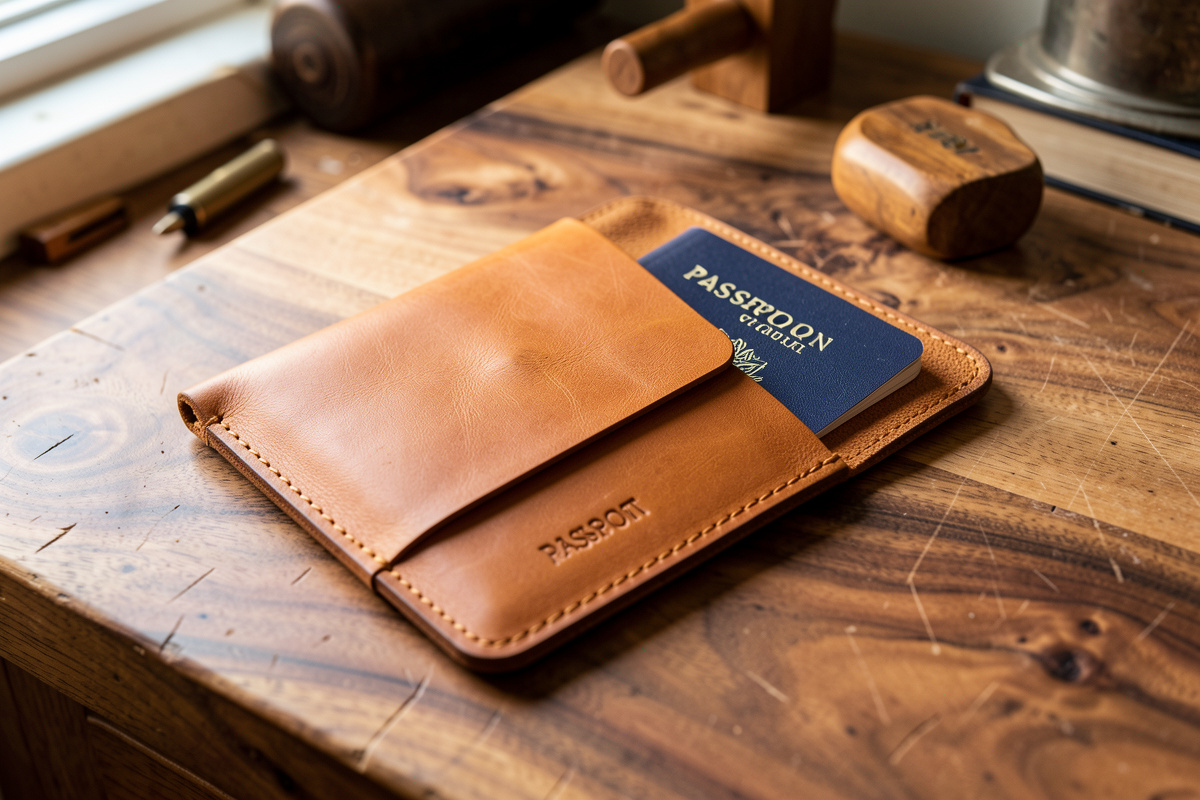
A leather passport cover is one evening’s work — a folded outer, two interior slots, and a skived spine — and the whole thing rides on one measurement:…
A leather passport cover is one evening’s work — a folded outer, two interior slots, and a skived spine — and the whole thing rides on one measurement: the spine has to be thin enough to close flat around the passport, or the cover springs open in your pocket. Build it in 4–5 oz veg-tan, skive the fold to about 3 oz, and you get a cover that closes like a book and patinas for years. Here’s the exact pattern and the fit tricks that took me three ruined covers to learn.
I’ve made more passport covers than any other travel piece, mostly as gifts, and every early one had the same flaw: I cut the outer flat, folded it, and wondered why it gaped. The passport itself is only a couple of millimeters thick, but the leather wrapping it adds up fast, and an unskived spine fights the fold every time. Once I started thinning the spine and cutting the interior slots a hair generous, the covers started closing the way a bought one never quite does — flat, quiet, with an edge you could run a thumb along.
This build sits in the middle of the leather travel accessories kit — a step up from a luggage tag, a step down from a full travel wallet. If you’ve saddle-stitched anything before, you’re ready.
What Size Should a Leather Passport Cover Be?
A standard passport is 125 mm tall by 88 mm wide closed. Your open outer piece needs to be about 260 mm wide by 133 mm tall — that’s two passport widths plus roughly 4 mm of wrap allowance per side for the leather’s own thickness, and 8 mm total top-and-bottom so the cover stands a touch proud of the pages. Get the wrap allowance wrong and nothing else matters.
The allowance is the number people skip. A passport is 88 mm wide, so two of them side by side is 176 mm — but if you cut the outer exactly 176 mm plus a fold, the cover pulls tight and the passport bows. I add 4 mm per wrap (8 mm across the width) for 5 oz leather, more if I’m using a heavier weight, because the leather has to travel around the thickness of the passport and the interior slots, not just across a flat plane. On my bench I mock the whole cover in manila cardstock first, fold it around the actual passport, and only cut leather once the paper closes flat. Cardstock costs nothing; a ruined shoulder costs real money. For a repeatable outline I laser-cut a thin acrylic template on the workshop laser so every cover comes out identical — the same tool that engraves a monogram cuts the pattern.
What Leather Weight Is Best for a Passport Cover?
Use 4–5 oz veg-tan for the outer and 2–3 oz for the interior slots. The outer needs enough body to hold shape and take a burnished edge, but 6 oz and up is too stiff to fold cleanly and will crack at the spine. The lining and slots go thin so the stacked interior stays slim enough to still close.
Veg-tan is the only real choice here, and the reason is the edge. A passport cover gets thumbed open hundreds of times and jammed into jacket pockets against zippers — a raw or chrome-tan edge fuzzes and delaminates within a season, while a burnished veg-tan edge seals hard and shrugs it off. I use Wickett & Craig or Hermann Oak shoulders in 5 oz for the outer; both are firm-tempered enough to hold the fold without a hinge crease. For the slots I split down to 2–3 oz, because every layer you stack at the fold multiplies thickness, and a passport cover has four layers meeting at the spine. This weight-per-job logic is the backbone of the whole travel accessories guide — structured pieces in firm veg-tan, soft pieces in something that drapes.
How Do You Skive the Spine So It Closes Flat?
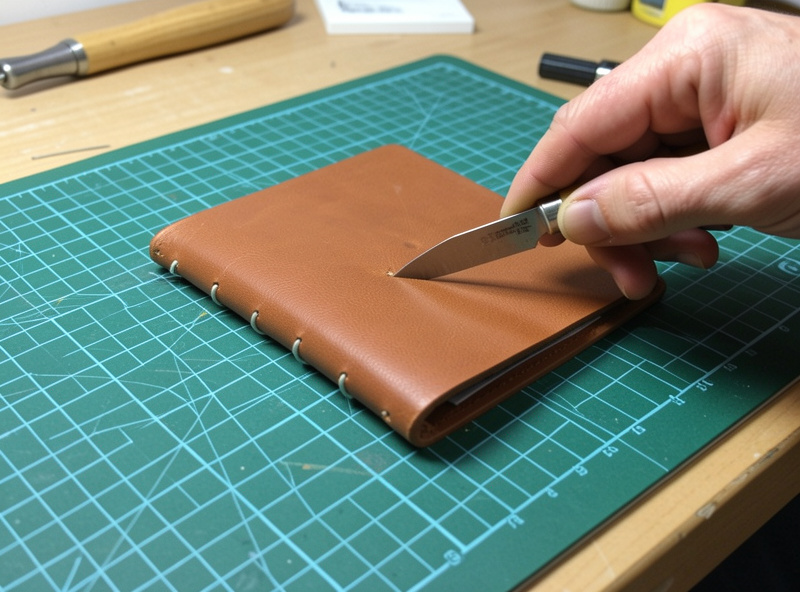
The spine is where a passport cover succeeds or fails. Skive the fold zone — a strip about 20 mm wide down the center of the outer’s flesh side — from 5 oz down to roughly 3 oz, so the leather bends there instead of resisting. A skived spine folds like a book hinge; an unskived one springs open every time.
I skive with a French skiver for the long even strip, then clean it up with a paring knife kept scary-sharp on the strop — a dull skiving knife tears and gouges instead of shaving, and a gouged spine is worse than no skiving at all. Work on a self-healing mat, hold the knife nearly flat, and take thin passes; you’re removing maybe a third of the thickness, not carving a channel. Check progress by folding the piece as you go. The feel you’re after is a spine that stays folded when you set it down — not one that pops back open. This is the single fix that separates a cover that closes flat from one that gaps, and it’s the step every beginner (me included, for three covers running) skips first.
How Do You Lay Out the Interior Slots?
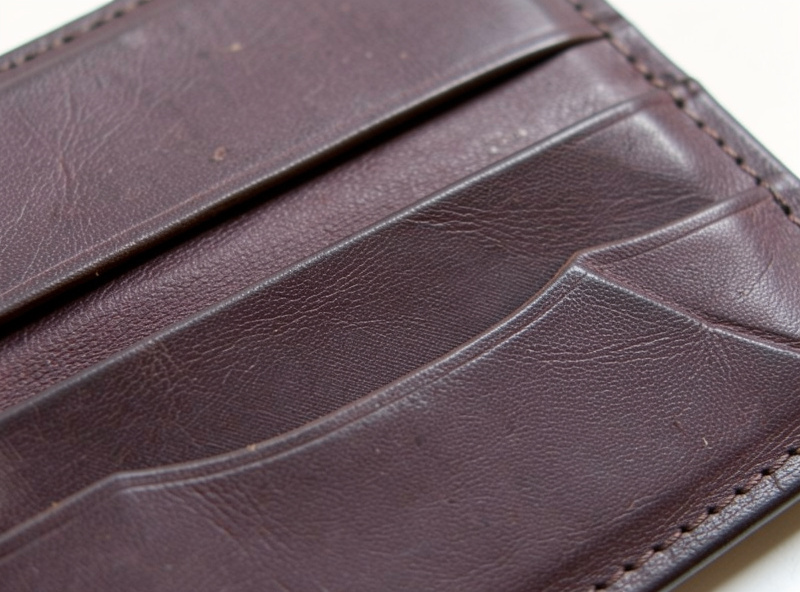
A passport cover needs two vertical slot pockets — one each side of the spine — that the passport’s front and back covers tuck into. Cut each slot piece about 60 mm wide and full-height, skived thin along the inner edge, and stitch it down three sides so the passport slides in from the spine side. Cut them a hair generous or the corners tear.
The fit trap here mirrors the outer: a slot cut exactly to the passport’s cover width grips too hard, and forcing a stiff passport cover into a too-tight leather slot tears the corner on the first insert. I add about 2 mm of width and leave the top slightly open so the passport slides rather than jams. Skive the inner (spine-side) edge of each slot piece down to 2 oz so the four layers at the fold don’t build into a wedge that stops the cover closing. Mark your stitch line with a pricking iron before you glue — I run a fine European-pitch iron here, around 3.85 mm pitch, matched to 0.6 mm Ritza Tiger thread so the stitch sits fine and flat on a small piece. Glue the slots with a thin line of contact cement only where the stitch will lock it, never across the whole face, so the pocket stays supple.
How Do You Saddle Stitch the Cover Together?
Assemble in this order: skive everything, glue the slots to the interior faces, punch all stitch holes with the iron and awl, then saddle stitch the perimeter with two needles. The saddle stitch is what makes a hand-made cover outlast a machine-sewn one — every stitch locks independently, so one worn thread doesn’t unzip the seam.
I hold the work in a stitching pony so both hands are free, open each hole with a stropped diamond awl at a consistent angle, and run a two-needle saddle stitch around the outer edge, catching the slot pieces in the same seam line. The lock matters: cross the threads in the same order every stitch so the line looks uniform and each stitch cinches on itself. Keep tension even — a wandering stitch line almost always traces back to a dull awl or inconsistent hole angle, not bad hands, which is why I strop the awl before every project. Backstitch two holes at the end, cut the threads flush, and melt the poly tails with a quick touch so they seat. There’s a specific sound when a saddle stitch is tensioned right: a soft creak as each pull cinches home, not a squeak of thread dragging dry.
How Do You Finish the Edges of a Passport Cover?
Finish the outer edge in four steps — bevel, sand, slick, wax — so it seals against the abrasion of a pocket. Bevel both faces with a #1 edger, sand up through 400 and 800 grit, dampen and slick with Tokonole until the edge goes glassy, then seal with a carnauba creme. A raw edge on a passport cover fuzzes within a trip; a slicked one looks turned rather than cut.
I slick with a PETG slicker I printed on the workshop FDM printer, cut to a groove that matches this edge weight — the same printer that makes stitching jigs makes the slicker. Run it briskly; the friction heat is what lays the fibers down and brings up the shine. You’ll feel the edge stop dragging and start to glide, and the sound changes from a squeak to a low hum — that hum is the tell it’s done. On the passport cover specifically, don’t rush this: it’s the surface a border officer sees and your thumb rides every trip, so it earns the extra ten minutes.
How Do You Dye and Seal the Cover?
Dye before you condition and seal, never after. Deglaze the veg-tan, apply Fiebing’s Pro Oil dye in thin even coats with a wool dauber or airbrush, buff off the haze, condition with a light neatsfoot, then seal with a neutral Resolene. Reverse that order and a topcoat laid first resists the dye into a blotchy mess.
For a passport cover I like a mahogany or oxblood mixed within one dye family — I record the recipe so a matching luggage tag comes out the same color later. Dye the pieces flat, before assembly, so you can reach every face evenly and don’t flood the stitch holes. One coat of neatsfoot is plenty; over-oiling turns a crisp cover limp and dark, a mistake I made drowning an early one in oil. A thin neutral topcoat is enough to shed a rain shower without killing the leather’s ability to patina from your hands over the years.
What size leather do I need for a passport cover?
Cut the outer about 260 mm wide by 133 mm tall for a standard passport, which is two passport widths plus roughly 4 mm of wrap allowance per side for the leather thickness. The two interior slot pieces are about 60 mm wide and full height.
Why does my leather passport cover keep springing open?
The spine is not skived. Thin a 20 mm strip down the center fold from 5 oz to about 3 oz so the leather bends instead of resisting. A skived spine folds flat like a book hinge, while an unskived one pops back open.
What leather weight is best for a passport cover?
Use 4 to 5 oz veg-tan for the outer and 2 to 3 oz for the interior slots. The outer holds shape and takes a burnished edge, and the thin slots keep the stacked interior slim enough to close flat.
Can I use chrome-tan leather for a passport cover?
It is not ideal. Chrome-tan will not burnish to a sealed edge, and a passport cover edge takes constant pocket abrasion. Veg-tan is the better choice because its slicked edge resists fuzzing and delamination.
How long does it take to make a leather passport cover?
About three to four hours once your pattern is dialed in, most of it spent stitching the two slot pockets and burnishing the outer edge. It is a solid one-evening project for anyone who has saddle-stitched before.
Where to Start
If this is your first slot-and-fold piece, cut the outer from a 5 oz scrap, mock the whole thing in cardstock, and skive that spine before anything else — it’s the fix that makes or breaks the cover. When you’re ready to add boarding-pass and card slots, the passport cover grows straight into the full travel wallet, and the complete build order lives in the travel accessories master guide. For firm veg-tan shoulders in the right weight, Wickett & Craig and Hermann Oak are the two I keep on the shelf; a 5 oz veg-tan tooling leather piece is plenty for several covers.
As an Amazon Associate I earn from qualifying purchases.



