A pattern is the difference between a project you can repeat and a one-off you got lucky with. Before any leather is cut, the pattern is where you…
A pattern is the difference between a project you can repeat and a one-off you got lucky with. Before any leather is cut, the pattern is where you solve the fit, the seam allowances, the hole spacing, and the order of operations on paper or cardstock, where mistakes cost nothing. Skip it and you discover your wallet is 3 mm too short to close after you have already stitched it. Every clean, repeatable piece I make starts as a pattern, and most of my best ones started as a free template I redrew to fit.
This is the part beginners most want to skip and most regret skipping. Patterning is not the boring prelude to the real work; it is most of the real work. Here is how to find templates, make your own, and turn a flat paper shape into the durable pattern you will reach for again and again.
Template Versus Pattern
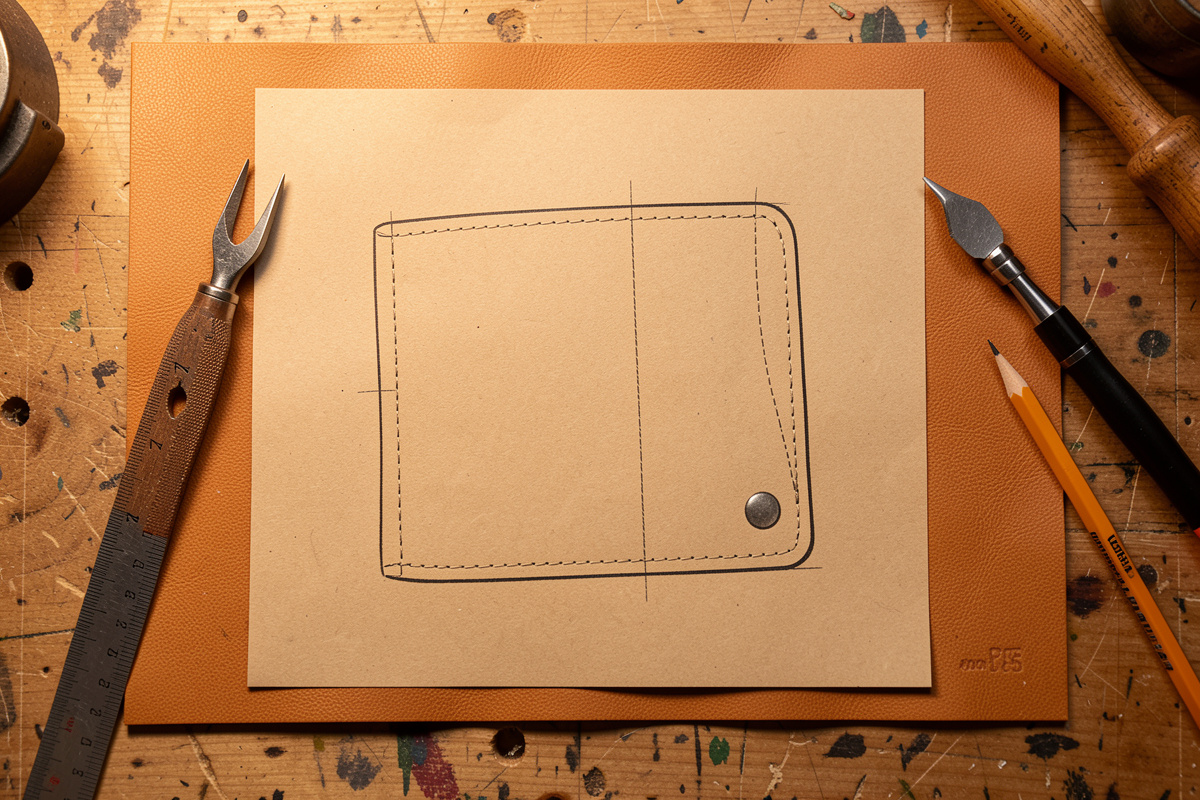
The words get used loosely, so here is the distinction I keep. A template is the design, often a free download or a shape from a book, that tells you what the piece looks like. A pattern is your working, durable copy of that design, transferred to a stiff material, marked with fold lines, stitch lines, and hole positions, ready to trace around onto leather. You download a template; you build a pattern from it.
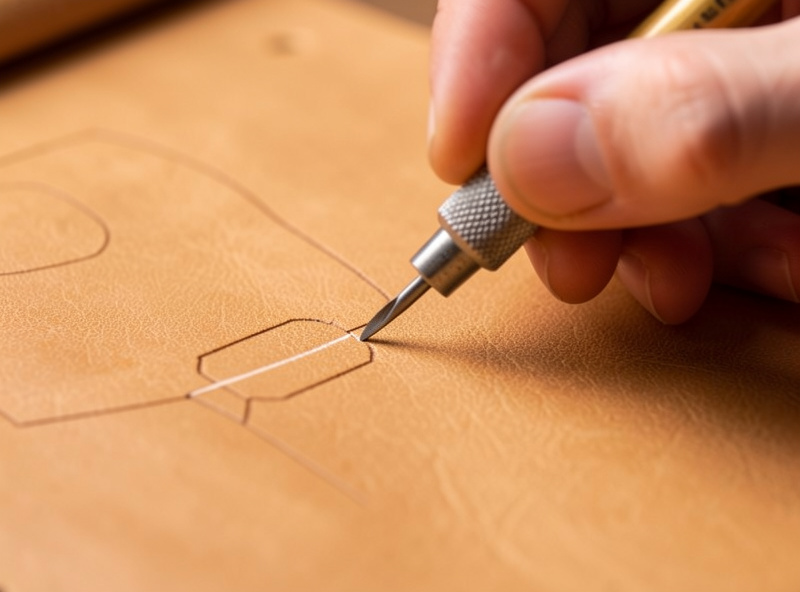
That difference matters because a paper template tears, shifts, and curls after a few uses. The first thing I do with any template, free or paid, is transfer it to something that survives the bench.
Finding Good Templates
Free templates are everywhere, and the quality varies wildly. The good ones come from established leather suppliers and makers who include seam allowances and mark fold versus stitch lines clearly; the bad ones are a traced outline with no allowances, no scale reference, and no indication of leather weight. Before committing leather, check three things: is there a printed scale or ruler on the sheet to confirm it printed at 100 percent, are stitch and fold lines distinguished, and does it state the leather weight it was designed for.
Books are still the best value for a beginner library, because they give patterns plus the construction logic behind them. But the fastest way to learn patterning is to take a simple free template, build it, see where it fails, and redraw it. A card holder template is the ideal first one because it is small, cheap in leather, and every error teaches something. If you want a curated list of builds that progress through the basic skills in a single weekend, the beginner leather projects for a weekend guide lays out five achievable pieces in order of complexity.
Printing at the Right Scale
The single most common template disaster is printing at “fit to page,” which silently shrinks the design by five to ten percent so nothing lines up. Always print at 100 percent or “actual size,” then measure the printed scale bar with a ruler before you trust the sheet. If there is no scale bar, find a known dimension in the instructions and measure it on your print. A wallet patterned from a shrunk printout will not hold cards; one from a stretched printout will gap.
For templates that span more than one sheet, print, trim, and tape the tiles together carefully aligning the registration marks, then verify the scale bar across the assembled sheet, not on a single tile.
Making a Durable Pattern
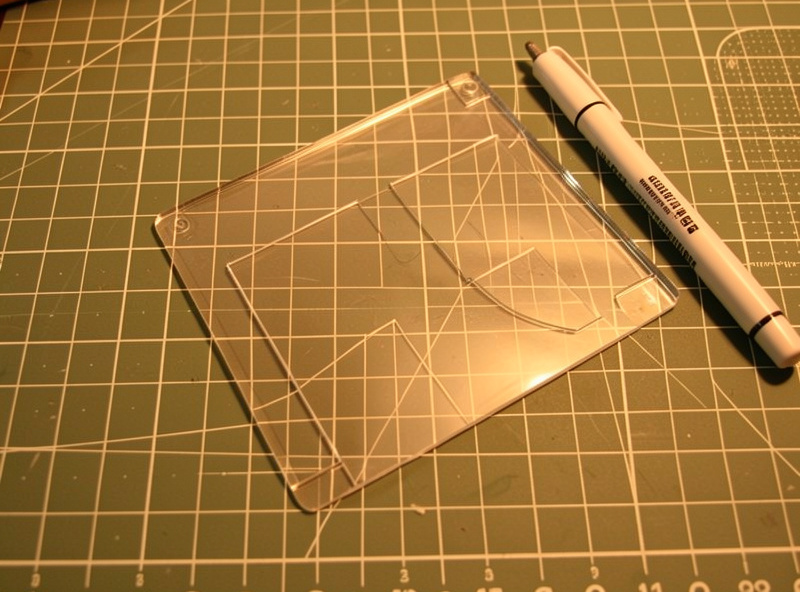
Paper is for the first proof; the working pattern wants a stiffer body. I transfer designs to thin chipboard, manila folder card, or for patterns I will use for years, thin acrylic or polypropylene sheet. Card lasts dozens of uses and cuts with scissors; acrylic lasts indefinitely and gives a hard edge to trace and even to cut against. Cut the pattern cleanly, because every wobble in the pattern edge becomes a wobble in every piece you trace from it.
Mark everything on the pattern that you will need on the leather: fold lines, stitch lines set in from the edge, hole or slot positions, and the grain direction if it matters. A scratch awl or stylus transfers these marks onto the leather by scoring lightly through the pattern, faster and more precise than tracing with a pen.
Disclosure: LeatherCraftHaven is reader-supported. As an Amazon Associate I earn from qualifying purchases made through links in this article, at no extra cost to you. I only point to gear I actually use or would buy for my own bench.
Seam Allowances and the Logic Beginners Miss
A flat shape becomes a three-dimensional object, and that costs material the pattern has to account for. A wallet that wraps cards needs extra width so the leather can bend around the stack; a box-cornered bag needs the corner geometry worked out before cutting. The rule I follow: when in doubt, build the piece in cheap paper or scrap first, fold it as the leather will fold, and check the fit. Paper mock-ups have saved me more leather than any single tool.
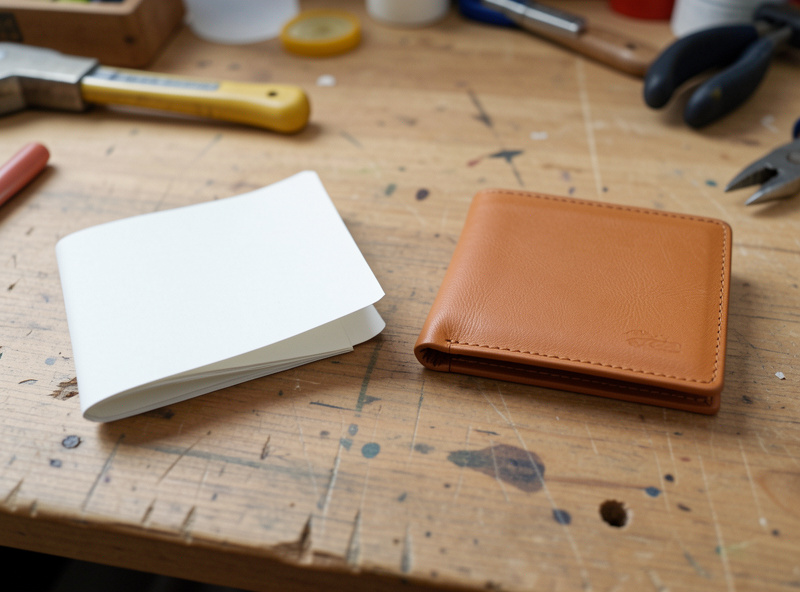
This is also where leather weight feeds back into the pattern. A wallet folded from 5 oz needs more wrap allowance than the same wallet in 3 oz, because thicker leather bends on a larger radius. Pattern and weight are a pair, which is why I confirm the weight a template was drawn for, and adjust if I am using something heavier or lighter. Matching the right weight to the project is its own decision worth getting right.
Creating Your Own Patterns
Designing from scratch sounds advanced but starts simply: measure what the piece must hold, add the wrap and seam allowances, and draw it on graph paper. A card holder is just card dimensions plus clearance plus stitch margins; a notebook cover is the closed book’s dimensions plus spine plus wrap. Build it in paper, fit it, adjust, then commit to card. I keep a binder of patterns I have proven, each labelled with the leather weight it was cut for, so a build I liked is repeatable a year later.
For complex curves and repeatable precision, the workshop laser cuts pattern templates from acrylic far cleaner than I can by hand, which is the kind of crossover that makes a pattern library worth building once and using forever. But that is an accelerant, not a requirement; a sharp knife and patience cut a perfectly good card pattern. Handling sharp knives safely around patterns and templates is part of the broader safe workshop setup — the leathercraft safety tips guide covers cutting mat positioning, blade handling, and eye and hand protection.
What is the difference between a leather template and a pattern?
A template is the design itself, often a free download, showing what the piece looks like. A pattern is your durable working copy, transferred to stiff card or acrylic and marked with fold lines, stitch lines, and hole positions, ready to trace onto leather repeatedly.
Where can I find free leather patterns?
Established leather suppliers and maker sites offer free templates. Choose ones that include seam allowances, distinguish stitch from fold lines, state the leather weight, and print a scale bar. Avoid bare outlines with no allowances or scale reference.
How do I print a leather pattern at the correct size?
Always print at 100 percent or actual size, never fit to page, which shrinks the design. Then measure the printed scale bar with a ruler to confirm. For multi-sheet patterns, align the registration marks and verify scale across the assembled sheet.
What material should I make leather patterns from?
Use thin chipboard or manila card for everyday patterns, and thin acrylic or polypropylene for ones you will use for years. Card cuts with scissors and lasts dozens of uses; acrylic lasts indefinitely and gives a hard edge to trace against.
Do I need to add seam allowance to leather patterns?
Yes. Folding flat leather into a three-dimensional object costs material, so wallets need wrap allowance and boxed corners need worked-out geometry. Build a paper mock-up, fold it as the leather will, and check the fit before cutting any leather.
Keep Building
- Leather Working for Beginners: A Complete Starter Guide
- How to Cut Leather Straight: Clean Edges Every Time
- Leather Thickness Chart: Ounces to MM for Every Project
- How to Make a Leather Card Holder (Slim Wallet Pattern)